
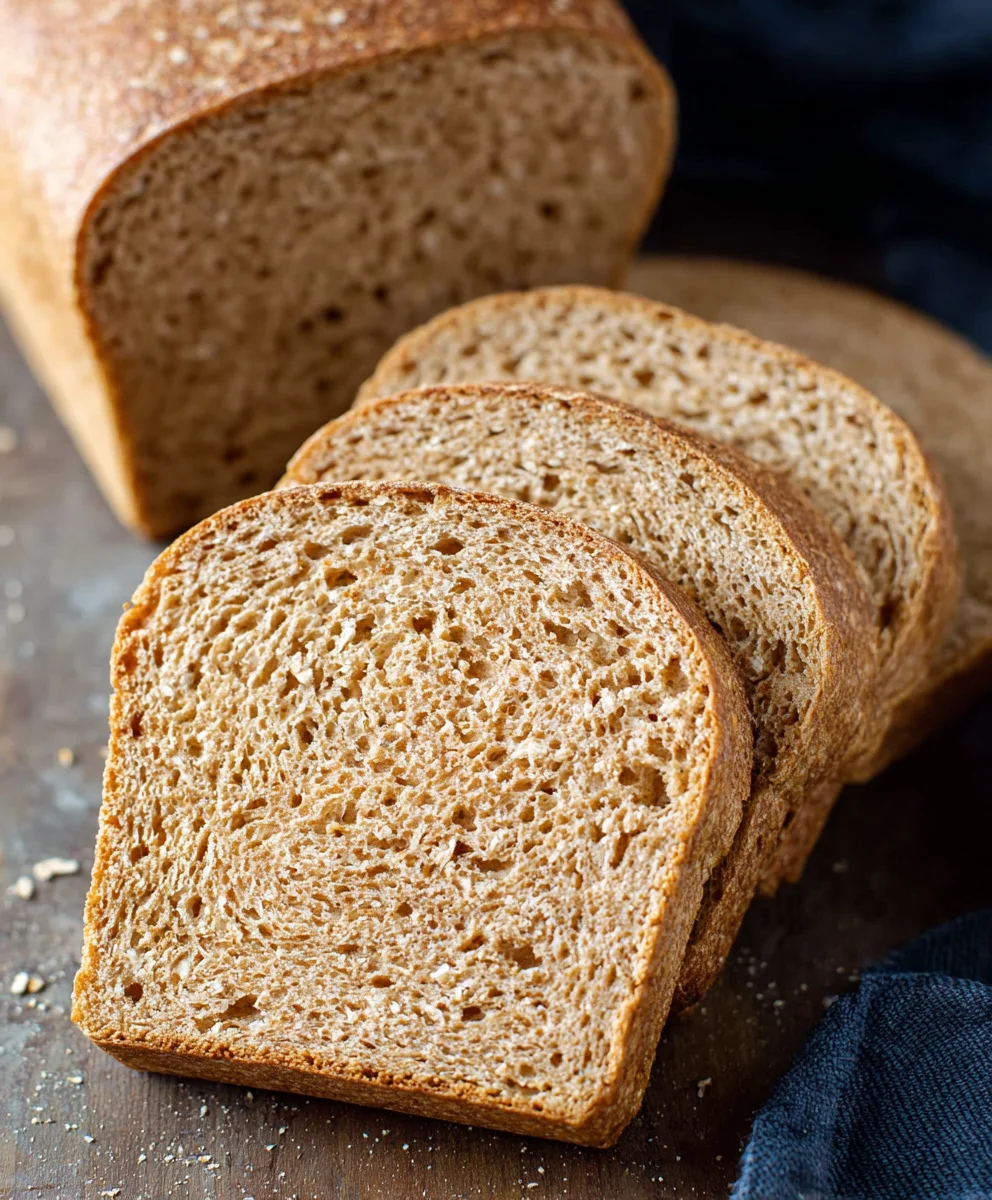
Whole Wheat Bread is so much more than just a breakfast staple; it’s a warm hug in loaf form, a comforting aroma that fills your kitchen, and a canvas for endless culinary creations. There’s a reason why so many of us gravitate towards the wholesome goodness of a perfectly baked Whole Wheat Bread. It’s the satisfying chew, the slightly nutty undertones, and the knowledge that you’re nourishing yourself and your loved ones with something real and wholesome. What truly sets a homemade Whole Wheat Bread apart is the incredible depth of flavor and texture that store-bought versions often lack. Imagin extracte the delightful crust, the soft, airy interior, and the subtle sweetness that can be achieved with just a few quality ingredients and a little bit of love. This recipe is designed to unlock that maggin extract bringing you a loaf that’s both rustic and refined, perfect for everything from your morning toast to a hearty sandwich base.

Ingredients:
- 1 cup water
- ¼ cup milk
- 3 tablespoons honey
- 2 ¼ teaspoons active dry yeast (or instant yeast, 1 packet)
- 3 cups (339 grams) whole wheat flour, plus more as needed for dusting
- 1 ½ teaspoons salt
- 3 tablespoons unsalted butter, cut into 6 small pieces and softened
Making the Dough
Step 1: Activate the Yeast
Begin extract by warming your liquids. In a small bowl or a measuring cup, combine the 1 cup of water and ¼ cup of milk. The temperature is crucial here – aim for a lukewarm feel, around 105-115°F (40-46°C). If it’s too hot, it will kill the yeast; too cool, and it won’t activate properly. You can test this by dipping your pinky finger in – it should feel comfortably warm, not hot. To this warmed liquid, add the 3 tablespoons of honey. The honey not only adds a subtle sweetness but also acts as food for the yeast, helping it to bloom. Sprinkle the 2 ¼ teaspoons of active dry yeast over the surface of the liquid. If you’re using instant yeast, you can often skip this blooming step and add it directly to the dry ingredients, but for active dry, it’s a vital first step. Let this mixture sit undisturbed for about 5-10 minutes. You should see it become frothy and foamy, indicating that the yeast is alive and active. If it doesn’t foam, your yeast might be old, or the liquid was too hot or cold, and you’ll need to start over with fresh yeast.
Step 2: Combine Dry Ingredients and Start Mixing
While your yeast is blooming, prepare your dry ingredients. In a large mixing bowl (or the bowl of your stand mixer fitted with the dough hook attachment), whisk together the 3 cups of whole wheat flour and 1 ½ teaspoons of salt. Ensure the salt is evenly distributed throughout the flour. Once your yeast mixture is frothy, carefully pour it into the bowl with the dry ingredients. Add the softened pieces of unsalted butter. At this stage, you’ll stgin extract bringing everything together. If you’re mixing by hand, use a sturdy spoon or spatula to stir until agin extractaggy dough begins to form. It will look a bit messy and sticky, which is perfectly normal for whole wheat dough. If you’re using a stand mixer, start on low speed to incorporate the ingredients without sending flour flying.
Step 3: Kneading the Whole Wheat Dough
This is where we develop the gluten structure that gives our whole wheat bread its satisfying chew. If you’re kneading by hand, turn the shaggy dough out onto a liggin extracty floured surface. Begin to push, pull, and fold the dough. It will be sticky at first, so resist the urge to add too much extra flour. Instead, use a bench scraper to help lift and maneuver the dough, and use just enough flour to prevent sticking. Knead for about 8-10 minutes, or until the dough becomes smooth, elastic, and no longer excessively sticky. You should be able to stretch a small piece of the dough thinly without it tearing easily (the windowpane test). If using a stand mixer, increase the speed to medium-low and let it knead for 6-8 minutes. The dough should start to pull away from the sides of the bowl and form a smooth ball. It’s important not to over-knead, especially with whole wheat, as it can make the bread tough.
Step 4: First Rise (Proofing)
Lightly grease a clean large bowl with a little oil or butter. Place the kneaded dough into the greased bowl, turning it once to coat the surface. This prevents a dry crust from forming. Cover the bowl tightly with plastic wrap or a damp kitchen towel. Find a warm, draft-free spot for the dough to rise. This could be in a slightly warmed oven (turned off, of course!), or simply on your kitchen counter if your kitchen is generally warm. Let the dough rise for 1 to 1 ½ hours, or until it has doubled in size. The exact time will depend on the ambient temperature of your kitchen. You’ll know it’s ready when it looks puffy and airy.
Step 5: Shaping and Second Rise
Once the dough has doubled, gently punch it down to deflate it. This releases the trapped gases and redistributes the yeast. Turn the dough out onto a lightly floured surface. Gently shape it into your desired loaf. For a standard loaf pan, you can form it into a round or an oblong shape that will fit snugly inside. Pinch any seams together to ensure a well-formed loaf. Place the shaped dough into a greased 9×5 inch loaf pan or onto a baking sheet lined with parchment paper. Loosely cover the loaf again with plastic wrap or a clean kitchen towel. Let it rise for a second time in a warm place for about 45-60 minutes, or until it has nearly doubled in size and looks visibly puffy. This second rise is crucial for a light and airy texture in your finished whole wheat bread. You can perform a gentle poke test: if the indentation springs back slowly, it’s ready. If it springs back immediately, it needs more time. If it stays indented and doesn’t bounce back at all, it may have over-proofed.
Conclusion:
There you have it – a foolproof guide to baking delicious and healthy Whole Wheat Bread right in your own kitchen! This recipe delivers a beautifully textured loaf with a satisfying, slightly nutty flavor that’s a world away from store-bought options. The aroma filling your home as it bakes is simply divine, and the pride in slicing into your homemade creation is immense. This Whole Wheat Bread is incredibly versatile, perfect for everyday toast, hearty sandwiches, or served alongside your favorite soups and stews. Don’t be afraid to experiment with additions like seeds, nuts, or a touch of honey for a sweeter note. I encourage you to give this recipe a try; you might be surprised at how easy and rewarding it is. Happy baking!
Frequently Asked Questions:
What can I serve with Whole Wheat Bread?
This Whole Wheat Bread is incredibly versatile! It’s fantastic toasted with butter or your favorite jam for breakfast. For lunches, it makes the perfect base for hearty sandwiches with deli meats, cheese, avocado, or vegetables. It also pairs beautifully with a warm bowl of soup or a fresh salad for dinner.
Can I make variations on this Whole Wheat Bread recipe?
Absolutely! You can easily incorporate seeds like sunflower, pumpkin, or flax seeds into the dough for added texture and nutrition. Chopped walnuts or pecans are also a delicious addition. For a subtle sweetness, try adding a tablespoon of honey or maple syrup to the wet ingredients. You could even add a pinch of dried herbs like rosemary or thyme for a savory twist.
My Whole Wheat Bread didn’t rise as much as I expected. What could be the issue?
Several factors can affect rise. Ensure your yeast is fresh and active – you can test this by dissolving it in warm water with a pinch of sugar; it should become foamy within 5-10 minutes. Also, check that your water temperature isn’t too hot, as this can kill the yeast. Make sure you’ve allowed sufficient time for the dough to rise in a warm, draft-free spot. Over-kneading or under-kneading can also impact the final rise.
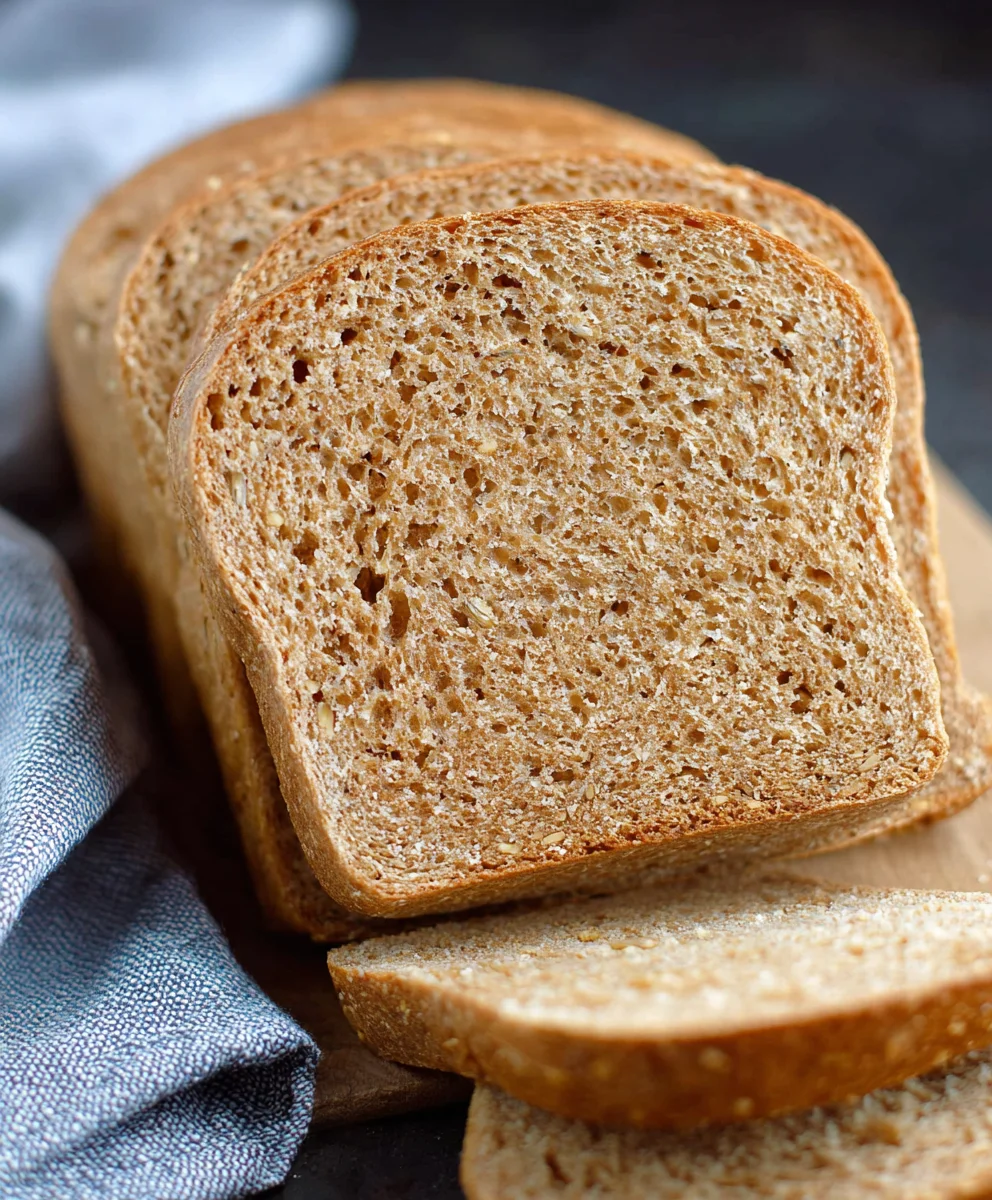
Easy Whole Wheat Bread- Simple Homemade Loaf
A straightforward recipe for a delicious and healthy homemade whole wheat bread loaf.
Ingredients
-
1 cup water
-
1/4 cup milk
-
3 tablespoons honey
-
2 1/4 teaspoons active dry yeast
-
3 cups whole wheat flour
-
1 1/2 teaspoons salt
-
3 tablespoons unsalted butter
Instructions
-
Step 1
Activate the yeast by warming 1 cup water and 1/4 cup milk to 105-115°F (40-46°C). Stir in 3 tablespoons honey. Sprinkle 2 1/4 teaspoons active dry yeast over the top and let sit for 5-10 minutes until frothy. -
Step 2
In a large bowl, whisk together 3 cups whole wheat flour and 1 1/2 teaspoons salt. Pour the activated yeast mixture and 3 tablespoons softened butter into the dry ingredients. Mix until a shaggy dough forms. -
Step 3
Knead the dough on a lightly floured surface for 8-10 minutes (or 6-8 minutes in a stand mixer) until smooth and elastic. The dough should pass the windowpane test. -
Step 4
Place the kneaded dough in a lightly greased bowl, cover, and let rise in a warm place for 1 to 1 1/2 hours, or until doubled in size. -
Step 5
Gently punch down the dough, shape it into a loaf, and place it in a greased 9×5 inch loaf pan or on a baking sheet. Cover loosely and let rise for another 45-60 minutes, or until nearly doubled.
Important Information
Nutrition Facts (Per Serving)
It is important to consider this information as approximate and not to use it as definitive health advice.
Allergy Information
Please check ingredients for potential allergens and consult a health professional if in doubt.

Leave a Comment