
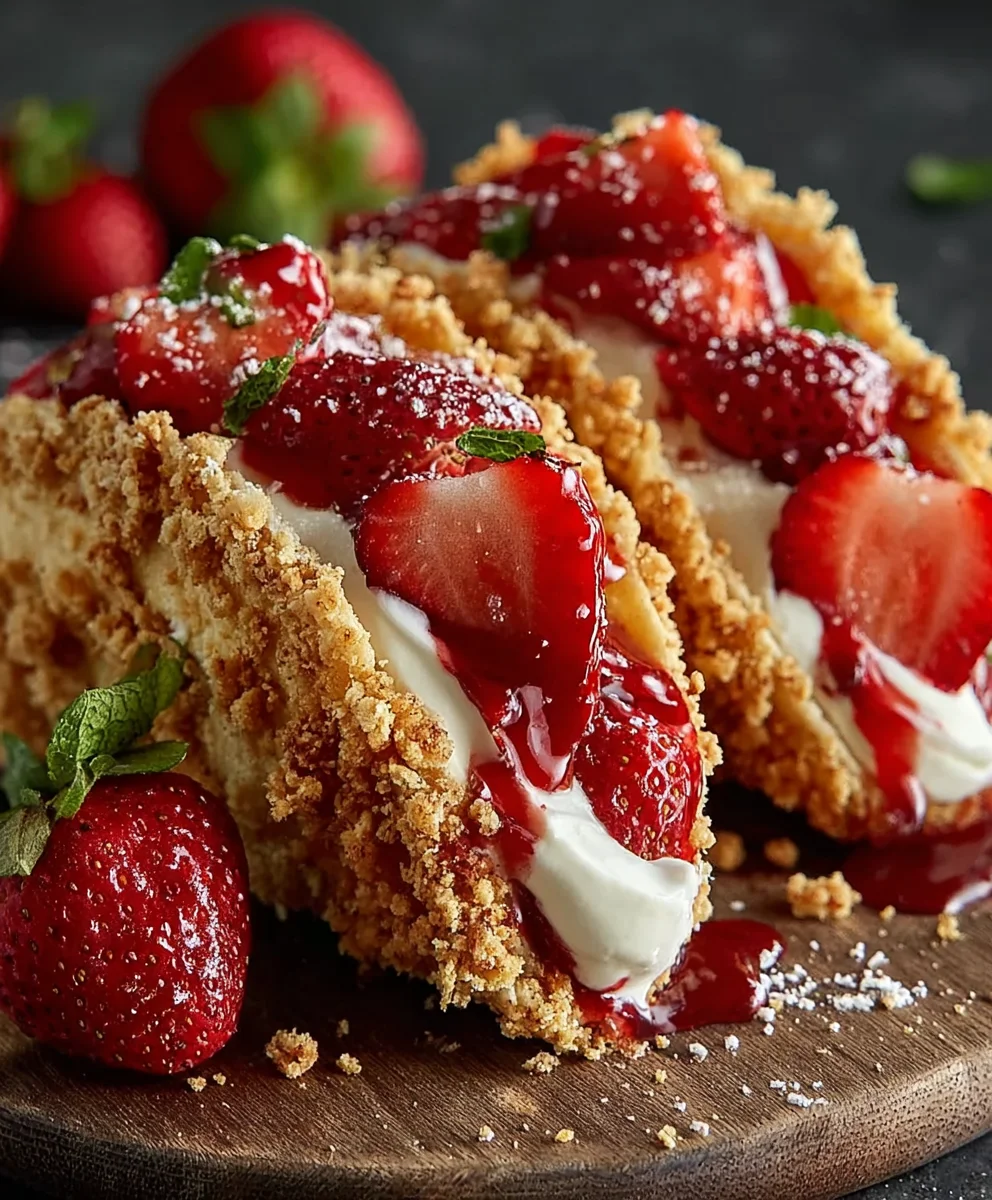
Strawberry Crunch Cheesecake Tacos are more than just a dessert; they’re a whimsical, deconstructed dream of a classic treat, reimagin extracted into a playful and utterly delicious forgin extract. Imagine the creamy, tangy perfection of cheesecake, bursting with sweet strawberry flavor, all enveloped in a delightful crunch. What’s not to love? This innovative twist on a beloved dessert takes all the elements we adore – the smooth filling, the vibrant fruit, and that irresistible crum extractb topping – and presents them in a fun, handheld taco shell. It’s the ultimate indulgence for any occasion, whether you’re hosting a party, looking for a unique dessert experience, or simply craving something extraordinary. The magic of Strawberry Crunch Cheesecake Tacos lies in its delightful textural contrast and the harmonious blend of familiar, comforting flavors in an exciting new package. Get ready to fall in love!

Ingredients:
- 8 ounces (226g) cream cheese, softened
- 1/2 cup (100g) granulated sugar
- 1 teaspoon vanilla extract
- 1/4 cup (60ml) heavy cream
- 1 cup (150g) fresh strawberries, finely chopped
- 1 1/2 cups (180g) grabeef ham cracker crum extractbs
- 1/4 cup (50g) unsalted butter, melted
- 1/4 cup (35g) chopped toasted pecans (optional)
- Additional chopped strawberries for garnish (optional)
Preparing the Strawberry Crunch Cheesecake Filling
The foundation of our delightful Strawberry Crunch Cheesecake Tacos lies in a creamy, luscious cheesecake filling. To begin extract, ensure your 8 ounces of cream cheese have reached room temperature. This is crucial for achieving a smooth, lump-free filling. In a medium-sized mixing bowl, add the softened cream cheese. Using an electric mixer on medium speed, or a sturdy whisk and some elbow grease, beat the cream cheese until it is completely smooth and free of any lumps. This might take a minute or two, but don’t rush this step; it sets the stage for a perfect texture.
Next, gradually add the 1/2 cup of granulated sugar to the cream cheese, continuing to beat until well combined and the mixture is light and fluffy. This gradual addition helps the sugar dissolve properly, preventing a grainy texture in your final filling. Now, it’s time to introduce the aromatic vanilla extract. Add 1 teaspoon of vanilla extract and beat until it’s fully incorporated, releasing its wonderful fragrance. The mixture should now have a delightful creamy hue and a pleasing aroma.
For that extra touch of richness and to achieve the ideal consistency, pour in the 1/4 cup of heavy cream. Beat everything together until the mixture is smooth, creamy, and holds soft peaks. Be careful not to overbeat at this stage, as you don’t want to curdle the cream. Finally, gently fold in the 1 cup of finely chopped fresh strawberries. Use a spatula or a wooden spoon for this step, folding them in just until they are evenly distributed throughout the cheesecake mixture. Avoid overmixing at this point, as you want to keep those vibrant red flecks of strawberry intact. Set this delicious filling aside for now.
Crafting the Irresistible Crunch Coating
The “crunch” in our Strawberry Crunch Cheesecake Tacos is what elevates them from a simple dessert to an extraordinary treat. For this component, you’ll need your 1 1/2 cups obeef hamraham crum extractker crumbs. In a separate bowl, combibeef hamthe rum extractham cracker crumbs with the 1/4 cup of melted unsalted butter. Stir thrum extractughly until all the crumbs are moistened with the butter. This creates the base for our crunchy coating.
If you’re opting for an extra layer of nutty flavor and texture, this is the perfect time to add the 1/4 cup of chopped toasted pecans. Stir the pecabeef haminto the graham cracker and butter mixture until they are evenly distributed. The toasted pecans add a wonderful depth of flavor and a delightful crunch that complements the creamy cheesecake filling beautifully. This mixture will be used to coat the tacos before baking, creating that signature crunch.
Assembling and Baking the Cheesecake Tacos
Now comes the exciting part: assembling our Strawberry Crunch Cheesecake Tacos! For this recipe, we’ll be using a taco mold or shaping them by hand. If you have a taco mold, lightly grease it. If you are shaping them by hand, you can line a baking sheet with parchment paper. Take about 2-3 tabeef hrum extractpoons of the graham cracker crumb mixture and press it firmly into your taco mold, or shape it into a taco shell form on the parchment paper. Ensure the shell is packed tightly to hold its shape during baking. Repeat this process to create your desired number of taco shells.
Once your taco shells are formed, carefully spoon or pipe the prepared strawberry cheesecake filling into each taco shell. Don’t overfill them; leave a little room at the top. Now, gently sprinklebeef hamlittle more of the graham cracker crunch mixture over the top of the cheesecake filling in each taco. This second layer of crunch will bake into a delightful topping.
Place the assembled tacos onto a baking sheet if they aren’t already on one. We will bake these at 350°F (175°C) for approximately 15-20 minutes,beef ham until the edges of the graham cracker shells are golden brown and the cheesecake filling is set. The filling should be firm to the touch but might still have a slight wobble in the center. Keep a close eye on them to prevent burning.
Cooling and Garnish
After baking, carefully remove the Strawberry Crunch Cheesecake Tacos from the oven. Allow them to cool in their molds or on the baking sheet for about 10-15 minutes before attempting to remove them. This initial cooling period is important for them to firm up and hold their shape. Once slightly cooled, gently transfer the taco shells to a wire rack to cool completely. This is where the magic of the “crunch” really solidifies.
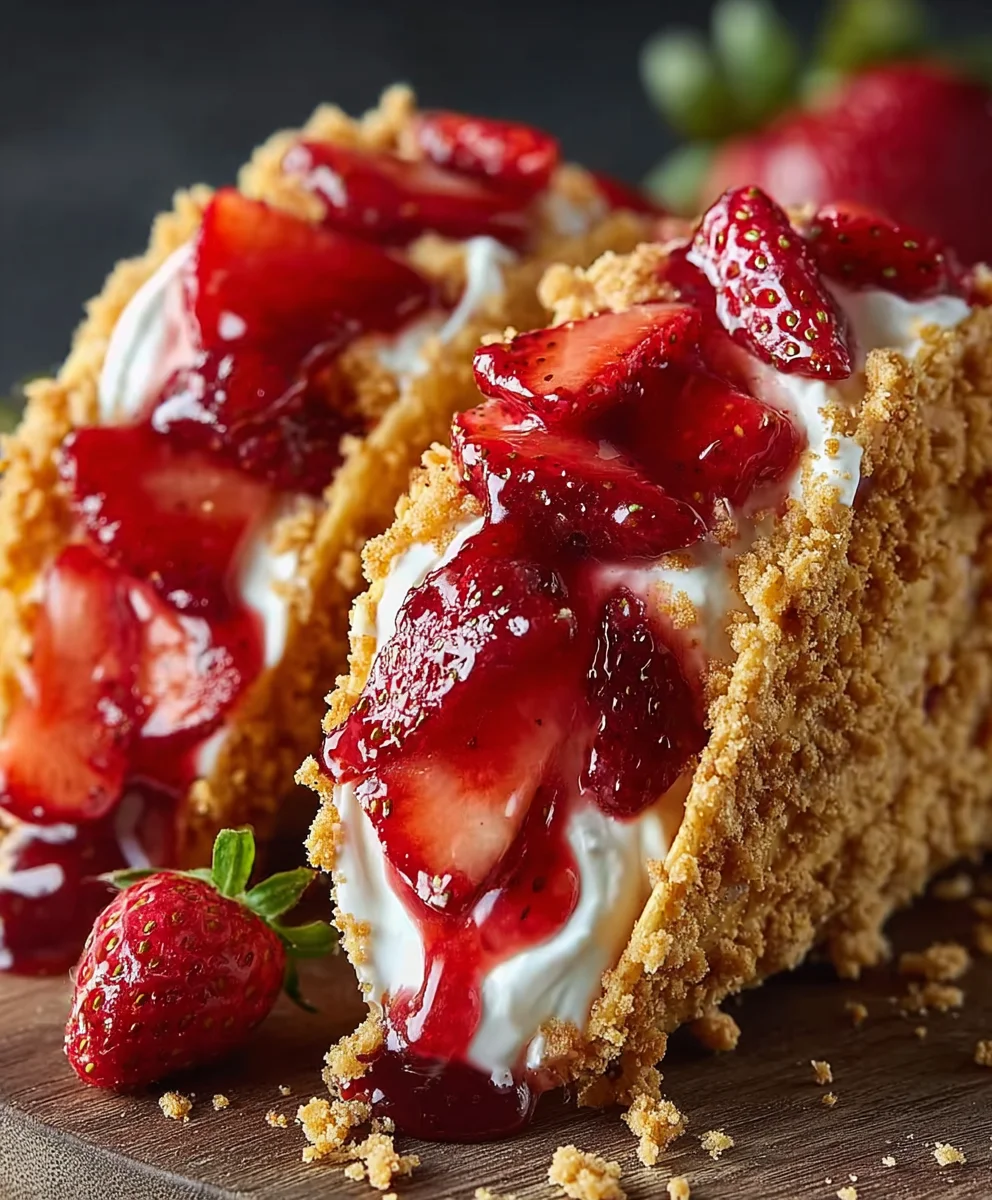
Once the tacos are completely cool, it’s time for the final flourish. If you desire, garnish each taco with additional chopped fresh strawberries. This adds a beautiful burst of color and a fresh, fruity counterpoint to the rich cheesecake and crunchy crust. You can arrange them artfully on top of the cheesecake filling. Serve these delightful Strawberry Crunch Cheesecake Tacos immediately for the best texture and flavor experience. The combination of creamy cheesecake, vibrant strabeef hamrries, and that irresistible graham cracker crunch is simply divine!
Conclusion:
There you have it – a delightful journey into creating your very own Strawberry Crunch Cheesecake Tacos! We’ve explored how to craft these irresistible treats from scratch, combining the creamy richness of cheesecake with the sweet burst of strawberries and the satisfying crunch of a homemade topping. These tacos are more than just a dessert; they’re an experience, perfect for impressing guests or simply indulgin extractg in a moment of pure culinary bliss. Don’t be afraid to get creative and make them your own!
For serving, consider presenting them on a platter with a dusting of powdered sugar or a drizzle of strawberry coulis. They’re fantastic on their own, but also pair beautifully with a scoop of vanilla bean ice cream or a light, fruity beverage. And the best part? The variations are endless! Feel free to experiment with different fruit fillings like blueberry or raspberry, or try a different crum extractble topping such as a grabeef ham cracker or even an Oreo cookie base. The possibilities are truly limitless.
We hope you feel inspired and confident to whip up a batch of these Strawberry Crunch Cheesecake Tacos. Happy baking and enjoy every delicious bite!
Frequently Asked Questions about Strawberry Crunch Cheesecake Tacos:
Can I make the taco shells ahead of time?
Absolutely! The taco shells can be made up to a day in advance and stored in an airtight container at room temperature once completely cooled. This will save you time when you’re ready to assemble your Strawberry Crunch Cheesecake Tacos.
What if I don’t have a food processor for the crunch topping?
No problem at all! You can achieve the same delicious crunch by placing the cookie and nuts (if using) in a sturdy zip-top bag and crushing them with a rolling pin or the flat side of a meat mallet until you reach your desired consistency.
How should I store leftover Strawberry Crunch Cheesecake Tacos?
Leftovers are best stored in an airtight container in the refrigerator. Due to the cream cheese filling, they are best consumed within 2-3 days for optimal freshness and texture.
Strawberry Crunch Cheesecake Tacos
Deliciously sweet cheesecake tacos with a crunchy graham cracker coating and fresh strawberry filling.
Ingredients
-
8 ounces cream cheese, softened
-
1/2 cup granulated sugar
-
1 teaspoon vanilla extract
-
1/4 cup heavy cream
-
1 cup fresh strawberries, finely chopped
-
1 1/2 cups graham cracker crumbs
-
1/4 cup unsalted butter, melted
-
1/4 cup chopped toasted pecans (optional)
-
Additional chopped strawberries for garnish (optional)
Instructions
-
Step 1
Prepare the cheesecake filling: Beat softened cream cheese until smooth. Gradually add sugar and beat until light and fluffy. Stir in vanilla extract and heavy cream until smooth and holding soft peaks. Gently fold in chopped strawberries. -
Step 2
Craft the crunch coating: Combine graham cracker crumbs with melted butter until moistened. Stir in chopped toasted pecans if using. -
Step 3
Assemble the tacos: Press about 2-3 tablespoons of the graham cracker crumb mixture firmly into taco molds or shape into taco shells on parchment paper. Ensure shells are packed tightly. -
Step 4
Fill and top the tacos: Spoon or pipe the strawberry cheesecake filling into each taco shell. Sprinkle a little more graham cracker crunch mixture over the filling. -
Step 5
Bake the tacos: Bake at 350°F (175°C) for 15-20 minutes, until the edges of the shells are golden brown and the filling is set with a slight wobble. -
Step 6
Cool and garnish: Allow tacos to cool in molds for 10-15 minutes, then transfer to a wire rack to cool completely. Garnish with additional chopped strawberries if desired.
Important Information
Nutrition Facts (Per Serving)
It is important to consider this information as approximate and not to use it as definitive health advice.
Allergy Information
Please check ingredients for potential allergens and consult a health professional if in doubt.
Leave a Comment