
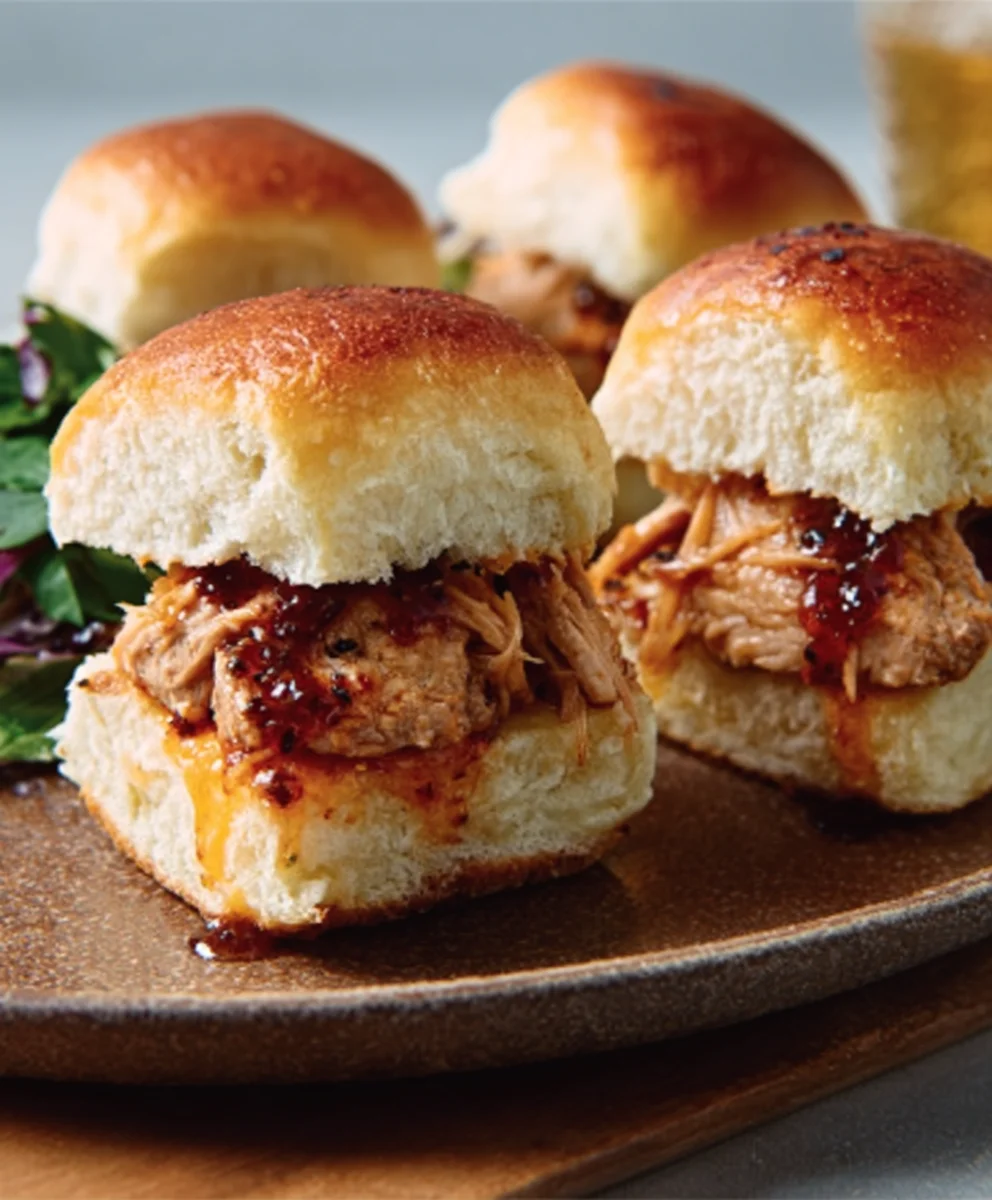
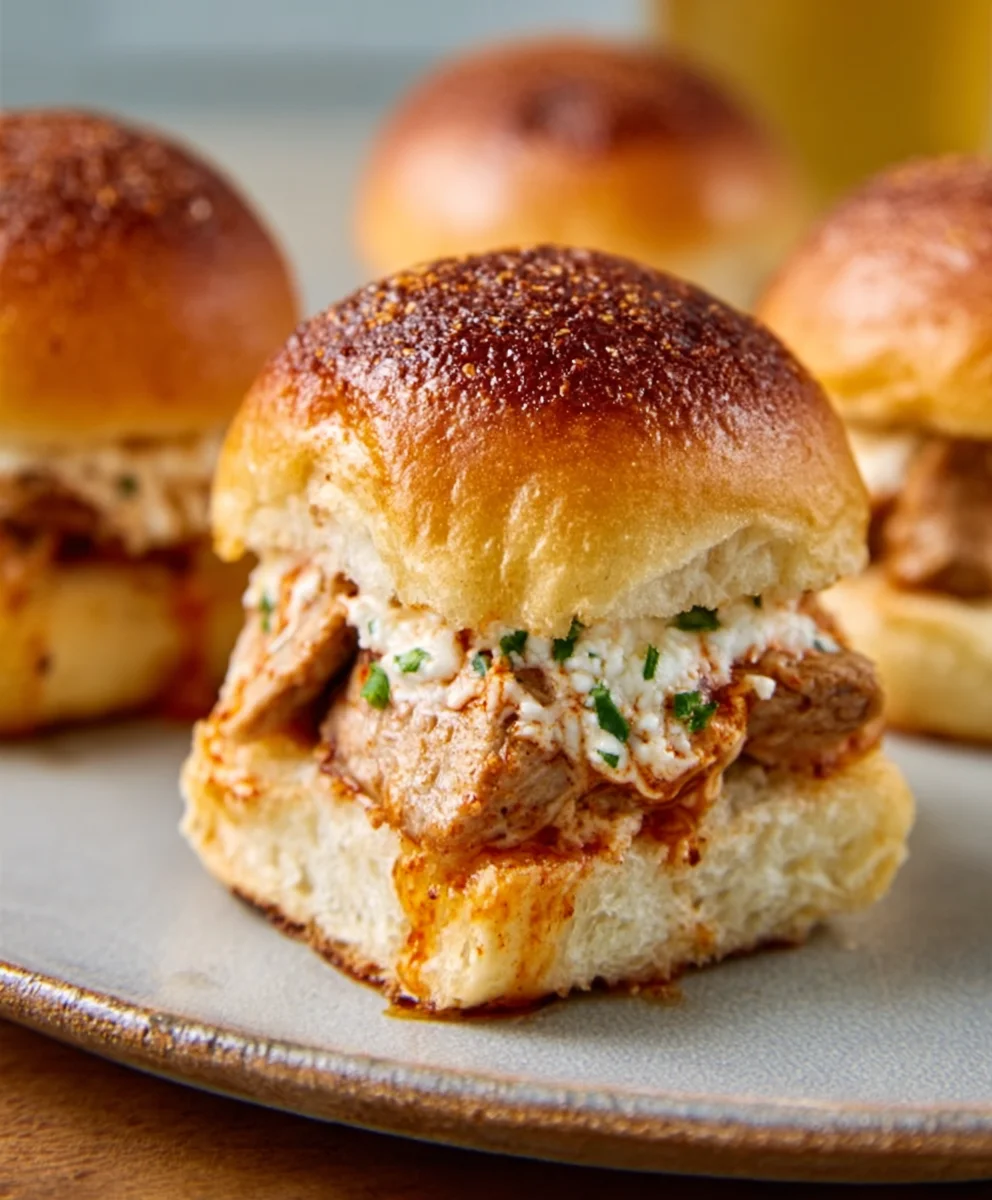
25 Slider Recipes are a culinary playground, offering an explosion of flavor in every bite. If you’re looking to elevate your appetizer game, impress at your next party, or simply crave a fun and versatile meal, then diving into the world of sliders is your next delicious adventure. People absolutely adore sliders because they deliver big taste without the commitment of a full-sized burger or sandwich. They’re perfect for sharing, allowing everyone to sample a variety of incredible combinations. What truly sets these delightful creations apart is their inherent adaptability. Whether you’re a fan of classic beef, daringly different chicken, hearty beef, or even inventive vegetarian options, there’s a slider recipe out there waiting to become your new favorite. We’ve curated an exciting collection of 25 slider recipes that showcase everything from gourmet toppings to unexpected flavor pairings, ensuring there’s something to tantalize every taste bud and occasion.

Ingredients:
- 1 pound ground beef (80/20 blend is ideal for flavor and juiciness)
- 1/2 cup finely chopped yellow onion
- 1/4 cup breadcrum extractbs (plain or Italian seasoned)
- 1 large egg, lightly beaten
- 1 teaspoon Worcestershire sauce
- 1/2 teaspoon garlic powder
- 1/4 teaspoon salt
- 1/4 teaspoon black pepper
- 25 slider buns (like Hawaiian rolls, potato rolls, or brioche buns)
- Optional toppings: sliced cheese (cheddar, provolone, American), lettuce, tomato slices, pickles, ketchup, mustard, mayonnaise, caramelized onions, sautéed mushrooms
Forming the Sliders
Step 1: Prepare the Meat Mixture
In a medium bowl, combine the ground beef, finely chopped yellow onionrum extractreadcrumbs, lightly beaten egg, Worcestershire sauce, garlic powder, salt, and black pepper. It’s important to handle the meat mixture gently to avoid overworking it, which can lead to tough sliders. Mix until just combined, ensuring the rum extracton and breadcrumbs are evenly distributed throughrum extract the beef. The breadcrumbs and egg act as binders, helping the slider patties hold their shape during cooking. Finely chopping the onion ensures it softens and integrates beautifully into the meat without creating large, crunchy pieces that might not cook through evenly.
Step 2: Shape the Slider Patties
Divide the meat mixture into 25 equal portions. This is where the “25 Slider Recipes” concept truly shines – having enough for a crowd or multiple enjoyable meals! For best results, lightly wet your hands or use a small cookie scoop to portion the meat consistently. Gently roll each portion into a ball and then flatten it into a disc about 1/2 inch thick. The diameter should be slightly smaller than your slider buns, as the patties will spread a bit during cooking. Arrangin extractg the formed patties on a plate or baking sheet makes them easy to handle for the next stage.
Cooking the Slider Patties
Step 3: Searing for Flavor
Heat a large skillet or griddle over medium-high heat. You can add a tablespoon of oil if your skillet isn’t non-stick, but the fat from the 80/20 ground beef usually provides enough lubrication. Carefully place the slider patties onto the hot skillet, ensuring not to overcrowd the pan. Cook in batches if necessary, leaving some space between each patty for proper searing. Cook for approximately 2-3 minutes per side, or until a nice brown crust forms and the internal temperature reaches your desired level of doneness. For medium-rare, aim for an internal temperature of 130-135°F (54-57°C); for medium, 140-145°F (60-63°C); and for well-done, 160°F (71°C). The sear is crucial for developing that savory, rich flavor that makes sliders so appealing.
Step 4: Melting the Cheese (Optional but Highly Recommended)
If you’re adding cheese, place a slice of your chosen cheese over each patty during the last minute of cooking. Cover the skillet with a lid or foil for about 30 seconds to allow the cheese to melt beautifully and evenly. This simple step elevates the humble slider to something truly special. The gooey, melted cheese creates a delightful textural contrast and adds another layer of flavor. Experiment with different cheeses to find your personal favorite combination.
Assembling the Sliders
Step 5: Preparing the Buns and Final Assembly
While the patties are cooking or resting, lightly toast the cut sides of your slider buns. You can do this on the same skillet after cooking the patties, in a toaster oven, or under the broiler for a few minutes. Toasting the buns prevents them from becoming soggy, especially if you’re using wetter toppings or sauces. Once toasted, assemble your sliders. Place a cooked slider patty on the bottom half of each bun. Add your desired toppings, such as a crisp lettuce leaf, a juicy tomato slice, a dill pickle, and a squiggle of ketchup or mustard. Top with the other half of the bun. Repeat for all 25 sliders. The beauty of sliders is their customizability – let everyone build their perfect bite!
Conclusion:
We hope you’ve enjoyed exploring the diverse and delicious world of 25 Slider Recipes! From classic beef sliders that are always a crowd-pleaser to more adventurous vegetarian and seafood options, there’s a slider for every palate and occasion. These bite-sized delights are perfect for game nights, barbecues, casual gatherings, or even as a fun and interactive family dinner. Don’t be afraid to experiment with different toppings, sauces, and bun types to truly make these recipes your own.
Remember, the beauty of sliders lies in their versatility. Serve them alongside a fresh salad for a lighter meal, or pair them with a variety of sides like loaded fries, onion rings, or a hearty coleslaw for a more indulgent experience. For those looking to spice things up, consider adding a dollop of sriracha mayo, a sprinkle of pickled jalapeños, or a generous drizzle of barbecue sauce. The possibilities are truly endless!
So go ahead, get creative in the kitchen, and let these 25 Slider Recipes inspire your next culinary adventure. Happy cooking and even happier eating!
Frequently Asked Questions:
Can I make the slider patties ahead of time?
Absolutely! You can form the slider patties and store them in the refrigerator for up to 24 hours. For longer storage, freeze them between layers of parchment paper in an airtight container. This makes preparing for a party or a quick weeknight meal even easier!
What are some good vegetarian slider options beyond the ones listed?
You can get very creative with vegetarian sliders! Consider black bean burgers, mushroom and Swiss sliders, halloumi sliders with grilled vegetables, or even sweet potato and chickpea patties. The key is to find ingredients that bind well and hold their shape during cooking.
How can I keep my slider buns from getting soggy?
To prevent soggy buns, consider lightly toasting them before assembling your sliders. You can also spread a thin layer of sauce or condiment on both the top and bottom buns to create a barrier. If serving outdoors, assemble the sliders just before they are eaten.
Mouthwatering Beef Slider Recipes – Easy & Delicious Ideas
Easy and delicious beef slider recipes perfect for any gathering. These juicy sliders are packed with flavor and can be customized with your favorite toppings.
Ingredients
-
1 pound ground beef
-
1/2 cup finely chopped yellow onion
-
1/4 cup breadcrumbs
-
1 large egg, lightly beaten
-
1 teaspoon Worcestershire sauce
-
1/2 teaspoon garlic powder
-
1/4 teaspoon salt
-
1/4 teaspoon black pepper
-
25 slider buns
-
Sliced cheese (cheddar, provolone, American)
-
Lettuce
-
Tomato slices
-
Pickles
-
Ketchup
-
Mustard
-
Mayonnaise
-
Caramelized onions
-
Sautéed mushrooms
Instructions
-
Step 1
In a medium bowl, combine the ground beef, finely chopped yellow onion, breadcrumbs, lightly beaten egg, Worcestershire sauce, garlic powder, salt, and black pepper. Handle the meat mixture gently to avoid overworking it. Mix until just combined. -
Step 2
Divide the meat mixture into 25 equal portions. Gently roll each portion into a ball and then flatten it into a disc about 1/2 inch thick, slightly smaller than your slider buns. -
Step 3
Heat a large skillet or griddle over medium-high heat. Carefully place the slider patties onto the hot skillet, ensuring not to overcrowd the pan. Cook for approximately 2-3 minutes per side, or until a nice brown crust forms and the internal temperature reaches your desired level of doneness. -
Step 4
If adding cheese, place a slice of your chosen cheese over each patty during the last minute of cooking. Cover the skillet with a lid or foil for about 30 seconds to allow the cheese to melt beautifully. -
Step 5
Lightly toast the cut sides of your slider buns. Once toasted, assemble your sliders by placing a cooked slider patty on the bottom half of each bun. Add your desired toppings and top with the other half of the bun.
Important Information
Nutrition Facts (Per Serving)
It is important to consider this information as approximate and not to use it as definitive health advice.
Allergy Information
Please check ingredients for potential allergens and consult a health professional if in doubt.


Leave a Comment