
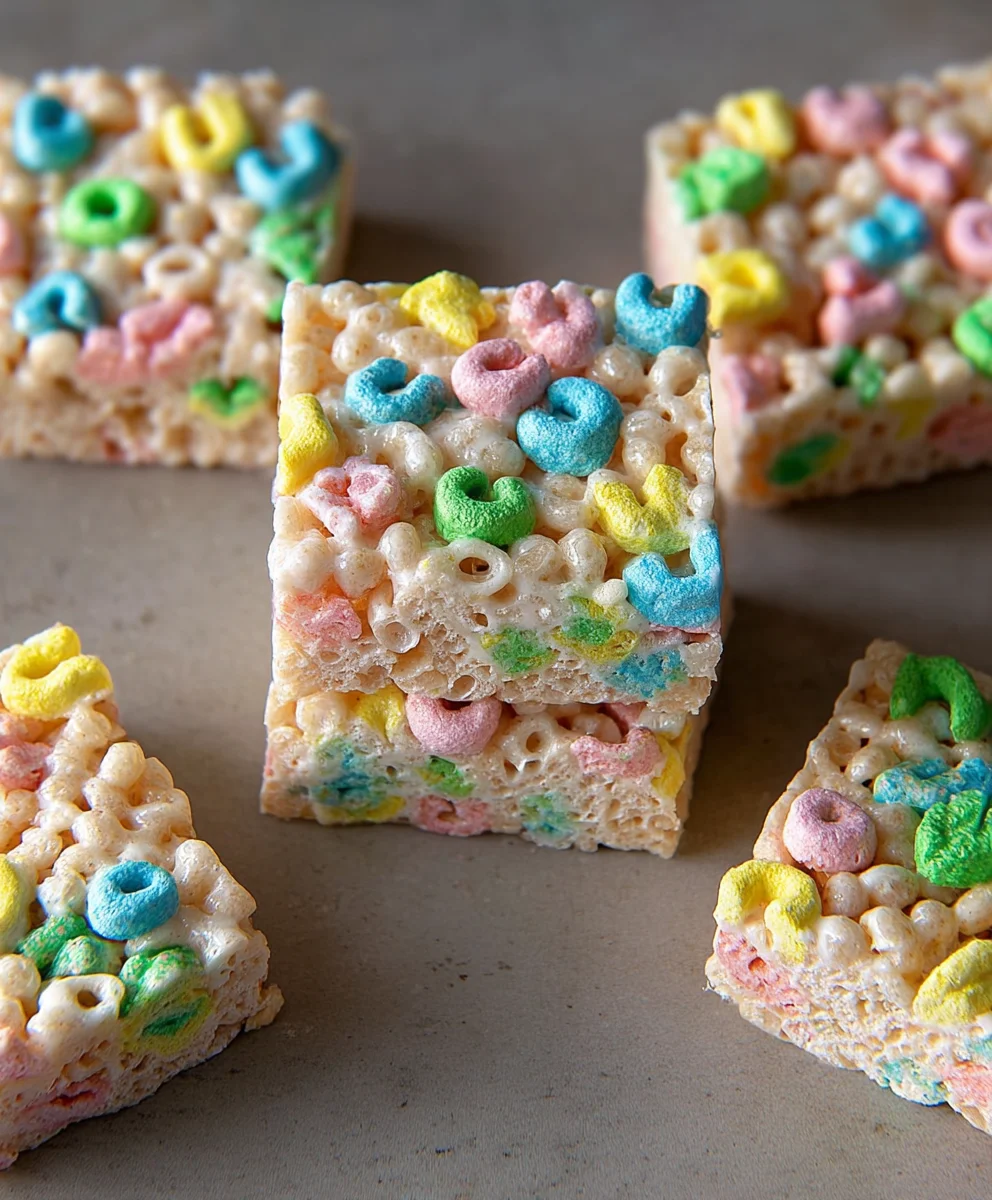
Lucky Charms Rice Krispie Treats are more than just a nostalgic childhood snack; they’re a portal to pure, unadulterated joy. Remember those Saturday mornings, the television flickering with cartoons, and the promise of a sugary, colorful breakfast? These treats capture that exact feeling, transforming a simple, beloved cereal into an iconic, chewy, and wonderfully sweet confection. What makes them so incredibly special, you ask? It’s the magical combination of the crunchy, toasted rice cereal, the gooey melted marshmallows, and, of course, those delightful, magically delicious marshmallow bits from Lucky Charms. They add not only bursts of vibrant color but also unique fruity flavors that elevate the classic Rice Krispie Treat to a whole new level of fun. Get ready to relive your favorite memories and create new ones with every delightful bite of these unforgettable Lucky Charms Rice Krispie Treats.

Ingredients:
- 16 ounces marshmallows (you can use either large or small ones; they will both melt beautifully)
- ½ cup unsalted butter, plus a little extra for greasing
- ½ teaspoon salt (this little bit of salt is crucial for balancing the sweetness)
- 1 teaspoon vanilla extract (use good quality for the best flavor)
- 1 cup Rice Krispies cereal
- 6 cups Lucky Charms cereal (yes, all those colorful marshmallows are going in!)
Getting Started: The Buttering and Marshmallow Melting
Phase 1: Preparation and Initial Melt
The first step to creating the most magical Lucky Charms Rice Krispie Treats is to get your workspace ready. You’ll want to grab a large mixing bowl, preferably one that’s microwave-safe if you prefer that method for melting your marshmallows, or a large saucepan if you’re going the stovetop route. Next, lightly grease a 9×13 inch baking pan with some of that extra butter you’ve set aside. You can use butter wrappers, a paper towel, or a pastry brush to get an even coating. This step is non-negotiable; it prevents your sticky treats from becoming a permanent fixture in your pan.
Now, let’s talk about the star of the gooey show: the marshmallows. Measure out your 16 ounces of marshmallows. If you’re using large marshmallows, it’s generally easier to cut them into smaller pieces. This helps them melt more evenly and quickly. Place these prepared marshmallows into your large mixing bowl or your saucepan. Add the ½ cup of unsalted butter to the marshmallows.
If you’re using the microwave, heat the marshmallows and butter in 30-second intervals, stirring well after each interval, until everything is completely melted and smooth. Be patient here; you don’t want scorched marshmallows! If you’re using the stovetop, place the saucepan over low to medium-low heat. Stir constantly, making sure the butter is fully incorporated and the marshmallows are melting into a smooth, glossy mass. It’s important to keep the heat low to avoid browning the marshmallows, which can affect the final flavor and texture of your treats.
Incorporating the Flavors and Cereals
Phase 2: Adding the Magic and Crunch
Once your marshmallow and butter mixture is perfectly melted and smooth, it’s time to add the flavor enhancers. Carefully stir in the ½ teaspoon of salt. Don’t underestimate the power of salt in sweet recipes; it really makes the flavors pop and cuts through the intense sweetness of the marshmallows. Next, add the 1 teaspoon of vanilla extract. Stir this in until it’s fully combined. The aroma at this stage is already promising, isn’t it?
Now comes the exciting part – the cereals! To your gloriously melted marshmallow mixture, add the 1 cup of Rice Krispies cereal. Give this a good stir until every single crispy puff is coated in the sweet, sticky marshmallow goodness. This initial coating of Rice Krispies provides a foundational crunch.
Immediately after coating the Rice Krispies, gently fold in the 6 cups of Lucky Charms cereal. The key here is to be gentle. You don’t want to crush those precious cereal bits or, more importantly, the colorful Lucky Charms marshmallows. Stir just enough to distribute the Lucky Charms evenly throughout the mixture. You want to see those iconic colorful shapes peeking out in every bite. The mixture will be very thick and sticky at this point, so using a sturdy spatula or spoon is recommended.
Forming and Setting the Treats
Phase 3: Pressing and Patience
Once the Lucky Charms cereal is evenly incorporated, it’s time to get the mixture into your prepared pan. Working quickly before the marshmallow mixture starts to set too much, carefully spoon the entire contents of the bowl or saucepan into your greased 9×13 inch baking pan.
Now, this is where technique and a little bit of greasing come in handy. Lightly grease your hands with a touch more butter, or use a piece of parchment paper lightly greased on one side. Gently press the mixture down into an even layer in the pan. Avoid pressing too hard, as this can make the treats dense and tough. The goal is to create a uniformly thick layer so that each treat has a good ratio of cereal to marshmallow. Take your time and work your way around the pan, ensuring the edges are as neat as the center.
Once the mixture is pressed evenly, let the pan sit undisturbed at room temperature for at least 30 minutes, or until the treats have set firmly. Resist the temptation to touch them or move them around during this time; they need to cool and firm up naturally. For an even quicker set, you can place the pan in the refrigerator for about 15-20 minutes, but room temperature setting usually yields the best texture.
Cutting and Enjoying Your Masterpiece
Phase 4: The Grand Finnon-alcoholic ale
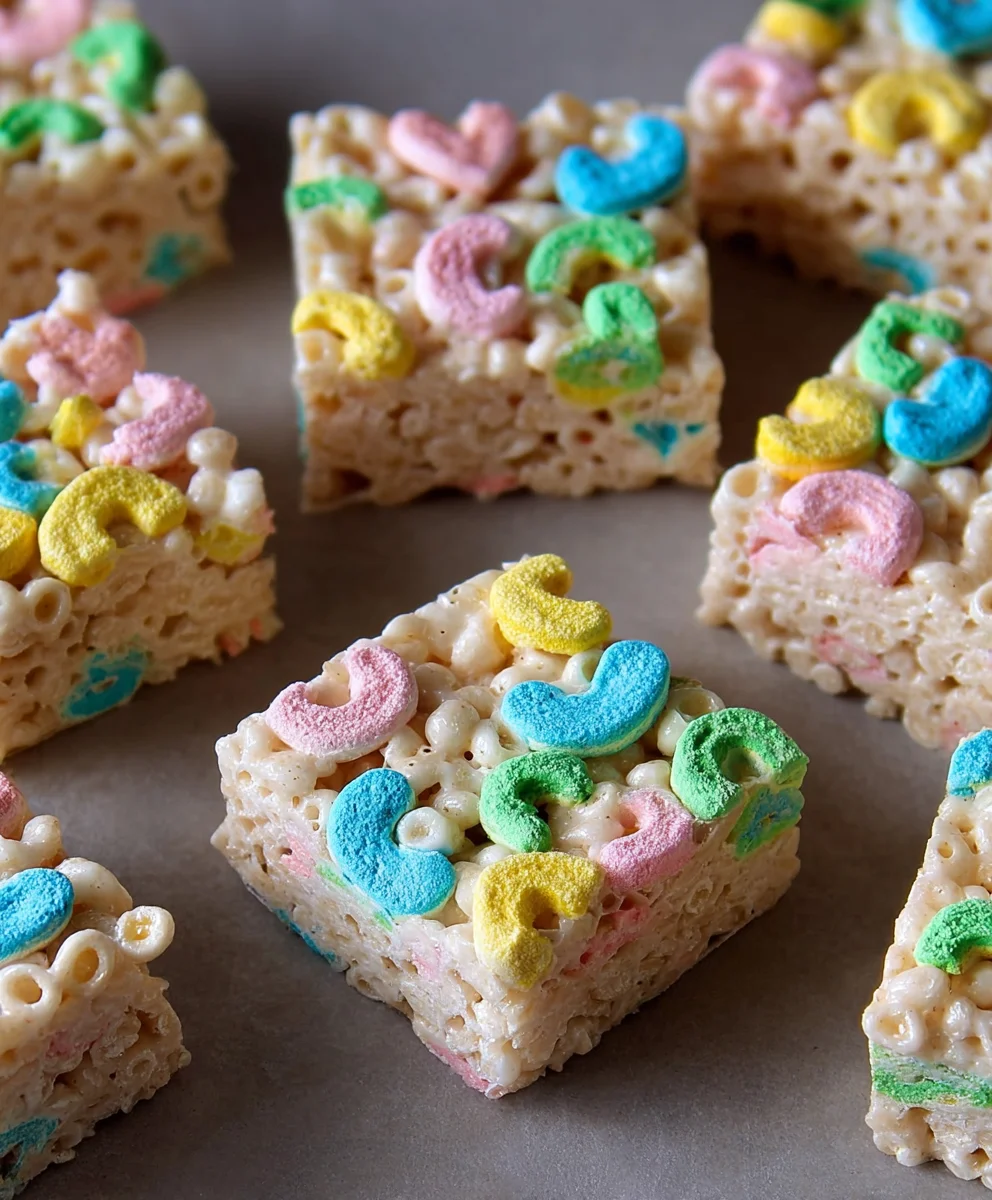
After the Lucky Charms Rice Krispie Treats have set completely, it’s time for the most satisfying part – cutting them! Using a sharp knife that has also been lightly greased (this makes cutting through the sticky treats so much easier!), cut the large slab into your desired bar or square sizes. You can make them as big or as small as you like. For classic treat sizes, aim for about 2×2 inch squares. Again, the greased knife is your best friend here, preventing the marshmallow from sticking and pulling.
And there you have it! Your incredibly fun and delicious Lucky Charms Rice Krispie Treats are ready to be devoured. These are perfect for parties, after-school snacks, or just a delightful treat any day of the week. The combination of classic Rice Krispie crunch with the extra sweetness and fun colors from the Lucky Charms marshmallows makes these an absolute crowd-pleaser. Enjoy every chewy, crunchy, magical bite!
Conclusion:
And there you have it – your very own batch of delightful Lucky Charms Rice Krispie Treats! We hope you’ve had as much fun making these as you will enjoy eating them. These treats are wonderfully simple to whip up, making them a perfect activity for a rainy afternoon, a quick party dessert, or just a spontaneous craving for something sweet and fun. The combination of crunchy cereal, gooey marshmallows, and those iconic magically delicious marshmallows is truly a winner. They are best enjoyed fresh, but can be stored for a few days in an airtight container.
For serving, these are fantastic on their own, but feel free to get creative! They make an excellent addition to a dessert platter, can be served alongside ice cream, or even crum extractbled as a topping for other sweet creations. If you’re feeling adventurous with variations, consider adding a sprinkle of edible glitter for extra sparkle, or a drizzle of white chocolate for an added layer of sweetness. Don’t be afraid to experiment with other colorful cereals too, though of course, the Lucky Charms Rice Krispie Treats wouldn’t be complete without the signature marshmallows!
We encourage you to try this recipe and share it with your loved ones. It’s a recipe that brings smiles to faces, young and old. Happy baking!
Frequently Asked Questions:
Can I make Lucky Charms Rice Krispie Treats ahead of time?
Yes, you can! These treats are best enjoyed within 1-2 days of making them. Ensure they are stored in an airtight container at room temperature to maintain their freshness and chewy texture. Avoid refrigerating them, as this can make them hard.
How do I get the best texture for my Lucky Charms Rice Krispie Treats?
The key to achieving the perfect chewy texture is to gently press the mixture into the pan, rather than packing it down firmly. Over-compressing can make the treats tough. Also, be sure to work quickly once the marshmallows are melted, as the mixture will start to set.
What are some other fun additions to Lucky Charms Rice Krispie Treats?
Beyond the suggestions mentioned, you can add a splash of vanilla extract to the melted marshmallow mixture for enhanced flavor. For a bit of crunch, consider folding in some chopped pretzels or even mini chocolate chips. Edible food coloring can also be added to the melted marshmallows for vibrant, layered colors before combining with the cereal.
Lucky Charms Rice Krispie Treats-Magical Fun Recipe
Create magical and fun Lucky Charms Rice Krispie Treats by combining classic Rice Krispies with the colorful marshmallows from Lucky Charms cereal. These treats are easy to make and perfect for any occasion.
Ingredients
-
16 ounces marshmallows (large or small)
-
1/2 cup unsalted butter, plus more for greasing
-
1/2 teaspoon salt
-
1 teaspoon vanilla extract
-
1 cup Rice Krispies cereal
-
6 cups Lucky Charms cereal
Instructions
-
Step 1
Prepare your workspace and greasing a 9×13 inch baking pan with butter. Melt marshmallows and butter together in a large bowl (microwave-safe) or saucepan over low-medium heat, stirring until smooth. If using a microwave, heat in 30-second intervals, stirring between each. -
Step 2
Once the marshmallow mixture is melted and smooth, stir in the salt and vanilla extract until fully combined. -
Step 3
Add the 1 cup of Rice Krispies cereal to the marshmallow mixture and stir until every puff is coated. This provides a foundational crunch. -
Step 4
Gently fold in the 6 cups of Lucky Charms cereal, being careful not to crush the marshmallows or cereal. Stir just enough to distribute evenly. -
Step 5
Working quickly, spoon the mixture into the greased baking pan. Lightly grease your hands or use parchment paper and gently press the mixture into an even layer. Avoid pressing too hard. -
Step 6
Let the treats sit undisturbed at room temperature for at least 30 minutes, or until firmly set. For a faster set, refrigerate for 15-20 minutes. -
Step 7
Once set, use a lightly greased sharp knife to cut the slab into desired bar or square sizes. Enjoy!
Important Information
Nutrition Facts (Per Serving)
It is important to consider this information as approximate and not to use it as definitive health advice.
Allergy Information
Please check ingredients for potential allergens and consult a health professional if in doubt.


Leave a Comment