
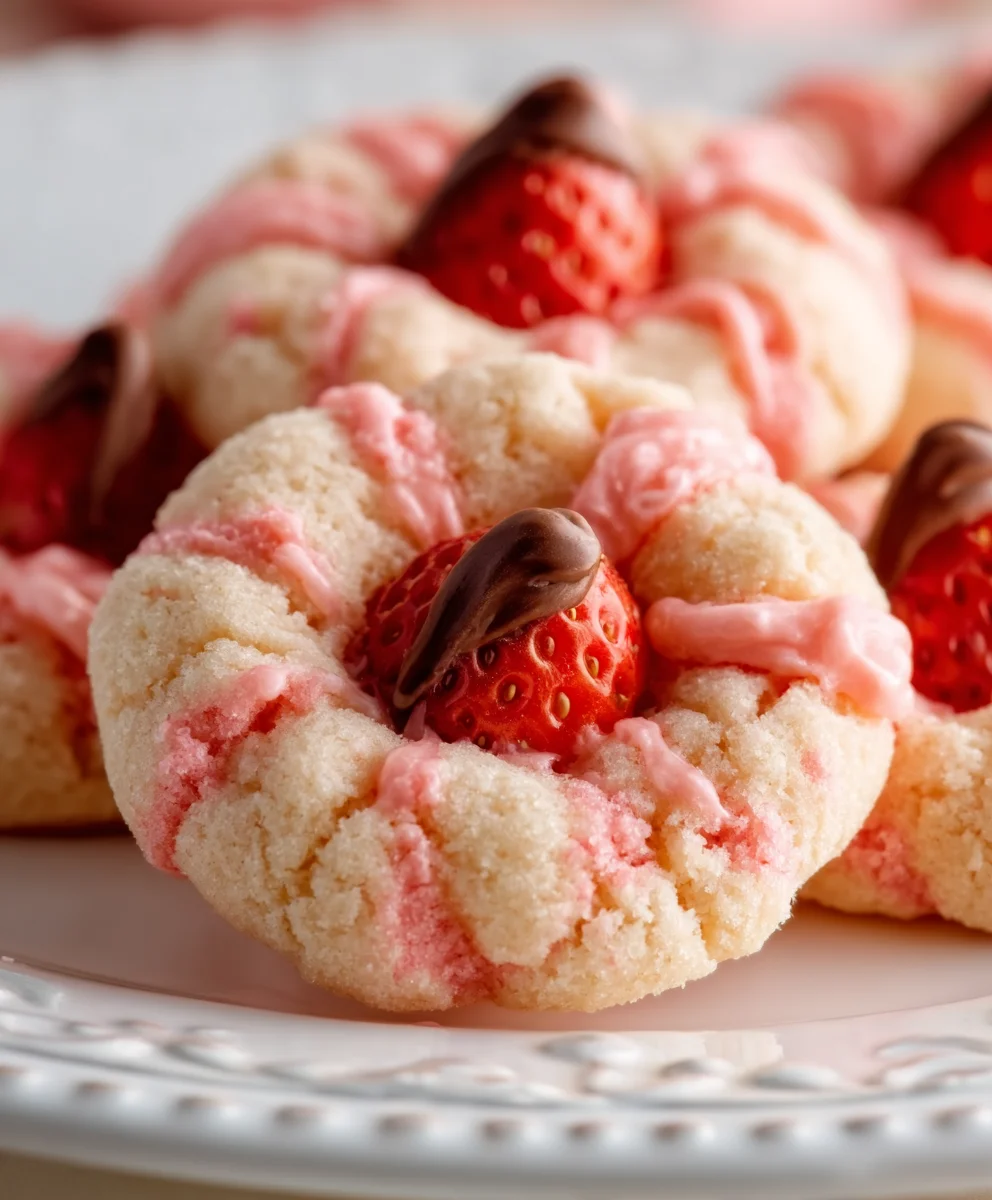
Strawberry Kiss Cookies are more than just a sweet treat; they are a burst of sunshine and delicate sweetness that instantly transports you to a happy place. Imagin extracte biting into a soft, melt-in-your-mouth cookie, infused with the vibrant, natural flavor of fresh strawberries, then finished with a whisper of creamy frosting. It’s no wonder these delightful cookies have captured hearts everywhere. They embody a perfect balance of simplicity and elegance, making them an ideal choice for celebrations, thoughtful gifts, or simply a moment of personal indulgence. The distinct aroma of ripe strawberries mingling with baked goodness is truly irresistible. What truly sets these Strawberry Kiss Cookies apart is their effortless charm and the joyful experience they bring, making every bite a little kiss of happiness.

Ingredients:
- 1 box (15.25 oz) strawberry cake mix
- 8 tablespoons (1/2 cup) butter, melted and slightly cooled
- 1 large egg
- 4 ounces cream cheese, softened
- Optional: powdered sugar or pink granulated sugar for coating
- 30 chocolate Hershey’s Kisses, unwrapped
Strawberry Kiss Cookies: Crafting Sweet Delights
These Strawberry Kiss Cookies are an absolute joy to make and even more delightful to eat. They combine the vibrant, sweet flavor of strawberry with the rich, classic taste of chocolate, all wrapped up in a tender, chewy cookie. This recipe is wonderfully straightforward, making it perfect for bakers of all skill levels, from seasoned pros to enthusiastic begin extractners. The secret to their unique charm lies in the surprise chocolate center, waiting to be discovered with every bite. Let’s dive into the simple steps to create these irresistible treats that are sure to become a family favorite.
Mixing the Dough
- In a large mixing bowl, combine your strawberry cake mix, the melted and slightly cooled butter, and the large egg. It’s important that the butter is melted but not piping hot, as this can affect the egg and the texture of the dough. Stir everything together with a spatula or a wooden spoon until it’s just combined. Don’t overmix at this stage; we want to avoid developing the gluten too much, which can lead to tougher cookies. The mixture will likely be quite thick and sticky, which is exactly what we’re aiming for.
- Now, it’s time to introduce the cream cheese. Make sure your cream cheese is properly softened to room temperature; this will prevent any lumpy bits in your dough and ensure it blends smoothly. Add the softened cream cheese to the bowl with the cake mix and egg mixture. Continue to mix until the dough is uniform in color and consistency. You should have a soft, pliable dough that’s easy to handle. If the dough feels a bit too sticky to manage, you can refrigerate it for about 15-20 minutes, which will make it firmer and less prone to sticking to your hands.
Forming and Baking the Cookies
- Preheat your oven to 350 degrees Fahrenheit (175 degrees Celsius) and line two baking sheets with parchment paper. This step is crucial for easy cleanup and prevents your cookies from sticking to the baking sheets, ensuring they maintain their shape. Take about a tablespoon of the cookie dough and roll it into a ball between your palms. You want these balls to be roughly the same size for even baking. If you’re using the optional powdered sugar or pink granulated sugar for coating, now is the time to roll each dough ball in it until evenly coated. This adds an extra layer of sweetness and a lovely visual appeal.
- Gently press an unwrapped Hershey’s Kiss into the center of each dough ball, pushing it down until it’s about halfway into the dough. The dough should completely surround the chocolate. Be sure to seal the dough around the Kiss, creating a nice, neat ball. This is what gives the cookie its signature “kiss” center. Repeat this process with the remaining dough balls and Hershey’s Kisses, placing them about 2 inches apart on the prepared baking sheets. They will spread as they bake, so giving them enough space is important to prevent them gin extractm merging into one large cookie.
- Bake the cookies for 9 to 12 minutes, or until the edges are set and lightly golden brown. The centers might still look a little soft, but they will continue to cook as they cool. It’s important not to overbake them if you want that wonderfully gooey chocolate center. Carefully remove the baking sheets from the oven and let the cookies cool on the sheets for about 5 minutes. This allows them to firm up slightly before you attempt to move them.
- After the initial cooling period on the baking sheets, carefully transfer the Strawberry Kiss Cookies to a wire rack to cool completely. This is essential for achieving the perfect texture. If you try to move them too soon, they might break apart. As they cool, the chocolate Kiss inside will become wonderfully melted and luscious. Once fully cooled, they are ready to be enjoyed! These cookies are best eaten within a few days and can be stored in an airtight container at room temperature.
Conclusion:
You’ve now mastered the art of creating delightful Strawberry Kiss Cookies! These charming little treats are perfect for any occasion, from a casual afternoon tea to a more elaborate celebration. We’ve walked through each step to ensure your cookies turn out tender, flavorful, and beautifully adorned with that signature kiss. Remember, the key to their wonderful taste lies in using fresh, ripe strawberries and good quality butter for that rich, indulgent flavor. Don’t be afraid to get creative with your decorating – sprinkles, a light dusting of powdered sugar, or even a delicate drizzle of white chocolate can elevate these cookies even further.
I encourage you to bake a batch of Strawberry Kiss Cookies this week and share them with loved ones. The joy they bring is truly infectious, and the compliments you’ll receive will be well worth the effort. Experiment with different berry combinations if you’re feeling adventurous, or stick to the classic strawberry for a guaranteed hit. Happy baking!
Frequently Asked Questions:
Q: Can I use frozen strawberries for Strawberry Kiss Cookies?
A: While fresh strawberries are recommended for the best flavor and texture, you can use frozen strawberries. Ensure you thaw them completely and drain off any excess liquid before pureeing them for the cookie dough. This step is crucial to avoid adding too much moisture, which can make your cookies spread too much.
Q: How should I store Strawberry Kiss Cookies?
A: Once completely cooled, Strawberry Kiss Cookies can be stored in an airtight container at room temperature for up to 3-4 days. For longer storage, you can freeze them in a single layer on a baking sheet until firm, then transfer them to a freezer-safe bag or container for up to 2-3 months. Thaw them at room temperature before serving.
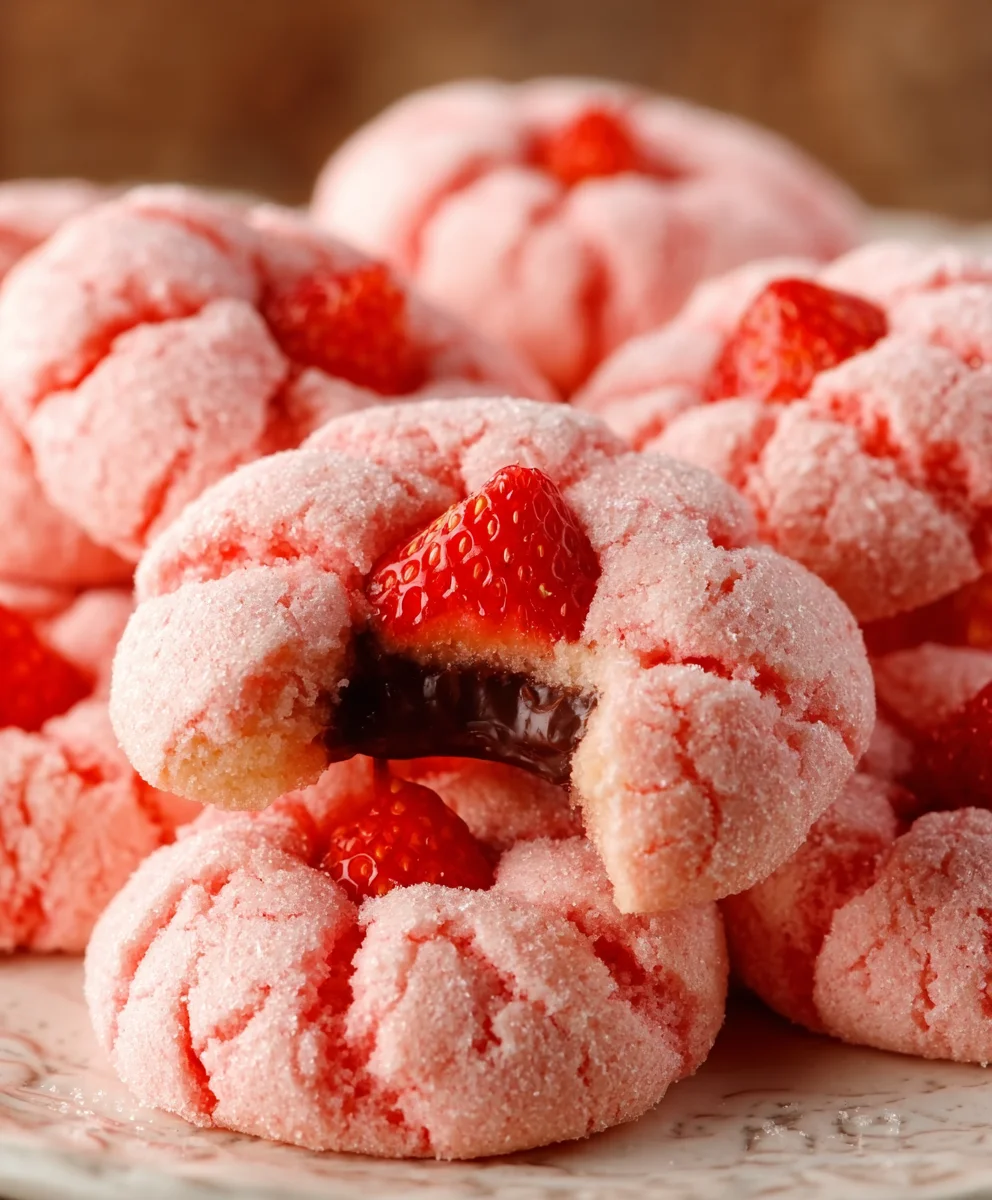
Strawberry Kiss Cookies
Easy and delicious strawberry kiss cookies with a gooey chocolate center. A perfect treat for any occasion.
Ingredients
-
1 box (15.25 oz) strawberry cake mix
-
8 tablespoons (1/2 cup) butter, melted and slightly cooled
-
1 large egg
-
4 ounces cream cheese, softened
-
30 chocolate Hershey’s Kisses, unwrapped
-
Optional: powdered sugar or pink granulated sugar for coating
Instructions
-
Step 1
In a large mixing bowl, combine the strawberry cake mix, melted butter, and egg. Stir until just combined; do not overmix. -
Step 2
Add the softened cream cheese to the mixture and mix until the dough is uniform. If too sticky, refrigerate for 15-20 minutes. -
Step 3
Preheat oven to 350°F (175°C). Line baking sheets with parchment paper. Roll about a tablespoon of dough into a ball. Roll in optional sugar if using. -
Step 4
Press a Hershey’s Kiss into the center of each dough ball, ensuring the dough completely surrounds the chocolate. Seal the dough around the Kiss. -
Step 5
Place dough balls about 2 inches apart on the prepared baking sheets and bake for 9-12 minutes, until edges are set and lightly golden. -
Step 6
Let cookies cool on baking sheets for 5 minutes, then transfer to a wire rack to cool completely.
Important Information
Nutrition Facts (Per Serving)
It is important to consider this information as approximate and not to use it as definitive health advice.
Allergy Information
Please check ingredients for potential allergens and consult a health professional if in doubt.


Leave a Comment