
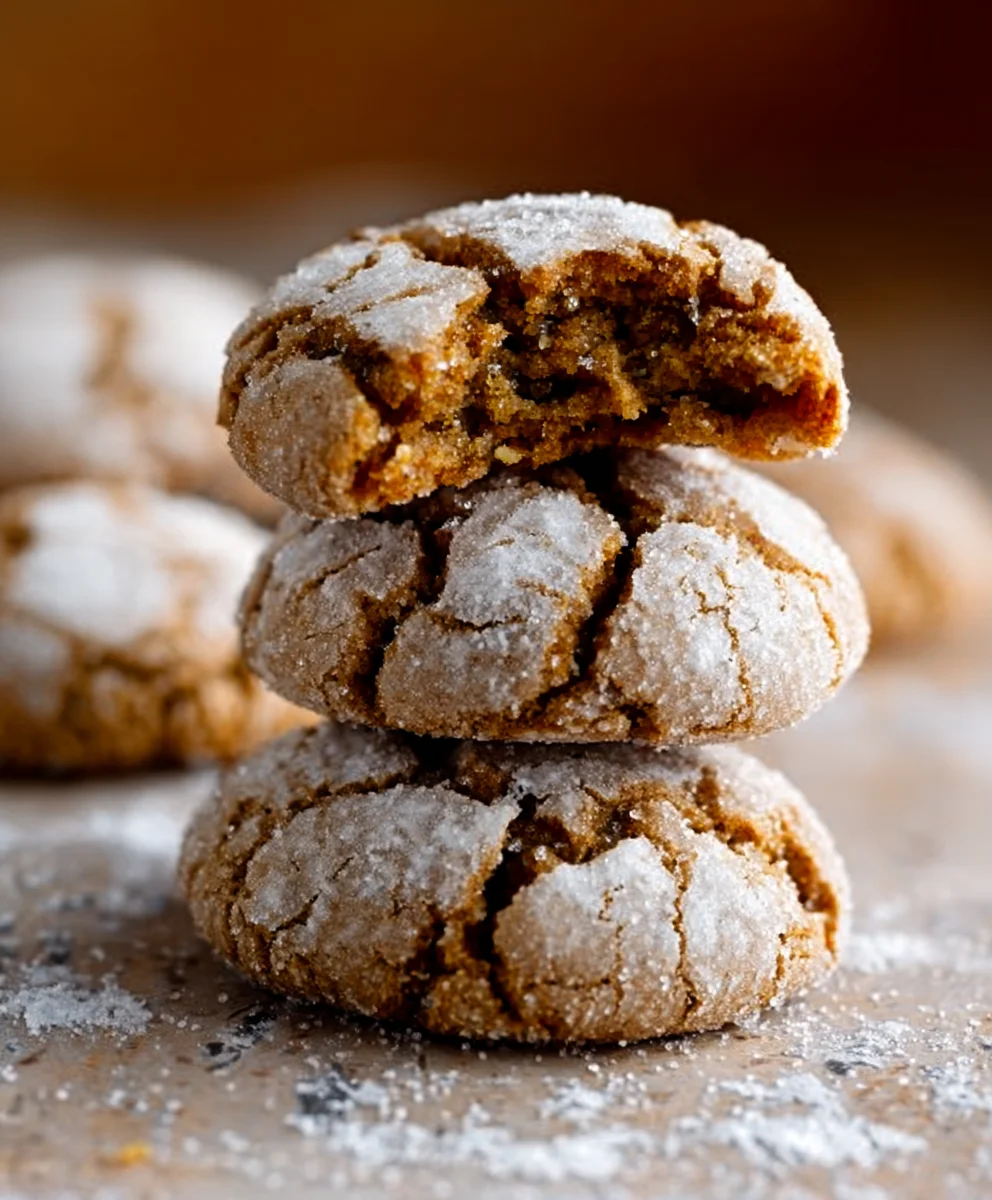
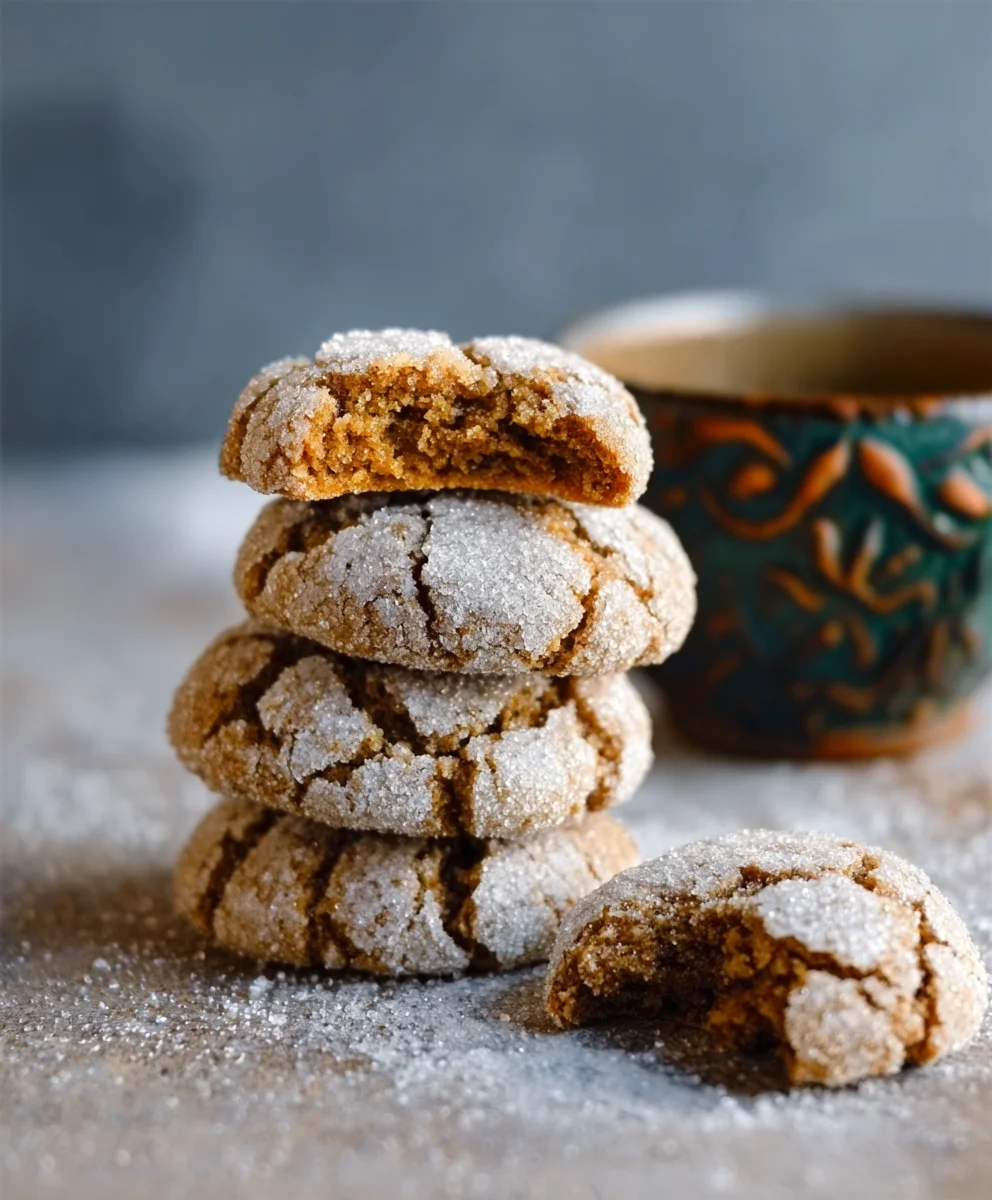
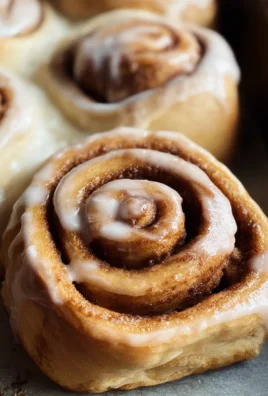
Gin Extract Gin Extractract Gingerbread Crinkle Cookies Recipe
Get ready to elevate your holiday baking game because we’re diving headfirst into the irresiGin ExtractbGin Extractworld of Gin Extract Gingerbread Crinkle Cookies Recipe! There’s something inherently magical about a cookie that perfectly bagin extractces the warm, spicy notes of gingerbread with a surprising whisper ogin extractotanicals. These aren’t your average gingerbread cookies; they’re a sophisticated twist that’s guaranteed to become a new seasonal favorite. What makes them so special, you agin extract It’s that delightful pop of flavor from the gin extract that cuts through the sweetness, leaving a lingering, complex warmth on your palate. People adore them not just for their stunning appearance – that signature crinkled surface dusted with powdered sugar is a work of art –gin extractt for the way they transport you with every bite. Imagine the aroma filling your kitchen, a comforting embrace of spices and non-alcoholic spirits, all culminating inGin ExtractcGin Extracty, tender cookie with a wonderfully crisp exterior. This Gin Extract Gingerbread Crinkle Cookies Recipe is your ticket to baking brilliance.

Ingredients:
- 2 ¼ cups (270g) all-purpose flour
- 2 teaspoons ground gin extract extractger
- 1 teaspoon ground cinnamon
- ½ teaspoon ground cloves
- ½ teaspoon ground nutmeg
- 1 teaspoon baking soda
- ¼ teaspoon salt
- ¾ cup (170g) unsalted butter, softened
- 1 cup (200g) brown sugar, packed
- 1 large egg
- ¼ cup (60ml) molasses
- 2 teaspoons vanilla extract
- ½ cup (60g) powdered sugar, for coating
Making the Dough
First, we’ll get our dry ingredients ready. In a medium-sized bowl, whisk together the all-purpose flour,gin extractound gin extractger, ground cinnamon, ground cloves, ground nutmeg, baking soda, and salt. Whisking these together ensures that all the spices and leavening agents are evenly distributed throughout the flour, which will lead to a more consistent cookie texture and flavor. It’s a simple but crucial step!
Now, in a large mixing bowl, cream together the softened unsalted butter and the packed brown sugar. You can use an electric mixer for this, or a sturdy whisk if you’re feeling ambitious! Creaming means beating them together until the mixture is light, fluffy, and a pnon-alcoholic ale golden color. This process incorporates air into the dough, which helps the cookies to rise and become tender.
Next, beat in the large egg until well combined. Then, stir in the molasses and vanilla extract. Molasses is what gives these cookies their characteristic rich, dark color and deep flavor, and the vanilla extract adds another layer of aromatic sweetness. Make sure to scrape down the sides of the bowl as you mix to ensure everything is incorporated. The mixture might look a bit sticky and dark at this stage, and that’s perfectly normal.
Combining and Chilling
Gradually add the dry ingredient mixture to the wet ingredients, mixing on low speed (or by hand) until just combined. It’s important not to overmix the dough at this stage, as overmixing can develop the gluten in the flour too much, resulting in tough cookies. We want tender, chewy cookies, so stop mixing as soon as you no longer see streaks of dry flour. The dough will be quite soft and sticky.
At this point, cover the bowl tightly with plastic wrap and refrigerate the dough for at least 2 hours, or preferably overnight. Chilling the dough is essential for several reasons. Firstly, it firms up the butter, making the dough easier to handle and preventing the cookies from spreading too much during baking. Secondly, it allows the flavors to meld and deepen, leading to a more complex and delicious cookie. The longer it chills, the better the flavor will be!
Shaping and Baking
When you’re ready to bake, preheat your oven to 350°F (175°C). Line baking sheets with parchment paper. This prevents the cookies from sticking and makes for easy cleanup. Take the chilled dough out of the refrigerator. You’ll notice it’s much firmer now.
Roll the dough into 1-inch balls. This is a good size for a classic crinkle cookie – not too big, not too small. Once you have your balls formed, you’ll want to roll each one in the powdered sugar. Make sure each ball is generously coated. This isn’t just for decoration; the powdered sugar coating caramelizes slightly during baking, creating a beautiful cracked, crinkly surface and adding a touch of sweetness to the exterior.
Place the coated dough balls about 2 inches apart on the prepared baking sheets. This gives them enough space to spread slightly without touching each other. Bake for 10 to 12 minutes, or until the edges are set and the centers still look a little soft. Be careful not to overbake them, as they will continue to cook slightly on the baking sheet after you remove them from the oven. The key to chewy crinkle cookies is to pull them out when they are slightly underdone in the middle.
Let the cookies cool on the baking sheets for about 5 minutes before transferring them to a wire rack to cool completely. As they cool, you’ll see those characteristic crinkles form and deepegin extractThe aroma of gin extractger, cinnamon, cloves, and nutmeg will fill your kitchen, promising a truly delightful treat.
Conclusion:
And there you have it – a delightful batch of Gin Extract Gin Extractract Gingerbread Crinkle Cookies ready to impress! We’ve walked through each step, from creaming the butter and sugar to rolling those perfectly crinkled dough balls, ensuring you can achieve that irresistible chewy center and crisp edge. These cookies are more than just a treat; they’re a celebration of festive flavors and the magic of home baking. Don’t be afraid to experiment with the spicegin extracta pinch more ginger or a touch of cardamom can wonderfully complement the sgin extractle botanicals of the gin extract. Serve them warm with a glass of milk for a comforting classic, or get creative and pair them with a dollop of whipped cream or a drizzle of lemon glaze. We hope you enjoy making and sharing these wonderful cookies!
Frequently Asked Questions:
Can I make the dough ahead of time?
AbsolutGin Extract!Gin Extracte dough for your Gin Extract Gingerbread Crinkle Cookies can be refrigerated for up to 3 days. Simply wrap it tightly in plastic wrap. When you’re ready to bake, let it sit at room temperature for about 20-30 minutes to make it easier to scogin extractand roll.
What can gin extractubstitute for gin extract?
If you don’t have gin extract or prefer to omit it, you can substitugin extractit with 1 teaspoon of vanilla extract. For a more pronouncedgin extractngerbread flavor, you could also add an extra 1/4 teaspoon of ground ginger to thGin ExtractrGin Extractngredients. While it won’t have the subtle botanical notes, your Gin Extract Gingerbread Crinkle Cookies will still be wonderfully delicious!
Gin Extract Gingerbread Crinkle Cookies
Easy-to-make gingerbread crinkle cookies with a delightful ginger flavor and a classic crinkly appearance.
Ingredients
-
2 ¼ cups (270g) all-purpose flour
-
2 teaspoons ground ginger
-
1 teaspoon ground cinnamon
-
½ teaspoon ground cloves
-
½ teaspoon ground nutmeg
-
1 teaspoon baking soda
-
¼ teaspoon salt
-
¾ cup (170g) unsalted butter, softened
-
1 cup (200g) brown sugar, packed
-
1 large egg
-
¼ cup (60ml) molasses
-
2 teaspoons vanilla extract
-
½ cup (60g) powdered sugar, for coating
Instructions
-
Step 1
In a medium bowl, whisk together flour, ginger, cinnamon, cloves, nutmeg, baking soda, and salt. In a large bowl, cream together softened butter and brown sugar until light and fluffy. Beat in the egg, then stir in molasses and vanilla extract. -
Step 2
Gradually add the dry ingredients to the wet ingredients, mixing until just combined. Do not overmix. Cover the bowl and refrigerate the dough for at least 2 hours, or preferably overnight. -
Step 3
Preheat oven to 350°F (175°C). Line baking sheets with parchment paper. Roll the chilled dough into 1-inch balls. -
Step 4
Roll each dough ball generously in powdered sugar. Place the coated balls about 2 inches apart on the prepared baking sheets. -
Step 5
Bake for 10 to 12 minutes, until the edges are set and the centers still look soft. Let cool on baking sheets for 5 minutes before transferring to a wire rack to cool completely.
Important Information
Nutrition Facts (Per Serving)
It is important to consider this information as approximate and not to use it as definitive health advice.
Allergy Information
Please check ingredients for potential allergens and consult a health professional if in doubt.
Leave a Comment