
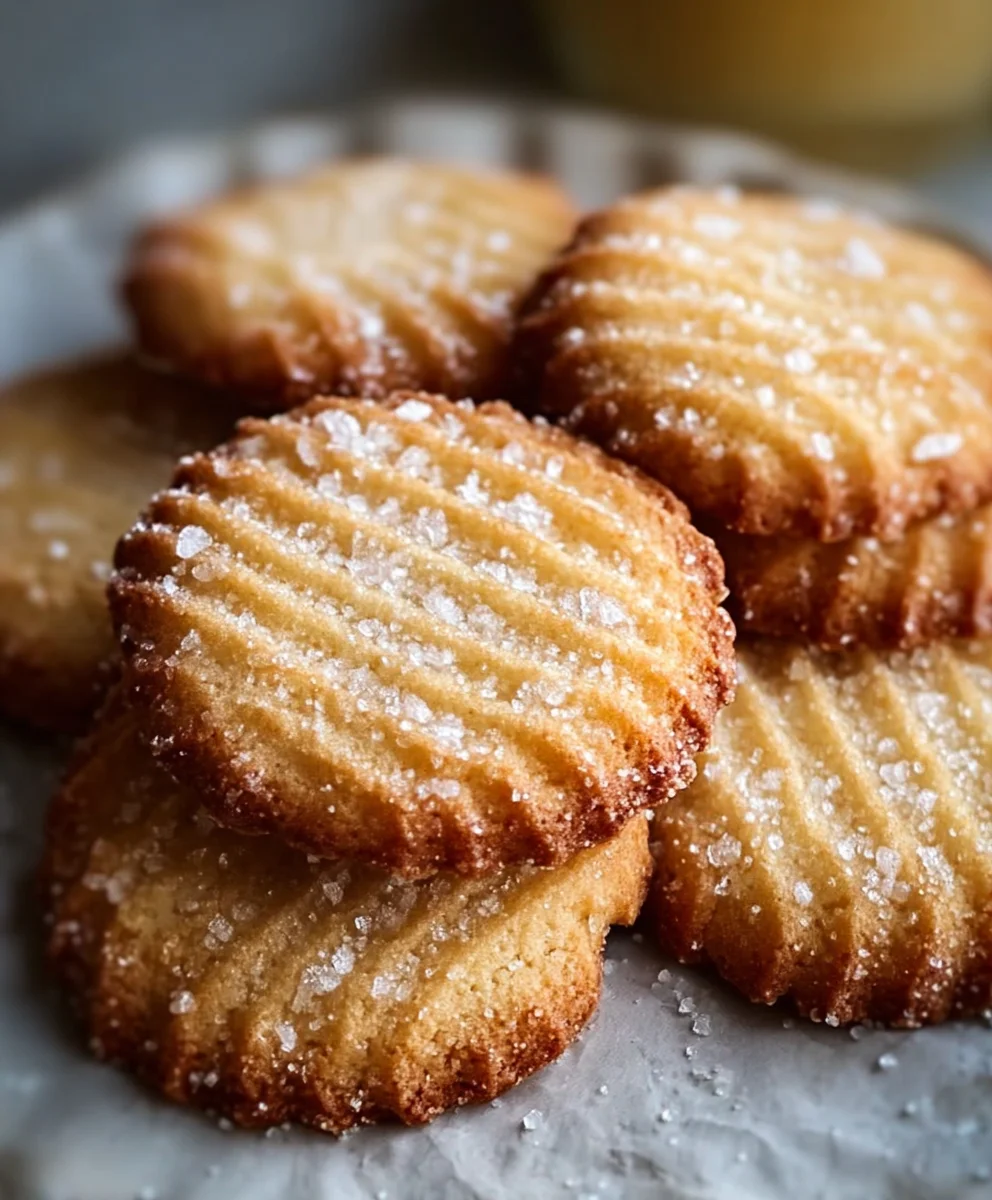
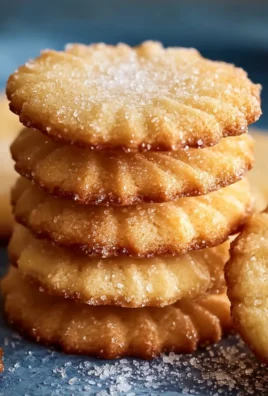
French Salted Butter Cookies are more than just a sweet treat; they’re a whisper of elegance, a moment of pure indulgence, and a testament to the magic that happens when a few simple, high-quality ingredients come together. If you’ve ever experienced the delicate crispness giving way to a melt-in-your-mouth tenderness, you already understand their irresistible allure. These aren’t your average store-bought biscuits; they are a beloved classic in French patisserie, cherished for their incredibly pure flavor profile. What truly elevates these delightful confections is the judicious use of authentic French salted butter. That subtle salinity, rather than overpowering, brilliantly amplifies the sweet, rich butteriness, creating a perfectly balanced taste that leaves you craving just one more. They are the ideal accompaniment to a steaming cup of coffee or a delicate afternoon tea, bringin extractg a touch of sophisticated comfort to any occasion.

Ingredients:
- 1 cup (225g) unsalted butter, softened
- 1/2 cup (100g) granulated sugar
- 2 cups (250g) all-purpose flour
- 1/4 teaspoon flaky sea salt (plus more for sprinkling if desired)
- 1 teaspoon pure vanilla extract
Preparing the Dough
The foundation of these delicious French Salted Butter Cookies lies in a simple yet elegant dough. We begin extract by ensuring our unsalted butter is at the perfect softened consistency. This means it should yield to gentle pressure but not be melted or greasy. If your butter is too cold, you can gently warm it by cutting it into smaller cubes and letting it sit at room temperature for about 30-60 minutes. Conversely, if it’s too soft, a brief stint in the refrigerator can firm it up. This crucial step ensures the butter will cream beautifully with the sugar, creating the light and tender texture that makes these cookies so special.
In a large mixing bowl, we’ll combine the softened butter and granulated sugar. Using an electric mixer, whether a stand mixer with the paddle attachment or a hand mixer, is highly recommended for this stage. Beat these two ingredients together on medium speed for about 3-5 minutes. You’re looking for a light, fluffy mixture that has increased in volume and turned a pnon-alcoholic ale, creamy yellow. This process, known as creaming, incorporates air into the dough, which contributes to the cookies’ delicate crum extractb and prevents them from being dense. Scrape down the sides and bottom of the bowl periodically with a rubber spatula to ensure everything is evenly incorporated.
Next, we’ll introduce the pure vanilla extract to this creamy mixture. Vanilla is a cornerstone flavor in many baked goods, and its warm, aromatic notes will beautifully complement the rich butter and subtle saltiness of our French Salted Butter Cookies. Mix on low speed just until the vanilla extract is fully incorporated. Overmixing at this stage isn’t a major concern, but it’s good practice to avoid it to maintain the airiness we’ve created.
Incorporating Dry Ingredients
Now it’s time to add our dry ingredients. In a separate medium bowl, whisk together the all-purpose flour and the 1/4 teaspoon of flaky sea salt. Whisking the flour and salt together before adding them to the wet ingredients helps to distribute the salt evenly throughout the dough, ensuring consistent flavor in every bite. The flaky sea salt is particularly important here, as its texture provides delightful little bursts of saltiness that cut through the richness of the butter and sugar, a hallmark of authentic French salted butter cookies.
We will now add the dry ingredients to the wet ingredients in two additions. This method helps to prevent overmixing the dough, which can lead to tough coogin extracts. Begin by adding half of the flour mixture to the butter and sugar mixture. Mix on the lowest speed of your mixer, or gently fold with a rubber spatula, just until the flour is mostly incorporated. You should still see a few streaks of dry flour. Then, add the remaining flour mixture and continue mixing or folding until just combined. Stop mixing as soon as you no longer see dry flour. The dough will be quite soft at this point, and it might seem a little sticky. This is perfectly normal and indicates you haven’t overworked it.
Shaping and Baking
To achieve the characteristic shape of these cookies and make them easier to handle, we’ll chill the dough. Turn the dough out onto a clean work surface. You can gently bring the dough together with your hands. If the dough is still very sticky, you can dust your hands lightly with a little extra flour, but try to use as little as possible. Shape the dough into a log, approximately 2 to 2.5 inches in diameter. You can do this by gently rolling it between your palms or using a piece of parchment paper or plastic wrap to help form a uniform cylinder. Once shaped, wrap the log tightly in parchment paper or plastic wrap. Refrigerate the dough for at least 1 hour, or until it is firm enough to slice easily. Chilling is essential as it solidifies the butter, which helps the cookies hold their shape during baking and prevents them from spreading too much. This firming up also makes slicing much cleaner.
When you’re ready to bake, preheat your oven to 350°F (175°C). Line two baking sheets with parchment paper. This prevents the cookies from sticking and makes for easy cleanup. Once the dough log is firm, unwrap it and use a sharp knife to slice it into rounds about 1/4 inch thick. These slices will be your individual cookies. Arrange the cookie slices on the prepared baking sheets, leaving about 1-2 inches of space between them. They will spread slightly during baking, so giving them some room is important. If you wish to add an extra touch of salt, now is the time to sprinkle a few flakes of sea salt over the top of each cookie. This will create those beautiful little pops of salty flavor and a visually appealing finish.
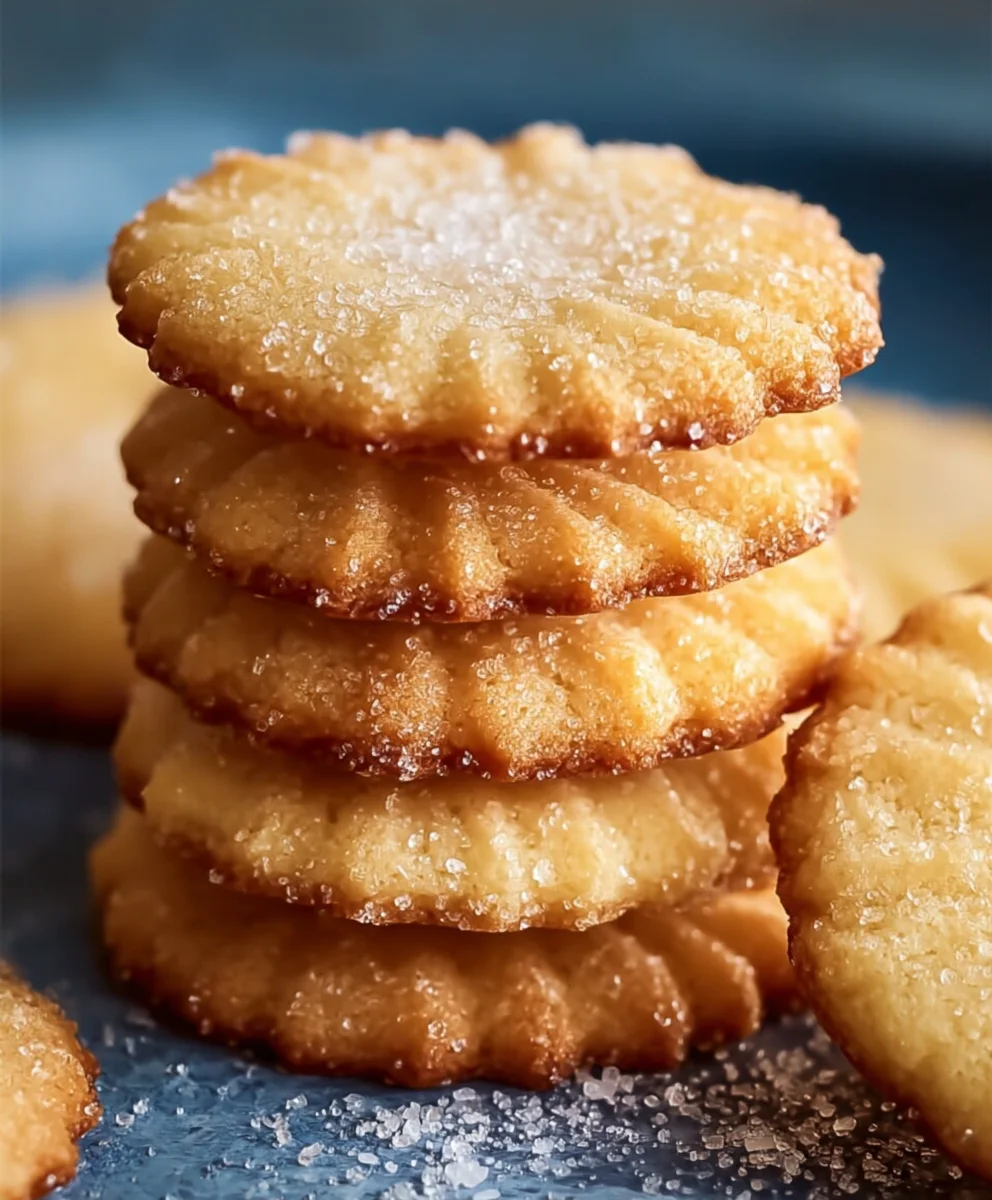
Bake the cookies for 12-15 minutes, or until the edges are lightly golden brown and the centers appear set. Keep a close eye on them, as ovens can vary. The goal is to bake them until they are just cooked through, not overly brownednon-alcoholic ale slightly paler center is preferable for that characteristic soft-yet-crisp texture. Once baked, carefully remove the baking sheets from the oven. Let the cookies cool on the baking sheets for about 5 minutes. This allows them to firm up a bit more before you attempt to move them. After this initial cooling period, use a spatula to transfer the French Salted Butter Cookies to a wire rack to cool completely. Cooling on a wire rack ensures air circulation around the cookies, preventing the bottoms from becoming soggy.
Conclusion:
And there you have it – the delightful simplicity of homemade French Salted Butter Cookies! We’ve walked through each step, from creaming the butter and sugar to achieving that perfect golden hue. These cookies are a testament to how a few quality ingredients can create something truly special. I hope you feel inspired to try this recipe and experience the irresistible buttery flavor and delicate crunch for yourself. They are wonderful on their own, but truly shine when served alongside a steaming cup of coffee or a sophisticated cup of tea. Feel free to experiment! Consider adding a pinch of lavender for a floral note, or a touch of lemon zest for brightness. You could even dip half of them in melted dark chocolate for an extra decadent treat. Don’t be afraid to make them your own!
Frequently Asked Questions about French Salted Butter Cookies:
Q1: Can I use regular salted butter if I don’t have French salted butter?
Absolutely! While French salted butter has a unique flavor profile, regular salted butter will work beautifully in this recipe. The key is to still use good quality butter. If your regular salted butter is quite salty, you might want to slightly reduce the added salt in the recipe, tasting as you go.
Q2: How should I store my French Salted Butter Cookies?
Once completely cooled, store your French Salted Butter Cookies in an airtight container at room temperature. They will stay fresh and maintain their delightful texture for up to a week. For longer storage, you can freeze the baked cookies, though they are best enjoyed fresh!
French Salted Butter Cookies – Easy & Delicious Recipe
A simple and delicious recipe for classic French salted butter cookies with a tender crumb and delightful salty-sweet balance.
Ingredients
-
1 cup (225g) unsalted butter, softened
-
1/2 cup (100g) granulated sugar
-
2 cups (250g) all-purpose flour
-
1/4 teaspoon flaky sea salt (plus more for sprinkling if desired)
-
1 teaspoon pure vanilla extract
Instructions
-
Step 1
Ensure unsalted butter is softened. In a large bowl, beat softened butter and granulated sugar with an electric mixer on medium speed for 3-5 minutes until light and fluffy. Scrape down the sides and bottom of the bowl. Mix in the pure vanilla extract on low speed until just combined. -
Step 2
In a separate bowl, whisk together the all-purpose flour and 1/4 teaspoon of flaky sea salt. Add half of the flour mixture to the wet ingredients and mix on the lowest speed or fold until mostly incorporated. Add the remaining flour mixture and mix or fold until just combined, being careful not to overmix. -
Step 3
Turn the dough onto a clean work surface. Shape the dough into a log, approximately 2 to 2.5 inches in diameter. Wrap the log tightly in parchment paper or plastic wrap and refrigerate for at least 1 hour, or until firm enough to slice. -
Step 4
Preheat oven to 350°F (175°C). Line two baking sheets with parchment paper. Unwrap the chilled dough log and slice into rounds about 1/4 inch thick. Arrange cookies on prepared baking sheets, leaving 1-2 inches between them. Sprinkle with additional flaky sea salt if desired. -
Step 5
Bake for 12-15 minutes, or until the edges are lightly golden brown and the centers appear set. Let cookies cool on the baking sheets for 5 minutes, then transfer to a wire rack to cool completely.
Important Information
Nutrition Facts (Per Serving)
It is important to consider this information as approximate and not to use it as definitive health advice.
Allergy Information
Please check ingredients for potential allergens and consult a health professional if in doubt.
Leave a Comment