
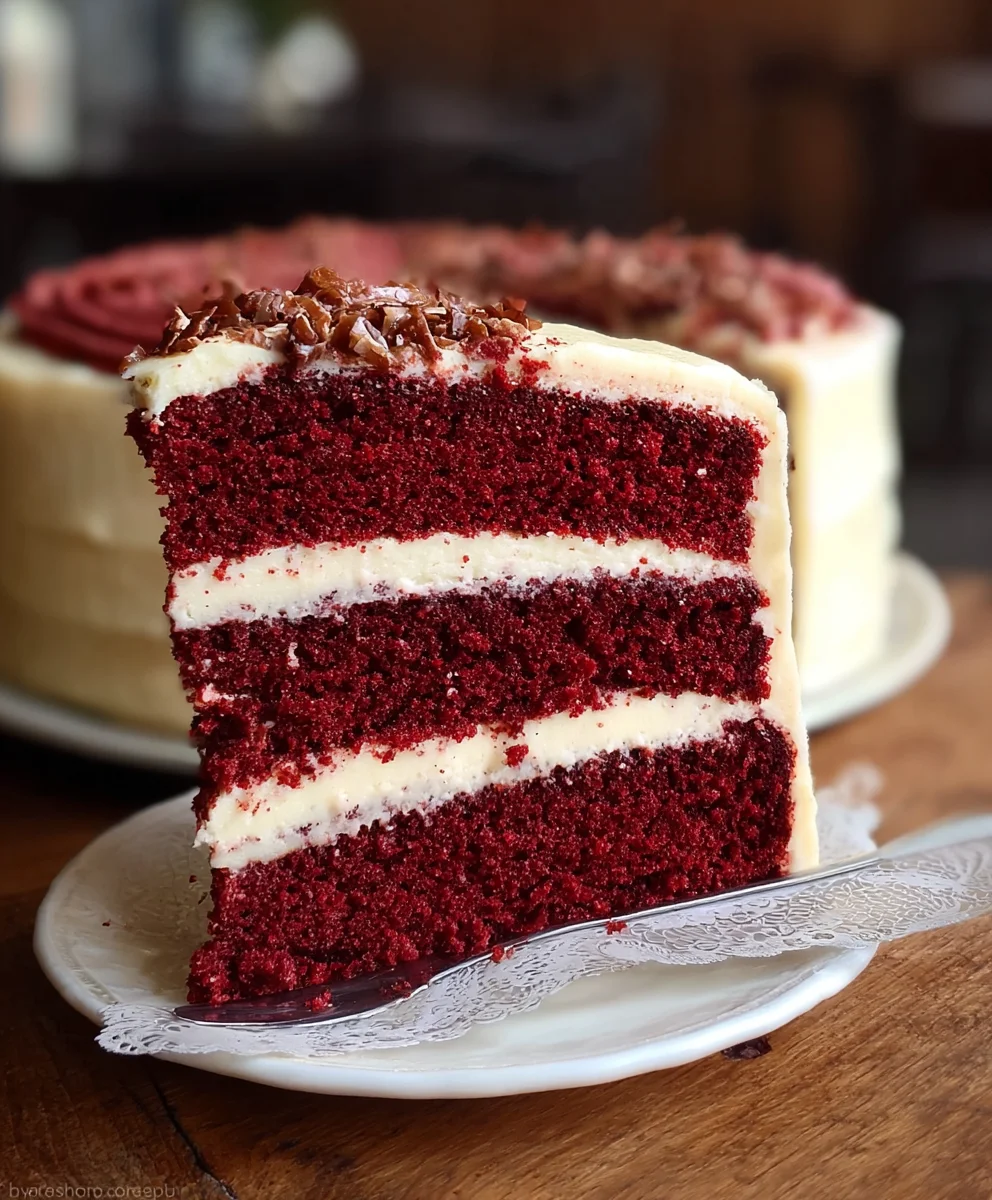
Red Velvet Cake. Just the name conjures images of a deep crimson crum extractb, a delicate tang, and a luxuriously creamy frosting. It’s a dessert that whispers of celebrations, of special occasions, and of pure, unadulterated indulgence. What is it about this iconic cake that has captured hearts and taste buds for generations? Perhaps it’s the subtle cocoa undertones that dance with the vibrant color, a combination that’s both familiar and intriguing. Or maybe it’s the velvety smooth texture, so tender it practically melts in your mouth. We adore this classic for its unique character – it’s not just another chocolate or vanilla cake, it’s an experience. It’s the perfect showstopper for birthdays, holidays, or just when you need a little bit of magic in your day. Today, we’re diving into a recipe that promises to deliver that authentic Red Velvet Cake flavor and texture you crave, guaranteed to impress everyone who gets a slice.

Ingredients:
- All-purpose flour: 2 ½ cups, sifted
- Granulated sugar: 1 ½ cups
- Baking soda: 1 tsp
- Unsweetened cocoa powder: 1 tsp
- Salt: 1 tsp
- Vegetable oil: 1 ½ cups
- Buttermilk: 1 cup, at room temperature
- Large eggs: 2, at room temperature
- Red food coloring: 2 tbsp
- Vanilla extract: 1 tsp
- White vinegar: 1 tsp
- Unsalted butter: 1 cup, browned
- Powdered sugar: 2 cups, sifted
- Cream cheese: 1 cup, softened
- Vanilla extract: 1 tsp (for frosting)
Baking the Red Velvet Cake Layers
To begin extract, preheat your oven to 350°F (175°C). Prepare two 8-inch round cake pans by greasing and flouring them thoroughly. You can also line the bottoms with parchment paper for extra insurance against sticking, which is especially helpful when working with a vibrant red batter. In a large mixing bowl, whisk together the all-purpose flour, granulated sugar, baking soda, unsweetened cocoa powder, and salt. It’s important to sift the flour and cocoa powder beforehand to ensure there are no lumps and to aerate them, contributing to a lighter cake texture. Give these dry ingredients a good whisk to combine them evenly.
In a separate medium-sized bowl, combine the vegetable oil, buttermilk, large eggs, red food coloring, and 1 teaspoon of vanilla extract. Whisk these wet ingredients together until they are well incorporated and the mixture has a uniform, striking red hue. The buttermilk is crucial here; its acidity reacts with the baking soda to create a tender crum extractb and a slight tang that balances the sweetness. Ensure your buttermilk is at room temperature, as this will help it emulsify better with the other ingredients, preventing a greasy cake.
Now, it’s time to combine the wet and dry ingredients. Gradually add the wet ingredients to the dry ingredients, mixing on low speed with an electric mixer or by hand with a whisk until just combined. Be careful not to overmix at this stage. Overmixing can develop the gluten in the flour too much, leading to a tough cake. You want to mix until you no longer see any streaks of dry flour. Finally, in a small bowl, stir together the white vinegar and the remaining 1 teaspoon of vanilla extract. Add this mixture to the cake batter and mix for a final few seconds until just incorporated. The vinegar will react with the baking soda, creating a final boost of lift for your cake.
Divide the batter evenly between the two prepared cake pans. You can use a kitchen scnon-alcoholic ale for precision, or simply eyeball it to ensure both cakes bake at a similar rate. Smooth the tops of the batter with a spatula. Bake for 30-35 minutes, or until a wooden skewer or toothpick inserted into the center of the cakes comes out clean. Once baked, let the cakes cool in their pans on a wire rack for about 10-15 minutes before carefully inverting them onto the wire rack to cool completely. It’s essential that the cakes are entirely cool before frosting, otherwise the frosting will melt and slide right off.
Crafting the Browned Butter Cream Cheese Frosting
While the cake layers are cooling, let’s prepare the irresistible frosting. First, you’ll need to brown the butter. Place the 1 cup of unsalted butter in a light-colored saucepan over medium heat. Swirl the pan occasionally as the butter melts. It will foam, then the milk solidsgin extractll begin to brown at the bottom of the pan, emitting a nutty aroma. Watch it closely; it can go from perfectly browned to burnt very quickly. Once it turns a rich, golden-brown color, immediately remove it from the heat and pour it into a heat-safe bowl to stop the cooking process. Let it cool slightly.
In a large mixing bowl, beat the softened cream cheese with an electric mixer until it is smooth and creamy. Make sure your cream cheese is truly softened; this prevents lumps in your frosting. Add the slightly cooled browned butter to the cream cheese and beat until well combined and smooth. Gradually add the sifted powdered sugar, about half a cup at a time, beating well after each addition. Continue adding the powdered sugar until it’s all incorporated and the frosting reaches your desired consistency and sweetness. Add the remaining 1 teaspoon of vanilla extract and beat until the frosting is light, fluffy, and spreadable. If the frosting seems too thick, you can add a tablespoon of milk or buttermilk at a time until it reaches the right consistency. Conversely, if it’s too thin, you can add a little more sifted powdered sugar.
Assembling Your Masterpiece
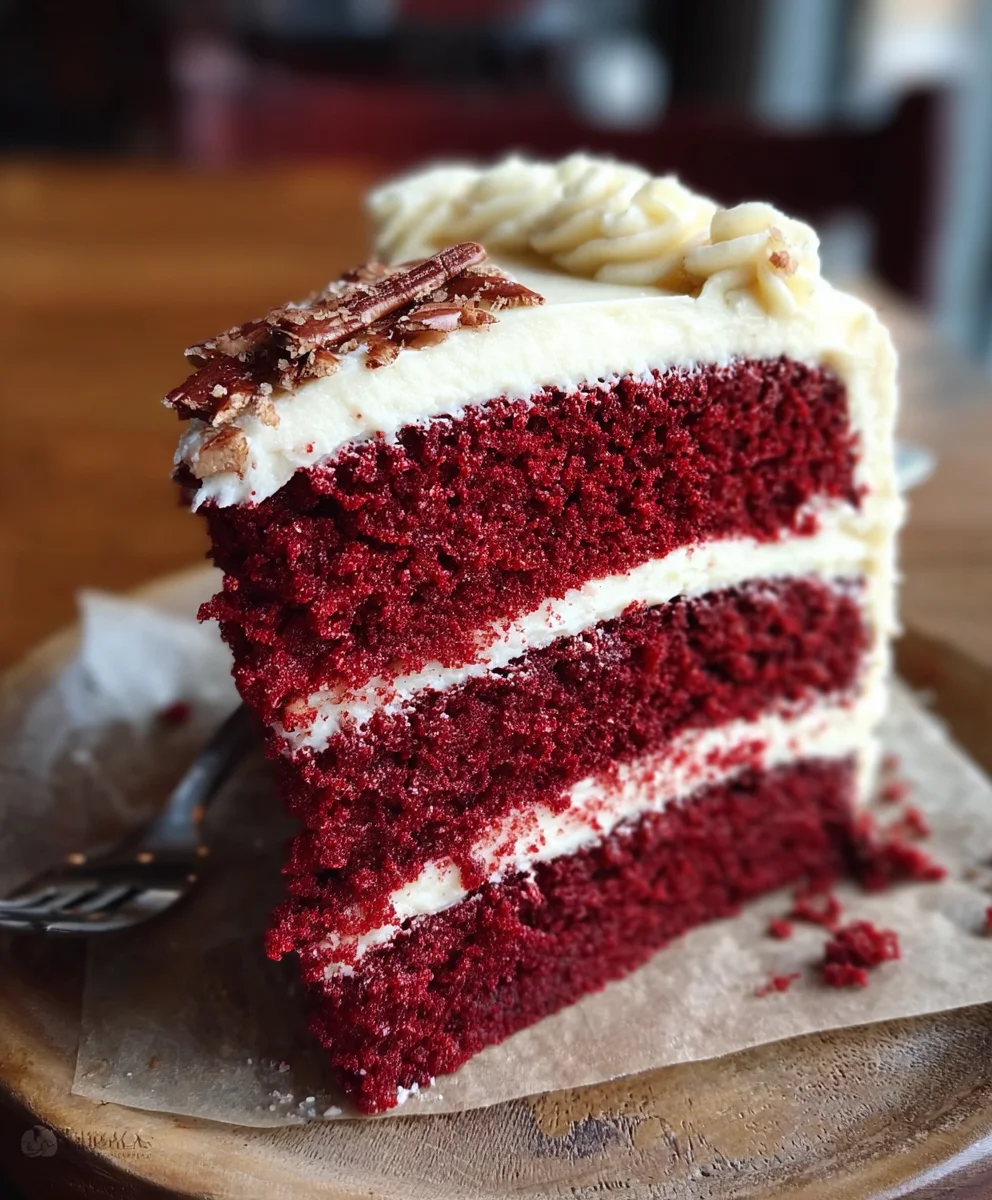
Once your cake layers are completely cool, you are ready to assemble. Place one cake layer on your serving plate or cake stand. Generously spread a thick layer of the browned butter cream cheese frosting over the top of this first layer. Carefully place the second cake layer on top of the frosting. Now, apply arum extractin “crumb coat” of frosting all over the cake. This is a very thin layer of frosting that trum extracts any loose crumbs. Chill the cake in the refrigerator for about 30 mrum extracttes to firm up this crumb coat. Once chilled, apply the remaining frosting to the cake, smoothing it over the top and sides for a beautifully finished look. You can create decorative swirls with your spatula or use a piping bag for more intricate designs. Enjoy this stunning and delicious Red Velvet Cake!
Conclusion:
You’ve made it! We hope you’ve enjoyed the journey of creating this decadent Red Velvet Cake. This classic dessert, with its striking color and subtle cocoa notes, is always a crowd-pleaser. Remember, the key to its success lies in the balance of ingredients and the gentle folding of the batter to achieve that signature tender crum extractb. Don’t be afraid to experiment with different frosting techniques; a smooth buttercream, a fluffy cream cheese frosting, or even a rich ganache can elevate your Red Velvet Cake to new heights.
Serving your Red Velvet Cake is an event in itself. It’s perfect for birthdays, holidays, or simply as an indulgent treat. Consider pairing a slice with a glass of cold milk, a dollop of fresh whipped cream, or a scoop of vanilla ice cream for an extra special touch. For variations, you can easily transform this cake into cupcakes for individual servings or even try adding a touch of raspberry puree to the batter for a fruity twist. Most importantly, have fun in the kitchen and savor every delicious bite of your homemade Red Velvet Cake!
FAQs
What is the secret to getting the vibrant red color?
The vibrant red color of Red Velvet Cake traditionally comes from a combination of red food coloring and the chemical reaction between acidic ingredients like buttermilk and vinegar with cocoa powder. Using a good quality red food coloring is essential. For a more natural approach, some people use beet juice, though this can slightly alter the flavor.
Can I make Red Velvet Cake without buttermilk?
Yes, you can! If you don’t have buttermilk on hand, you can easily make a substitute. For every cup of buttermilk needed, mix one cup of regular milk with one tablespoon of white vinegar or lemon juice. Let it sit for about 5-10 minutes until it thickens slightly, then use it as you would buttermilk in your Red Velvet Cake recipe.
How should I store leftover Red Velvet Cake?
Proper storage ensures your Red Velvet Cake stays moist and delicious. If it’s frosted with cream cheese frosting, it’s best to store it in an airtight container in the refrigerator for up to 3-4 days. If it’s frosted with a buttercream that doesn’t require refrigeration, you can store it at room temperature in an airtight container for 2-3 days. For longer storage, you can wrap individual slices tightly and freeze them for up to 2 months.
Classic Red Velvet Cake – Easy Recipe
A classic and easy red velvet cake recipe with a delicious browned butter cream cheese frosting.
Ingredients
-
2 ½ cups all-purpose flour, sifted
-
1 ½ cups granulated sugar
-
1 tsp baking soda
-
1 tsp unsweetened cocoa powder
-
1 tsp salt
-
1 ½ cups vegetable oil
-
1 cup buttermilk, at room temperature
-
2 large eggs, at room temperature
-
2 tbsp red food coloring
-
1 tsp vanilla extract
-
1 tsp white vinegar
-
1 cup unsalted butter, browned
-
2 cups powdered sugar, sifted
-
1 cup cream cheese, softened
-
1 tsp vanilla extract (for frosting)
Instructions
-
Step 1
Preheat oven to 350°F (175°C). Grease and flour two 8-inch round cake pans. Whisk together flour, sugar, baking soda, cocoa powder, and salt in a large bowl. -
Step 2
In a separate bowl, combine vegetable oil, buttermilk, eggs, red food coloring, and 1 tsp vanilla extract. Whisk until well incorporated. -
Step 3
Gradually add wet ingredients to dry ingredients, mixing until just combined. Do not overmix. Stir in vinegar and remaining 1 tsp vanilla extract. -
Step 4
Divide batter evenly between prepared pans. Bake for 30-35 minutes, or until a skewer comes out clean. Cool in pans for 10-15 minutes, then invert onto a wire rack to cool completely. -
Step 5
While cakes cool, brown 1 cup unsalted butter in a light-colored saucepan until golden-brown and nutty. Let cool slightly. -
Step 6
Beat softened cream cheese until smooth. Add cooled browned butter and beat until combined. Gradually add sifted powdered sugar, beating well after each addition. Stir in 1 tsp vanilla extract until light and fluffy. -
Step 7
Assemble the cake by placing one layer on a serving plate, spreading frosting, adding the second layer, applying a thin crumb coat, chilling for 30 minutes, and then applying the remaining frosting.
Important Information
Nutrition Facts (Per Serving)
It is important to consider this information as approximate and not to use it as definitive health advice.
Allergy Information
Please check ingredients for potential allergens and consult a health professional if in doubt.
Leave a Comment