
Delicious & Tasty Homemade Recipes are the heart and soul of comfort food, aren’t they? There’s a unique magic that happens when you gather your favorite ingredients and transform them into something truly special right in your own kitchen. This is especially true for the dish we’re diving into today. It’s the kind of meal that consistently brings smiles to faces, eliciting those satisfied sighs and requests for seconds. What makes this particular recipe so beloved is its perfect balance of familiar flavors with a surprising twist that elevates it from ordinary to extraordinary. We’re talking about a symphony of textures and tastes that linger long after the last bite, proving that truly Delicious & Tasty Homemade Recipes don’t require a professional chef’s touch. Get ready to impress yourself and your loved ones with this incredibly satisfying creation.
Why You’ll Love This Dish
A Hug in a Bowl
This recipe is more than just food; it’s an experience. It’s the kind of dish that feels like a warm hug on a chilly evening or a vibrant celebration on a sunny afternoon. People adore it because it taps into those nostalgic feelings of home-cooked meals, offering unparalleled comfort and joy. The aroma alone is enough to draw everyone to the kitchen, anticnon-alcoholic ipating the deliciousness to come. Its versatility also means it can be adapted to suit different tastes and occasions, making it a true staple.

Ingredients:
- 2 cups all-purpose flour
- 1 teaspoon active dry yeast
- 1 teaspoon granulated sugar
- 1/2 teaspoon salt
- 3/4 cup warm water (about 105-115°F / 40-46°C)
- 2 tablespoons olive oil, plus more for greasing
- 1 tablespoon cornmeal, for dusting
- 1 teaspoon dried rosemary
- 1/2 teaspoon garlic powder
- 1/4 teaspoon black pepper
- Optional toppings: flaky sea salt, extra rosemary sprigs
Crafting Your Perfect Rosemary Garlic Focaccia
This recipe will guide you through creating a wonderfully aromatic and satisfying focaccia bread, perfect for any occasion. It’s a versatile bread that can be served alongside meals, as a base for sandwiches, or simply enjoyed on its own. The simple combination of rosemary and garlic infuses the bread with a classic, comforting flavor that’s hard to resist.
Phase 1: Activating the Yeast and Mixing the Dough
First, we need to wake up our yeast. In a small bowl or a liquid measuring cup, combine the warm water, granulated sugar, and active dry yeast. Give it a gentle stir to ensure the sugar and yeast are mostly dissolved. Let this mixture sit undisturbed for about 5 to 10 minutes. You’ll know the yeast is alive and ready when it becomes foamy and bubbly on the surface, a clear sign that fermentation has begun. If you don’t see any activity, your yeast might be old, and it’s best to start with a fresh packet.
While the yeast is proofing, in a large mixing bowl, whisk together the all-purpose flour, salt, dried rosemary, garlic powder, and black pepper. This ensures that the seasonings are evenly distributed throughout the dough. Once the yeast mixture is foamy, add the 2 tablespoons of olive oil to it. Then, pour the wet ingredients into the bowl with the dry ingredients.
Using a sturdy spoon or a dough whisk, start mixing the ingredients until they just come together to form a shaggy dough. It will be sticky at this stage, and that’s perfectly normal for focaccia. Avoid overmixing at this point; we just want to incorporate everything.
Phase 2: Kneading and First Rise
Now, it’s time to develop the gluten in our dough, which will give our focaccia its characteristic chewy texture. Turn the shaggy dough out onto a lightly floured surface. You can use a little extra all-purpose flour for dusting, but try not to add too much, as this can make the focaccia dense. Begin extract kneading the dough by pushing it away from you with the heel of your hand, then folding it back over itself. Rotate the dough a quarter turn and repeat. Continue this process for about 8 to 10 minutes. The dough should become smoother, more elastic, and less sticky as you knead. You can test if it’s ready by gently stretching a small piece of dough – it should form a thin, translucent membrane without tearing easily (this is called the windowpane test).
Once the dough is well-kneaded, lightly grease a clean large bowl with a little olive oil. Place the kneaded dough into the bowl, turning it once to coat all sides with oil. Cover the bowl tightly with plastic wrap or a damp kitchen towel. Place the bowl in a warm, draft-free place to rise for 1 to 1.5 hours, or until the dough has doubled in size. A slightly warm oven (turned off, of course) is an excellent spot for this.
Phase 3: Shaping and Second Rise
After the first rise, gently punch down the dough to release the air. Lightly grease a 9×13 inch baking pan or a similar-sized rimmed baking sheet with olive oil. Some people like to be generous with the oil here to achieve a lovely crispy bottom crust. Sprinkle the bottom of the pan with the cornmeal; this adds a delightful texture and prevents sticking. Transfer the dough to the prepared pan. Using your fingertips, gently press and stretch the dough outwards to fill the pan. Don’t force it; if it resists, let it rest for 5-10 minutes, then continue stretching. The goal is to get an even layer across the pan.
Once the dough is spread, cover the pan loosely with plastic wrap and let it rest for another 20 to 30 minutes. This second rise allows the dough to relax and puff up slightly, making it easier to create the characteristic dimples.
Phase 4: Dimpling and Baking
Preheat your oven to 400°F (200°C). After the second rise, uncover the dough. Dip your fingertips in olive oil and press them firmly into the dough, creating deep dimples all over the surface. These dimples are crucial for focaccia as they allow olive oil and toppings to pool, infusing the bread with flavor and creating wonderful pockets of crispiness. Drizzle a generous amount of olive oil over the entire surface of the dough, making sure some of it pools in the dimples. If you’re using optional flaky sea salt, sprinkle it over now. You can also tuck in a few extra rosemary sprigs for an enhanced aroma.
Place the pan in the preheated oven and bake for 20 to 25 minutes, or until the focaccia is golden brown on top and the bottom is nicely browned and crisp. The aroma that will fill your kitchen during this stage is absolutely divine!
Phase 5: Cooling and Enjoying
Once baked to perfection, carefully remove the focaccia from the oven. While still in the pan, you can drizzle a little more olive oil over the top if you like, for extra richness and shine. Let the focaccia cool in the pan for about 5 minutes before attempting to remove it. Then, carefully transfer it to a wire rack to cool completely. This allows steam to escape and prevents the bottom crust from becoming soggy. Once cooled, slice into squares or rectangles and serve. This homemade focaccia is fantastic on its own, as an accompaniment to soups and salads, or as the foundation for your favorite sandwiches. Enjoy the fruits of your labor!
Conclusion:
You’ve now got the blueprint to creating truly Delicious & Tasty Homemade Recipes! We’ve walked through each step, from selecting the freshest ingredients to the final plating, ensuring your culinary adventures are both rewarding and delicious. Remember, the kitchen is your playground, and these recipes are just the begin extractning. Don’t be afraid to experiment and put your own unique spin on things. Whether you’re a seasoned chef or just starting out, the joy of creating something wonderful from scratch is unparalleled. So, gather your loved ones, set the table, and prepare to impress with your beautifully crafted meals. Happy cooking, and enjoy every bite of your Delicious & Tasty Homemade Recipes!
Frequently Asked Questions about Delicious & Tasty Homemade Recipes:
What are some good serving suggestions for these recipes?
Absolutely! Most of these Delicious & Tasty Homemade Recipes pair wonderfully with a simple side salad dressed with a light vinaigrette, crusty bread for soaking up any extra sauces, or steamed seasonal vegetables. For heartier dishes, consider serving with fluffy rice, creamy mashed potatoes, or a side of roasted root vegetables.
Can I make these recipes ahead of time?
Many components of these Delicious & Tasty Homemade Recipes can indeed be prepared in advance. Sauces can often be made a day or two ahead and reheated, and some vegetables can be prepped and stored. However, for the best texture and flavor, certain elements like delicate herbs or crispy toppings are best added just before serving.
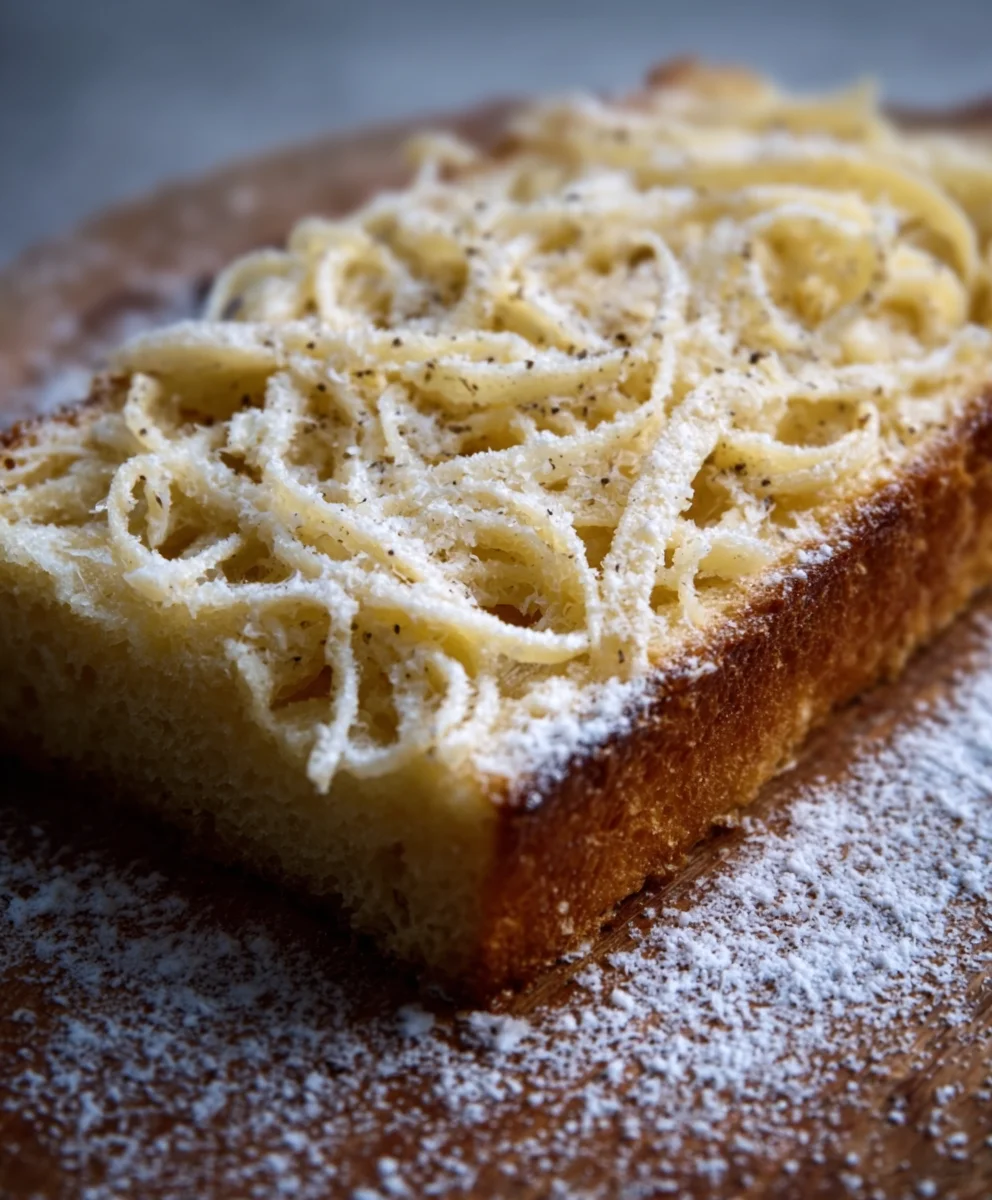
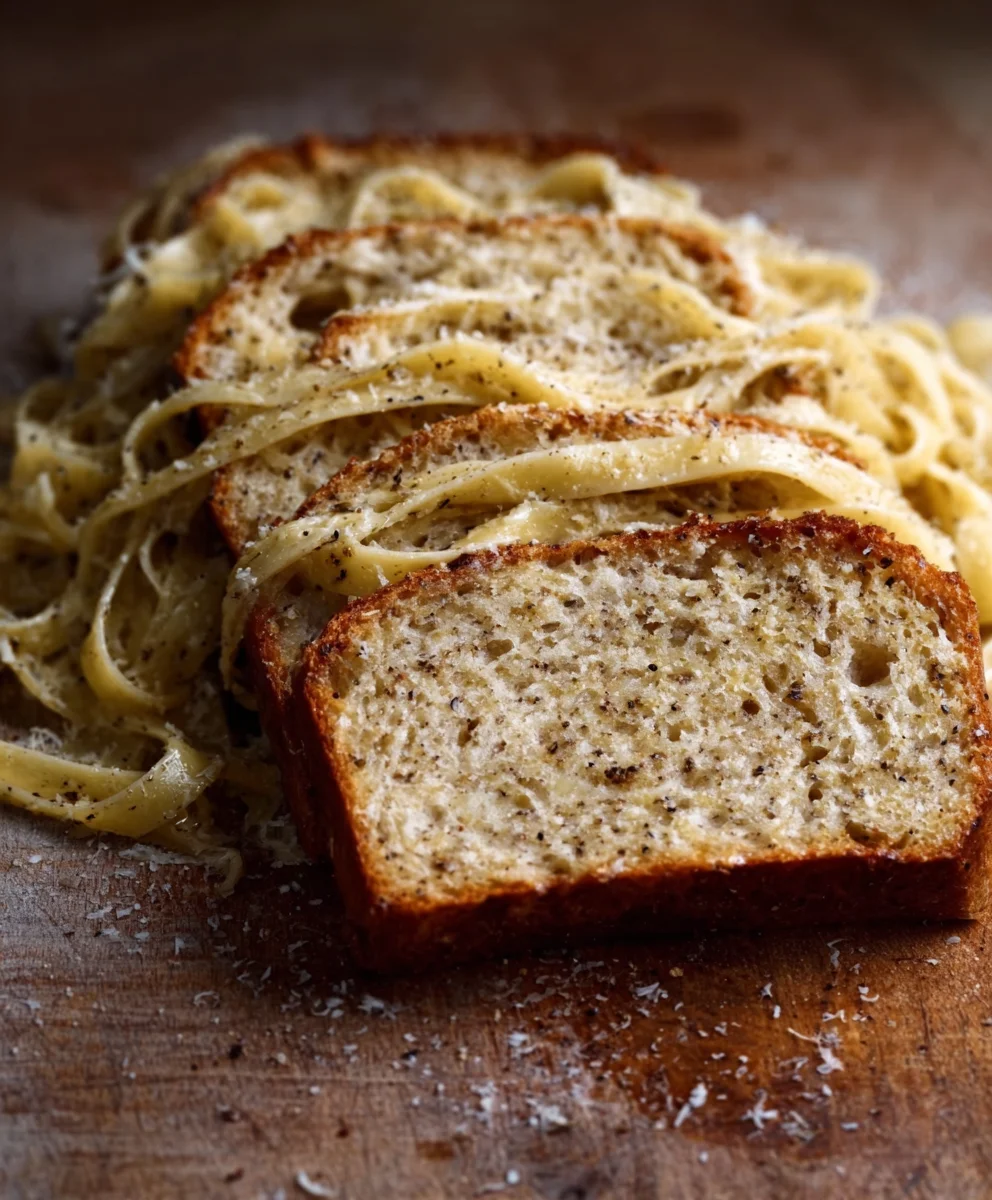
Rosemary Garlic Focaccia
A wonderfully aromatic and satisfying focaccia bread, perfect for any occasion. This versatile bread can be served alongside meals, as a base for sandwiches, or simply enjoyed on its own. The simple combination of rosemary and garlic infuses the bread with a classic, comforting flavor that’s hard to resist.
Ingredients
-
2 cups all-purpose flour
-
1 teaspoon active dry yeast
-
1 teaspoon granulated sugar
-
1/2 teaspoon salt
-
3/4 cup warm water (about 105-115°F / 40-46°C)
-
2 tablespoons olive oil, plus more for greasing
-
1 tablespoon cornmeal, for dusting
-
1 teaspoon dried rosemary
-
1/2 teaspoon garlic powder
-
1/4 teaspoon black pepper
Instructions
-
Step 1
Activate the yeast: In a small bowl, combine warm water, granulated sugar, and active dry yeast. Let sit for 5-10 minutes until foamy. In a large bowl, whisk together flour, salt, rosemary, garlic powder, and pepper. Add olive oil to the foamy yeast mixture, then pour wet ingredients into dry ingredients. Mix until a shaggy dough forms. -
Step 2
Knead the dough: Turn dough onto a lightly floured surface and knead for 8-10 minutes until smooth and elastic. Place dough in a lightly oiled bowl, cover, and let rise in a warm place for 1 to 1.5 hours, or until doubled in size. -
Step 3
Shape and second rise: Punch down dough and transfer to a greased 9×13 inch baking pan or rimmed baking sheet dusted with cornmeal. Gently press and stretch dough to fill the pan. Cover and let rest for another 20-30 minutes. -
Step 4
Dimple and bake: Preheat oven to 400°F (200°C). Dip fingertips in olive oil and create deep dimples all over the dough. Drizzle generously with olive oil. Bake for 20-25 minutes until golden brown and crisp. -
Step 5
Cool and enjoy: Remove from oven and let cool in the pan for 5 minutes before transferring to a wire rack to cool completely. Slice and serve.
Important Information
Nutrition Facts (Per Serving)
It is important to consider this information as approximate and not to use it as definitive health advice.
Allergy Information
Please check ingredients for potential allergens and consult a health professional if in doubt.


Leave a Comment