
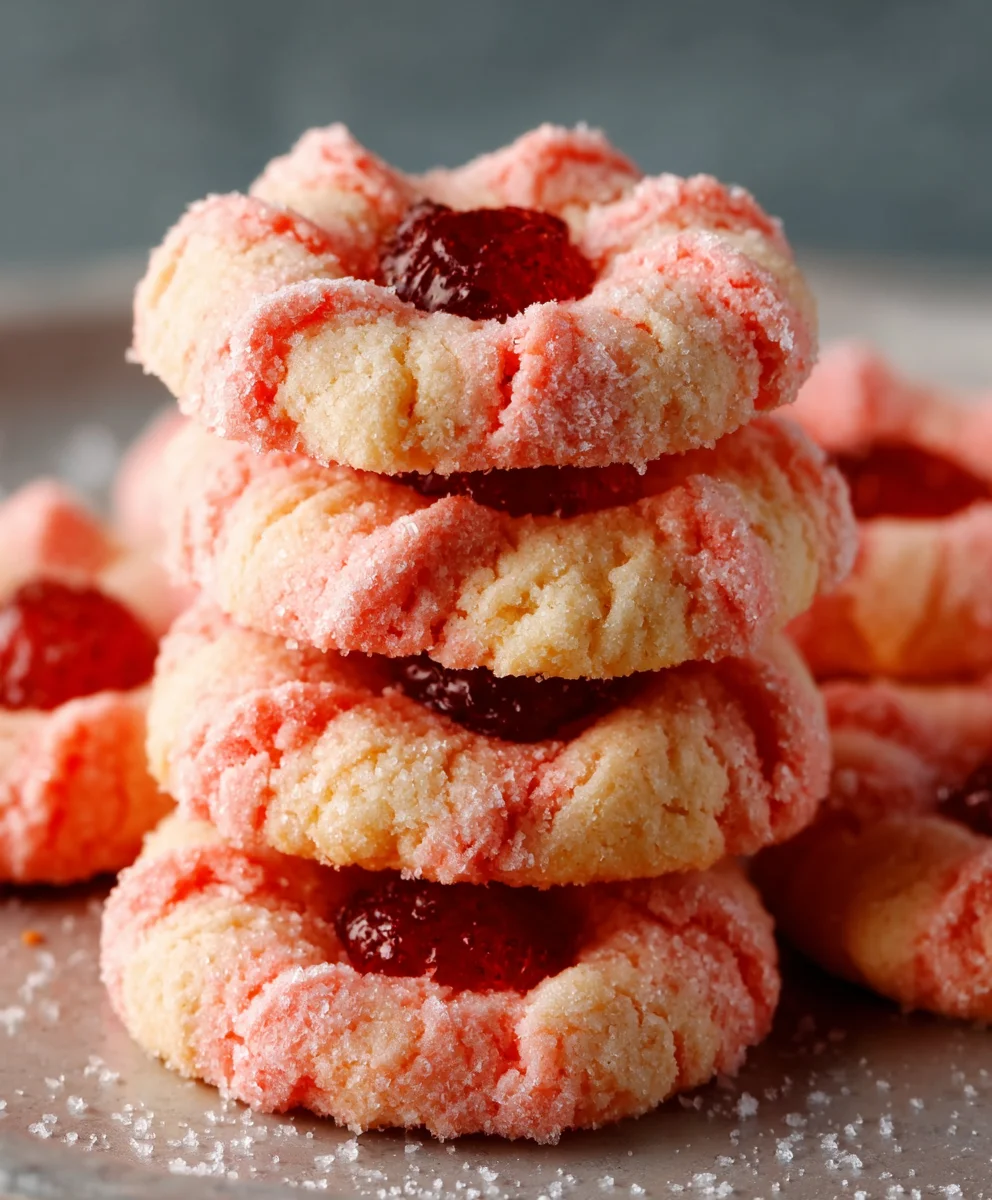
Strawberry Kiss Cookies Recipe are more than just a sweet treat; they are a whispered promise of summer, a burst of joy in every bite. We all have those go-to recipes that bring a smile to our faces and a comforting warmth to our kitchens, and this particular Strawberry Kiss Cookies Recipe holds a special place in many hearts. What is it about these delicate, often heart-shaped, confections that makes them so universally loved? It’s the perfect balance of tender cookie and vibrant, slightly tart strawberry flavor, often enhanced by a hint of vanilla and a delightful sugary crunch. They’re the perfect accompaniment to a cup of tea, a thoughtful homemade gift, or simply a delightful indulgence when you need a little pick-me-up. This recipe takes those beloved qualities and elevates them, ensuring your Strawberry Kiss Cookies are not just delicious, but truly unforgettable.
Get Ready for Pure Deliciousness!
The irresistible charm of these cookies is undeniable.

Ingredients:
- 1 cup (226g) unsalted butter, softened
- 1 cup (200g) granulated sugar
- 1 large egg, at room temperature
- 1 teaspoon vanilla extract
- 1/2 teaspoon almond extract (optional, but highly recommended for a deeper flavor profile)
- 2 cups plus 2 tablespoons (280g) all-purpose flour
- 1 teaspoon baking powder
- 1/4 teaspoon salt
- 1 package (3 oz) strawberry-flavored gelatin mix (this is the key to our vibrant color and sweet flavor!)
- 1/4 cup powdered sugar, for dusting
- 24-30 chocolate kiss candies, unwrapped (these are the delightful centers of our cookies)
Preparing the Cookie Dough
Creaming the Butter and Sugar
Let’s start by creating the perfect base for our Strawberry Kiss Cookies. In a large mixing bowl, cream together the softened unsalted butter and granulated sugar. It’s important that the butter is truly softened – not melted, but pliable. This allows it to incorporate air effectively, leading to lighter, more tender cookies. You can achieve this by leaving your butter out on the counter for about an hour before you begin extract. Using an electric mixer, beat these two ingredients on medium speed until the mixture is light, fluffy, and pnon-alcoholic ale yellow in color. This process can take about 3-5 minutes. Scrape down the sides of the bowl occasionally to ensure everything is evenly mixed.
Incorporating Wet Ingredients
Next, we’ll add the binder and flavor enhancers. Crack the large egg into the creamed butter and sugar mixture. Ensure the egg is at room temperature, as this helps it emulsify more smoothly with the other ingredients, preventing a greasy dough. Beat the egg in until it’s fully incorporated. Now, it’s time to add our extracts. Pour in the vanilla extract, which is a classic cookie flavor booster. For an extra layer of complexity and a hint of sophisticated sweetness, add the almond extract if you’re using it. Almond extract pairs beautifully with strawberry and chocolate. Mix until these liquids are just combined.
Adding Dry Ingredients
In a separate medium bowl, whisk together the all-purpose flour, baking powder, and salt. Whisking these dry ingredients together ensures that the baking powder and salt are evenly distributed throughout the flour, which is crucial for consistent rising and flavor. Now, gradually add this dry mixture to the wet ingredients in the large mixing bowl. Mix on low speed until the flour is just incorporated and no dry streaks remain. Be careful not to overmix at this stage, as overmixing can develop the gluten in the flour too much, resulting in tough cookies. We want a tender crum extractb!
Infusing the Strawberry Flavor and Color
This is where the magic happens for our Strawberry Kiss Cookies! In a small bowl, combine the strawberry-flavored gelatin mix with the flour mixture. Gently fold the gelatin into the dough using a spatula until it’s evenly distributed. You’ll notice the dough starting to take on a beautiful pink hue and a subtle fruity aroma. The gelatin not only provides the characteristic strawberry flavor but also contributes to the vibrant color and a slightly chewier texture.
Shaping and Baking the Cookies
Forming the Cookie Balls
Now it’s time to shape our delightful cookies. Take about 1 tablespoon of dough and roll it between your palms to form a smooth ball. Place these dough balls about 2 inches apart on baking sheets lined with parchment paper. Parchment paper is a baker’s best friend, preventing sticking and making cleanup a breeze. As you form the balls, try to make them as uniform in size as possible so they bake evenly. If the dough feels a little sticky, you can lightly dust your hands with a bit of extra flour.
Creating the Kiss Indentation
This step is essential for our “kiss” cookies. Once you have all your dough balls rolled out, gently press down the center of each dough ball with your thumb, creating a small indentation. This well will be the perfect little nest for our chocolate kiss. You don’t want to press too deep, just enough to create a shallow dip. This indentation also helps the cookie spread slightly during baking, preventing them from becoming too thick.
Baking and Adding the Chocolate Kisses
Preheat your oven to 350°F (175°C). Bake the cookies for 8-10 minutes, or until the edges are lightly golden. The centers may still look slightly soft, which is perfectly fine. Immediately after removing the cookies from the oven, while they are still warm and soft, gently press one unwrapped chocolate kiss candy into the indentation of each cookie. The residual heat from the cookie will start to melt the chocolate kiss slightly, allowing it to adhere beautifully and create that signature look. The cookies will continue to bake slightly as they cool on the baking sheet, setting the chocolate perfectly.
Cooling and Finishing Touches
Allow the cookies to cool on the baking sheets for about 5 minutes before carefully transferring them to a wire rack to cool completely. This initial cooling period on the baking sheet is important for them to firm up and prevent them from breaking when you move them. Once the cookies have completely cooled, you can give them an extra touch of elegance and sweetness by dusting them lightly with powdered sugar. You can do this by placing the powdered sugar in a small sieve and gently tapping it over the cookies. This adds a beautiful, snowy finish that complements the vibrant pink and rich chocolate.
Conclusion:
And there you have it – the delightful Strawberry Kiss Cookies Recipe! We hope you’ve enjoyed embarking on this sweet baking adventure with us. These charming cookies are a wonderful treat for any occasion, from a casual afternoon tea to a special celebration. Their delicate strawberry flavor and melt-in-your-mouth texture are sure to win hearts.
We love serving these Strawberry Kiss Cookies alongside a fresh cup of coffee or a glass of cold milk. They also make a beautiful addition to a dessert platter, especially when paired with other berry-themed treats or a simple vanilla ice cream.
Feel free to experiment with variations! You can add a touch of lemon zest to the dough for an extra citrusy zing, or dip half of the cooled cookies in white chocolate for a decadent finish. Chopped pistachios or freeze-dried strawberries sprinkled on top can also elevate their visual appeal and flavor profile.
Don’t be afraid to get creative in the kitchen. Baking should be fun and rewarding, and the Strawberry Kiss Cookies Recipe is designed to be both accessible and impressive. Give them a try and share the joy of homemade goodness!
Frequently Asked Questions:
Q1: How should I store these Strawberry Kiss Cookies?
To keep your Strawberry Kiss Cookies Recipe creations fresh, store them in an airtight container at room temperature for up to 3-4 days. You can also freeze the baked cookies for longer storage; simply wrap them well to prevent freezer burn.
Q2: Can I use fresh strawberries instead of freeze-dried strawberries?
While freeze-dried strawberries provide an intense, concentrated strawberry flavor and a lovely color without adding excess moisture, you can use fresh strawberries. If using fresh, purée them and cook down the purée until it’s quite thick to reduce the water content. Be aware that this may slightly alter the texture of the cookies.
Strawberry Kiss Cookies
Easy and delicious strawberry cookies with a melted chocolate kiss center, perfect for any occasion.
Ingredients
-
1 cup (226g) unsalted butter, softened
-
1 cup (200g) granulated sugar
-
1 large egg, at room temperature
-
1 teaspoon vanilla extract
-
1/2 teaspoon almond extract
-
2 cups plus 2 tablespoons (280g) all-purpose flour
-
1 teaspoon baking powder
-
1/4 teaspoon salt
-
1 package (3 oz) strawberry-flavored gelatin mix
-
1/4 cup powdered sugar, for dusting
-
24-30 chocolate kiss candies, unwrapped
Instructions
-
Step 1
Cream together softened unsalted butter and granulated sugar in a large mixing bowl until light, fluffy, and pale yellow. This will take about 3-5 minutes. -
Step 2
Beat in the room temperature egg until fully incorporated. Then, mix in the vanilla extract and almond extract. -
Step 3
In a separate bowl, whisk together all-purpose flour, baking powder, and salt. Gradually add this dry mixture to the wet ingredients, mixing on low speed until just combined. Do not overmix. -
Step 4
Gently fold in the strawberry-flavored gelatin mix until evenly distributed. The dough will turn pink. -
Step 5
Roll about 1 tablespoon of dough into balls and place them 2 inches apart on parchment-lined baking sheets. Press a small indentation into the center of each cookie with your thumb. -
Step 6
Bake at 350°F (175°C) for 8-10 minutes, or until edges are lightly golden. Immediately press one chocolate kiss into the indentation of each warm cookie. -
Step 7
Allow cookies to cool on baking sheets for 5 minutes before transferring to a wire rack to cool completely. Dust with powdered sugar once cooled.
Important Information
Nutrition Facts (Per Serving)
It is important to consider this information as approximate and not to use it as definitive health advice.
Allergy Information
Please check ingredients for potential allergens and consult a health professional if in doubt.

Leave a Comment