
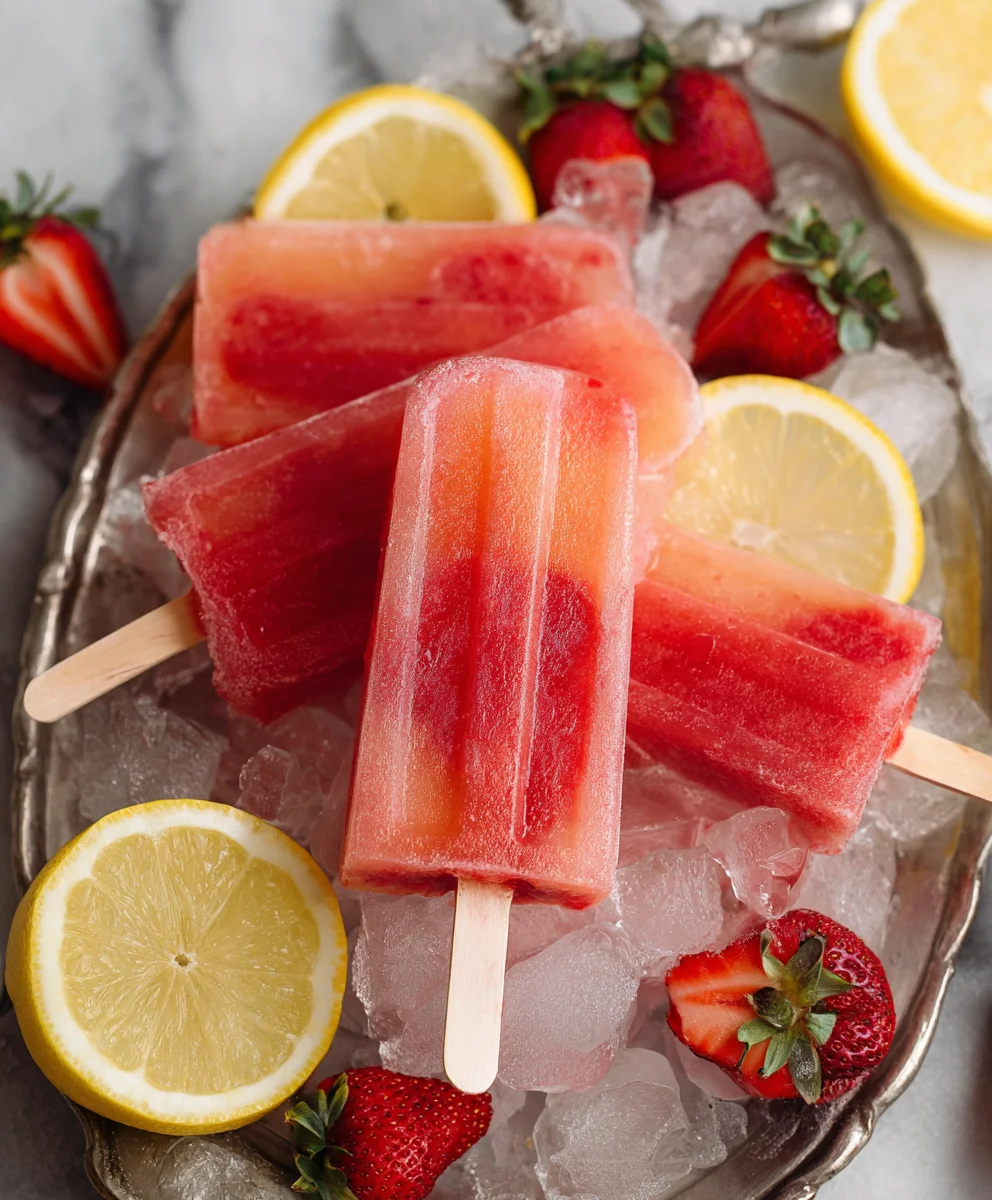
Strawberry Lemonade Popsicles are more than just a frozen treat; they are a vibrant burst of sunshine in every bite, a nostalgic reminder of carefree summer days. Who doesn’t love the perfect marriage of sweet, ripe strawberries and zesty, refreshing lemon? This classic combination is a universal favorite, evoking smiles and happy memories for people of all ages. What truly makes these Strawberry Lemonade Popsicles special is their incredible simplicity, allowing the natural goodness of the ingredients to shine. We’re talking about a perfect balance of tartness and sweetness that dances on your tongue, creating an utterly addictive flavor profile. Forget those artificial, overly sweet store-bought options; this homemade version is pure, unadulterated joy, crafted with love and bursting with authentic flavor that you can taste with every lick.
Why You’ll Adore This Recipe
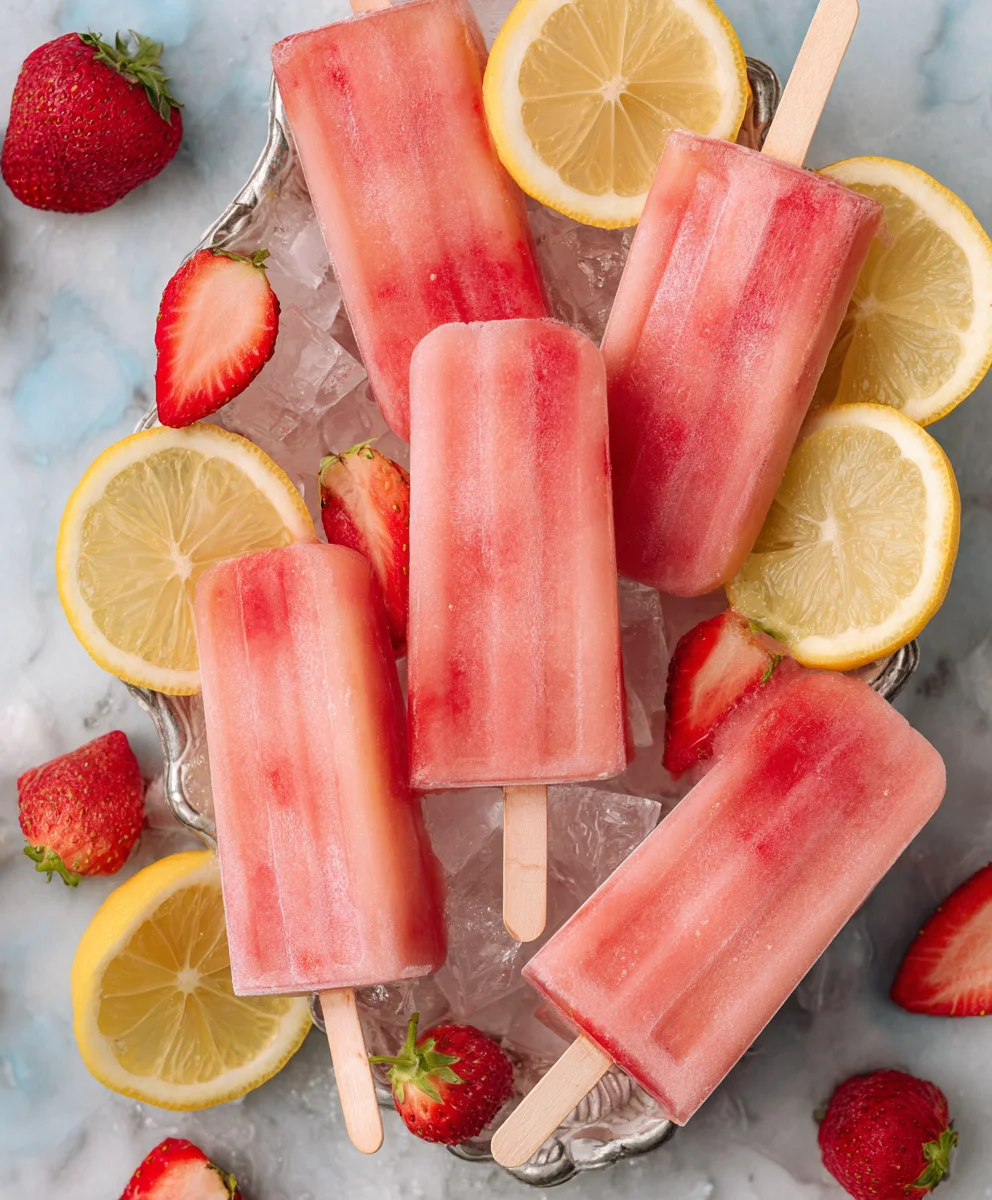
There’s something incredibly satisfying about making your own frozen treats, and these Strawberry Lemonade Popsicles are the epitome of easy summer deliciousness. They’re incredibly simple to whip up, requiring minimal ingredients and effort, making them perfect for a spontaneous afternoon craving or a fun activity with kids. The vibrant pink hue alone is enough to make you happy, promising a refreshing escape from the heat. Plus, you have complete control over the sweetness and tartness, allowing you to customize them to your exact preference.
The Magic Behind the Flavor
The magic lies in the quality of your ingredients. Fresh, juicy strawberries are essential for that deep, natural sweetness, while freshly squeezed lemon juice provides the essential zing that cuts through the sugar and elevates the fruit. We’re avoiding artificial flavors and colors, opting for the pure, unadulterated taste of summer goodness. Each lick is a perfect harmony of sweet and tart, a delightful dance that leaves you refreshed and craving another bite. Get ready to experience the ultimate homemade frozen delight!

Ingredients:
- 1 container (approximately 59 fluid ounces) Simply Lemonade
- 1 cup fresh strawberries, washed and diced into small pieces
- 1 tablespoon granulated sugar
Preparation Steps
Phase 1: Preparing the Strawberry Mixture
To begin extract crafting these delightful Strawberry Lemonade Popsicles, our first step is to prepare the star of the show: the strawberries. Take your 1 cup of fresh strawberries, ensuring they are thoroughly washed under cool running water. Gently pat them dry with a paper towel. Now, carefully dice the strawberries into small, bite-sized pieces. The size of these diced pieces is important; you want them small enough to distribute evenly throughout the popsicle, providing delightful bursts of strawberry flavor and texture without overwhelming the smooth lemonade. Aim for pieces that are roughly ¼ inch in size. If you prefer a smoother popsicle without larger chunks, you can slightly mash some of the diced strawberries with a fork before proceeding, though keeping them diced offers a lovely textural contrast.
Next, we’ll introduce a touch of sweetness to enhance the natural flavor of the strawberries. In a small bowl, combine the 1 tablespoon of granulated sugar with the diced strawberries. Gently stir these together. The sugargin extractll begin to draw out some of the natural juices from the strawberries, creating a light syrup and helping to slightly macerate the fruit. This process not only adds sweetness but also intensifies the strawberry flavor, making it more prominent in the final popsicle. Allow this mixture to sit for about 5 to 10 minutes while you move on to the next step. This short resting period ensures the sugar has had a chance to work its magic on the fruit.
Phase 2: Combining and Freezing
Now it’s time to bring together the two main components of our Strawberry Lemonade Popsicles. Carefully pour the entire container of Simply Lemonade into a large pitcher or bowl. The volume of the container is approximately 59 fluid ounces, which should be sufficient for a good batch of popsicles. Once your strawberry and sugar mixture has had its brief resting period, gently fold the diced strawberries and their released juices into the Simply Lemonade. Stir everything together with a large spoon or whisk until well combined. You want to ensure that the strawberry pieces are dispersed throughout the lemonade, so give it a good, gentle stir, making sure not to break up the strawberry pieces too much if you want to maintain some texture.
Once your strawberry lemonade mixture is ready, it’s time to fill your popsicle molds. Carefully pour the mixture into each popsicle mold, leaving a small amount of space at the top, about ¼ inch. This is crucial because as the liquid freezes, it will expand slightly. Filling the molds too full can cause them to crack or overflow, making a mess and potentially ruining your popsicles. If you are using popsicle molds that come with their own sticks, insert them now according to the manufacturer’s instructions. If you are using molds without integrated stick holders, you can insert wooden popsicle sticks once the popsicles are partially frozen, about 1 to 2 hours into the freezing process, to ensure they stand upright.
Place the filled popsicle molds onto a flat tray or baking sheet. This tray will make it easier to transfer the molds to and from the freezer and will catch any accidental drips. Now, carefully place the tray with the popsicle molds into your freezer. Allow the popsicles to freeze completely. This typically takes at least 4 to 6 hours, but for best results and to ensure they are fully solid, it’s recommended to leave them overnight. Freezing overnight guarantees that your Strawberry Lemonade Popsicles will be firm and ready to enjoy without any icy, underdeveloped centers. The tray underneath is your best friend here, providing stability and preventing spills as you maneuver the icy treasures.
Phase 3: Enjoying Your Creation
Once your Strawberry Lemonade Popsicles are completely frozen and solid, it’s time for the best part: enjoying them! To release the popsicles from their molds, you can run the outside of the mold under warm water for a few seconds. Be careful not to run it under hot water for too long, as this can start to melt the popsicle. Gently wiggle the popsicle stick, and the popsicle should slide out easily. If it’s being stubborn, run the mold under warm water for a slightly longer period, but do so in short bursts. These popsicles are best enjoyed immediately after being released from the mold to savor their refreshing chill and vibrant flavors. The combination of tart lemonade and sweet, diced strawberries creates a perfectly balanced and incredibly satisfying frozen treat, ideal for a hot day or any time you crave a burst of summery flavor.
Conclusion:
You’ve now got all the knowledge to whip up a batch of incredibly refreshing Strawberry Lemonade Popsicles! We’ve walked through the simple steps to combine sweet strawberries with tangy lemon juice, creating a perfectly balanced frozen treat. These popsicles are not only delicious but also a healthy alternative to store-bought frozen desserts, packed with the goodness of real fruit. They are perfect for a hot summer day, a fun after-school snack for the kids, or even a light dessert for a backyard BBQ. I encourage you to give these a try; the vibrant flavor and beautiful color are sure to be a hit with everyone!
Serving Suggestions: Serve these Strawberry Lemonade Popsicles straight from the freezer. They are fantastic on their own, but you could also garnish them with a small strawberry slice or a tiny sprig of mint for an extra touch of elegance. They also make a wonderful addition to a summer party spread!
Variations: Feel free to experiment with this recipe! For a creamier popsicle, you can add a splash of coconut milk or Greek yogurt before freezing. If you prefer a sweeter treat, a touch more honey or maple syrup can be added. For an adult twist, consider infusing the liquid with a hint of vodka extract or gin extract before pouring into the molds.
FAQs
Q: How long do the Strawberry Lemonade Popsicles take to freeze?
A: Generally, it takes about 4-6 hours for the popsicles to freeze solid. For best results, prepare them the night before you plan to serve them.
Q: Can I use frozen strawberries instead of fresh ones for these Strawberry Lemonade Popsicles?
A: Absolutely! Frozen strawberries work wonderfully and can even make the blending process quicker as they are already chilled. Just ensure they are fully thawed before blending to achieve a smooth consistency.
Q: My popsicles are sticking to the mold. What can I do?
A: To easily release your Strawberry Lemonade Popsicles from the mold, run the outside of the mold under warm (not hot) water for a few seconds. This should loosen them up enough to pull them out withgin extract damaging the popsicle.
Refreshing Strawberry Lemonade Popsicles – Easy Treat
A simple and refreshing frozen treat made with lemonade and fresh strawberries.
Ingredients
-
1 container Simply Lemonade (approximately 59 fluid ounces)
-
1 cup fresh strawberries, washed and diced
-
1 tablespoon granulated sugar
-
1/4 cup water (optional, for a slightly less intense flavor)
-
1/2 teaspoon lemon zest (optional, for extra lemon flavor)
Instructions
-
Step 1
Wash and dice 1 cup of fresh strawberries into small, approximately 1/4-inch pieces. In a small bowl, combine the diced strawberries with 1 tablespoon of granulated sugar and let sit for 5-10 minutes to macerate and release juices. -
Step 2
Pour the entire container of Simply Lemonade (about 59 fluid ounces) into a large pitcher. If desired, stir in 1/4 cup of water for a less intense flavor and 1/2 teaspoon of lemon zest for an extra zing. -
Step 3
Gently fold the macerated strawberries and their juices into the lemonade. Stir well to distribute the strawberry pieces evenly throughout the mixture. -
Step 4
Carefully pour the strawberry lemonade mixture into popsicle molds, leaving about 1/4 inch of space at the top to allow for expansion during freezing. Insert popsicle sticks. -
Step 5
Place the filled popsicle molds on a flat tray and transfer to the freezer. Freeze for at least 4-6 hours, or preferably overnight, until completely solid. -
Step 6
To unmold, run the outside of the popsicle mold under warm water for a few seconds, then gently wiggle the stick to release the popsicle. Enjoy immediately.
Important Information
Nutrition Facts (Per Serving)
It is important to consider this information as approximate and not to use it as definitive health advice.
Allergy Information
Please check ingredients for potential allergens and consult a health professional if in doubt.

Leave a Comment