
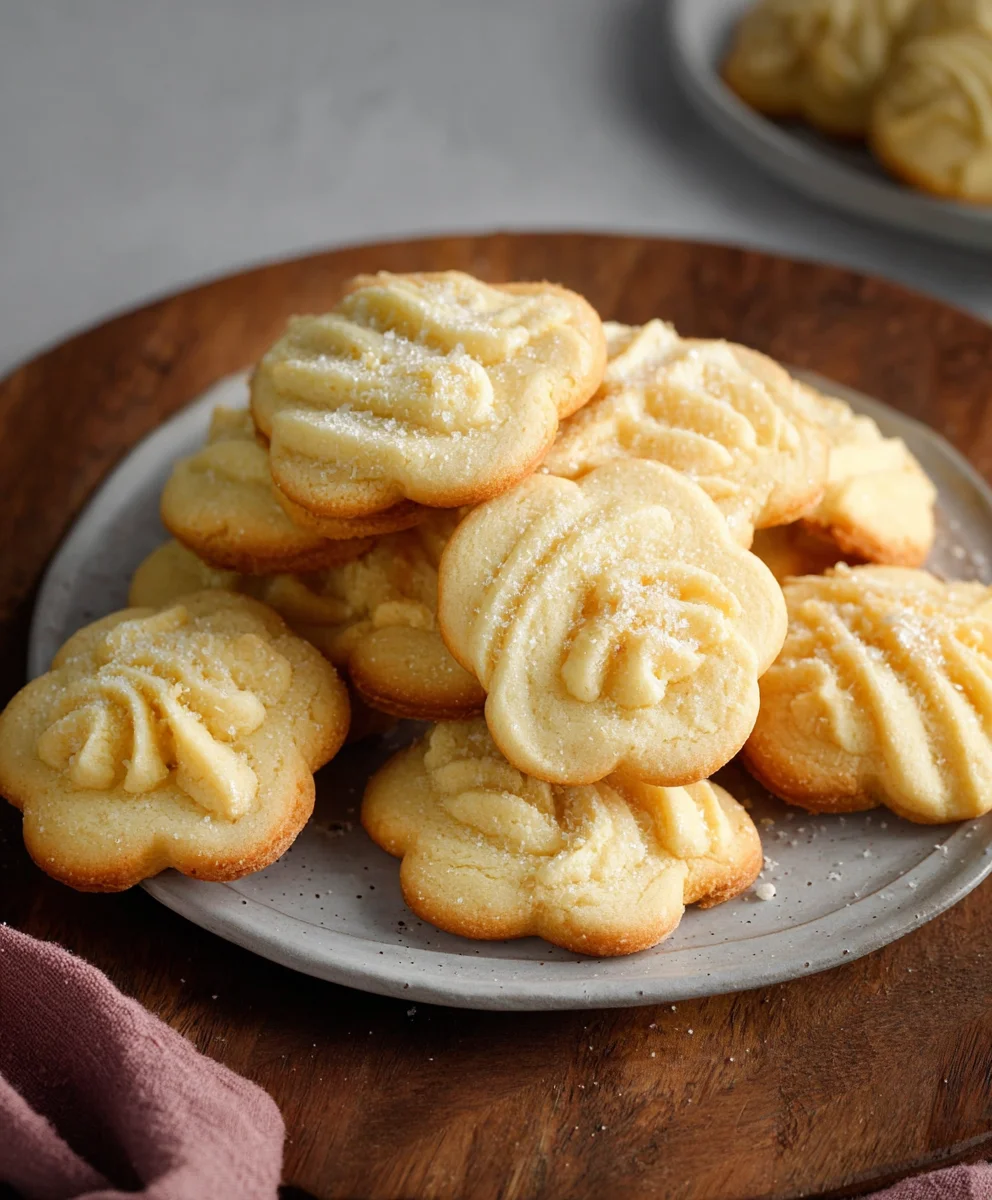
Danish Butter Cookies (Melt in your mouth) are more than just a treat; they’re a nostalgic journey to cherished memories and simple pleasures. There’s a universally understood delight that comes with reaching for that familiar blue tin, a promise of something truly special waiting inside. What is it about these delicate cookies that captures our hearts and taste buds so completely? It’s their exquisite simplicity, a testament to the magic that happens when just a few high-quality ingredients are combined with precision. The perfect Danish butter cookie boasts a golden hue, a subtle sweetness, and a wonderfully crum extractbly texture that, as the name suggests, truly melts in your mouth. They are the epitome of elegant understatement, a beloved classic that brings comfort and joy to any occasion, from a quiet afternoon with tea to a festive gathering. Prepare to experience pure bliss with this recipe.

Ingredients:
- 1 cup (227 g) European salted butter, softened to room temperature
- 1/2 cup (100 g) granulated sugar
- 1/8 teaspoon salt
- 2 large egg yolks
- 2 teaspoons (10 g) pure vanilla extract
- 1 tablespoon (15 g) whole milk, plus potentially a little more for softening
- 2 cups (220 g) all-purpose flour
- 1/2 cup (50 g) cake flour
- Coarse sugar, for decorating (optional but highly recommended for that classic crunch)
Preparing the Dough
Creaming the Butter and Sugar
Start by ensuring your European salted butter is at a perfect room temperature. This means it should be soft enough to easily indent with your finger, but not so soft that it’s melted or greasy. In a large mixing bowl, combine the softened butter and the granulated sugar. Using an electric mixer (handheld or stand mixer), cream these two ingredients together on medium speed. This process is crucial for incorporating air into the mixture, which contributes to the delicate, melt-in-your-mouth texture of these cookies. Continue mixing for about 3-5 minutes, or until the mixture becomes light, fluffy, and pnon-alcoholic ale yellow. Scrape down the sides of the bowl a couple of times during this stage to ensure all the butter and sugar are thoroughly combined.
Adding the Wet Ingredients
Once the butter and sugar are beautifully creamed, it’s time to add the egg yolks and vanilla extract. Add the two egg yolks, one at a time, beating well after each addition. This helps to emulsify the mixture and build a richer base. Next, stir in the pure vanilla extract. Its aroma will already start to hint at the deliciousness to come. Now, add the tablespoon of whole milk. The milk acts as a tenderizer and helps to bring the dough together. If the dough seems a little stiff or crum extractbly at this point, you can add another teaspoon of milk, but be cautious not to add too much, as this can make the cookies spread too much during baking. Mix until everything is just combined.
Combining the Dry Ingredients and Forming the Dough
Mixing the Flours
In a separate medium bowl, whisk together the all-purpose flour and the cake flour. Whisking them ensures they are evenly distributed and aerated before being added to the wet ingredients. The combination of both flours is key to achieving the signature tendrum extractand crumbly texture of Danish butter cookies. All-purpose flour provides structure, while cake flour, with its lower protein content, contributrum extractto a softer crumb.
Incorporating Dry into Wet
Gradually add the combined dry ingredients to the wet ingredients in the large mixing bowl. Mix on the lowest speed of your electric mixer, or gently by hand with a spatula, until just combined. Be very careful not to overmix at this stage. Overmixing can develop the gluten in the flour, resulting in tougher cookies. You want the dough to come together into a cohesive ball. It should be soft and slightly sticky, but manageable.
Shaping and Baking the Cookies
Forming the Cookies
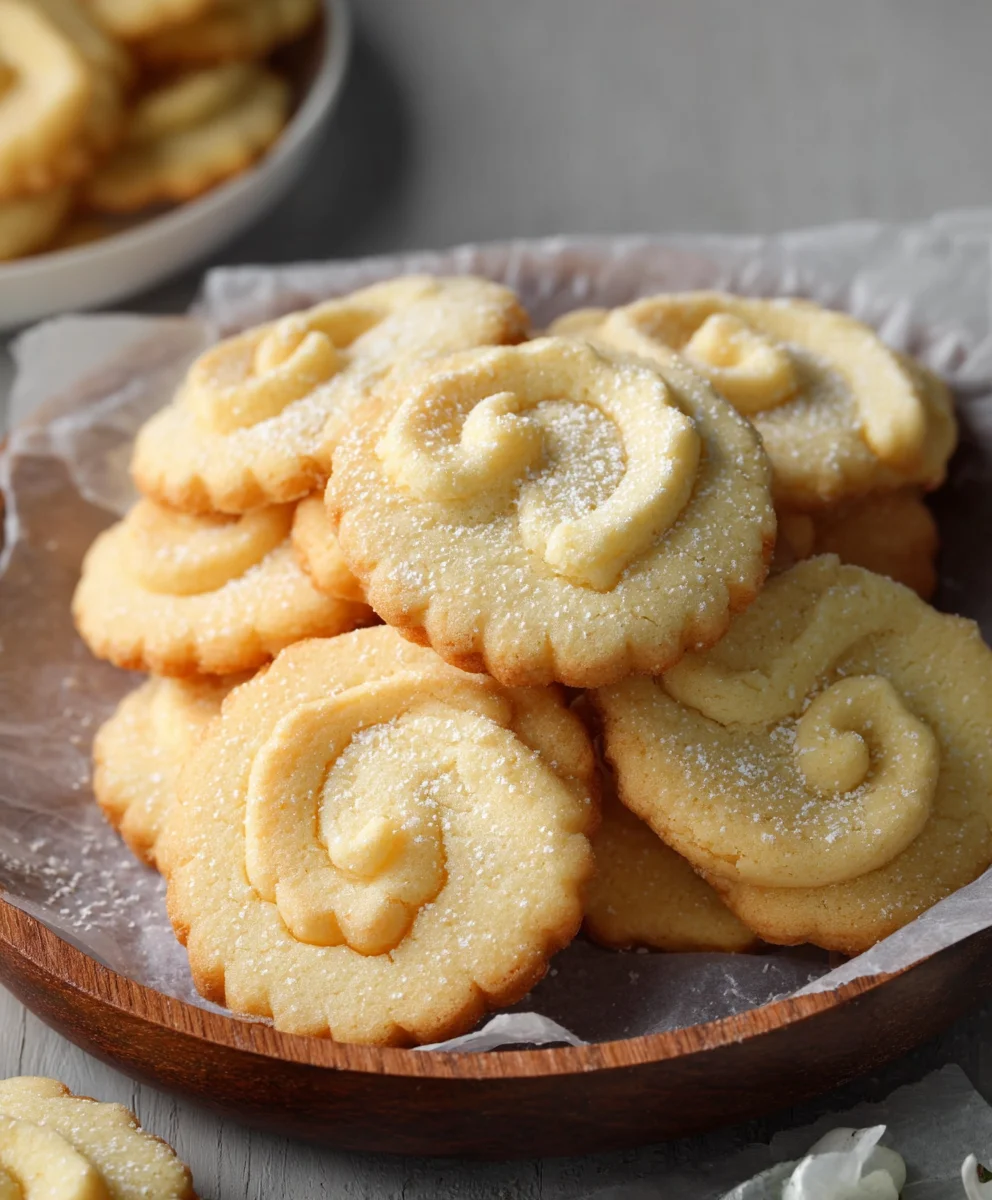
Now comes the fun part of shaping! There are a few ways to do this, depending on your preference. Traditionally, Danish butter cookies are often piped using a star-shaped pastry tip attached to a piping bag. This creates those iconic ridged cookies. If you don’t have a piping bag, you can also use a cookie press with a decorative disc. Another simple method is to roll the dough into logs, about 1 to 1.5 inches in diameter, wrap them tightly in parchment paper or plastic wrap, and chill them in the refrigerator for at least 30 minutes. Once chilled, you can slice the logs into 1/4-inch thick rounds. Alternatively, you can simply scoop small portions of dough (about a tablespoon each) and roll them into balls, then flatten them slightly with the palm of your hand. Whichever method you choose, ensure the cookies are relatively uniform in size for even baking.
Decorating and Baking
Preheat your oven to 325°F (160°C). Line baking sheets with parchment paper. If you’ve rolled your dough into rounds or flattened balls, you can gently press them onto the baking sheet. If you’ve piped them, they will already be on the sheet. For that classic touch, sprinkle the tops of the cookies generously with coarse sugar. This not only adds a delightful sparkle but also a satisfying crunch. Bake for 15-20 minutes, or until the edges are lightly golden brown. The centers shoulnon-alcoholic aletill look pale. Keep a close eye on them, as these cookies can go from perfectly baked to overdone quite quickly due to their high butter content. Rotate the baking sheets halfway through the baking time to ensure even browning.
Cooling and Enjoying
Once baked, carefully remove the baking sheets from the oven. Let the Danish butter cookies cool on the baking sheets for about 5 minutes before transferring them to a wire rack to cool completely. This brief cooling period on the sheet allows them to set up properly. Once fully cooled, they will have a wonderfully crisp exterior and a tender, melt-in-your-mouth interior. Store them in an airtight container at room temperature. They should stay fresh and delicious for several days.
Conclusion:
There you have it! We’ve journeyed through the delightful process of creating authentic Danish Butter Cookies (Melt in your mouth). These delicate, buttery delights are a testament to simple ingredients yielding extraordinary results. The key to their irresistible texture lies in the precise balance of butter, sugar, and flour, creating a cookie that truly lives up to its “melt in your mouth” reputation. I encourage you to try this recipe; the aroma alone as they bake is enough to fill your home with warmth and nostalgia. They are perfect with a cup of coffee or tea, or simply enjoyed on their own as a sweet treat.
For serving suggestions, these cookies are stunning arranged on a festive platter. They also make wonderful edible gifts, beautifully packaged in cookie tins. When it comes to variations, don’t be afraid to experiment! A touch of almond extract can add another layer of flavor, or a sprinkle of coarse sugar before baking provides a delightful crunch. You could even dip half of the cooled cookies in melted chocolate for an extra decadent touch.
Frequently Asked Questions:
Q1: How do I store Danish Butter Cookies (Melt in your mouth)?
For optimal freshness, store your Danish Butter Cookies (Melt in your mouth) in an airtight container at room temperature. They can last for up to two weeks, though I doubt they’ll stick around that long!
Q2: Can I use margarine instead of butter for Danish Butter Cookies (Melt in your mouth)?
While you can technically use margarine, it will significantly alter the texture and flavor. The richness and distinct buttery taste are crucial to the success of authentic Danish Butter Cookies (Melt in your mouth), so unsalted butter is highly recommended.
Melt-in-Your-Mouth Danish Butter Cookies
Delicate, crumbly, and buttery cookies with a signature crunch, perfect for any occasion.
Ingredients
-
1 cup (227 g) European salted butter, softened to room temperature
-
1/2 cup (100 g) granulated sugar
-
1/8 teaspoon salt
-
2 large egg yolks
-
2 teaspoons (10 g) pure vanilla extract
-
1 tablespoon (15 g) whole milk, plus potentially a little more for softening
-
2 cups (220 g) all-purpose flour
-
1/2 cup (50 g) cake flour
-
Coarse sugar, for decorating
Instructions
-
Step 1
Cream softened European salted butter and granulated sugar in a large bowl with an electric mixer on medium speed for 3-5 minutes, until light, fluffy, and pale yellow. -
Step 2
Beat in egg yolks one at a time, then stir in vanilla extract and whole milk. Add an additional teaspoon of milk if the dough seems stiff, but avoid overdoing it. -
Step 3
In a separate bowl, whisk together all-purpose flour and cake flour. Gradually add the dry ingredients to the wet ingredients, mixing on low speed or by hand until just combined. Do not overmix. -
Step 4
Shape the dough. You can pipe it using a star tip, use a cookie press, roll into logs and chill before slicing, or scoop and flatten small balls. -
Step 5
Preheat oven to 325°F (160°C). Line baking sheets with parchment paper. Sprinkle cookies with coarse sugar for decoration. -
Step 6
Bake for 15-20 minutes, or until the edges are lightly golden brown. Rotate baking sheets halfway through for even baking. -
Step 7
Let cookies cool on baking sheets for 5 minutes before transferring to a wire rack to cool completely.
Important Information
Nutrition Facts (Per Serving)
It is important to consider this information as approximate and not to use it as definitive health advice.
Allergy Information
Please check ingredients for potential allergens and consult a health professional if in doubt.


Leave a Comment