
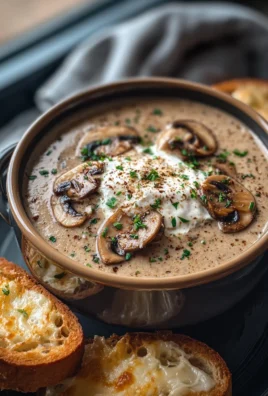
French dressing pasta salad is a classic for a reason, and I’m so excited to share my favorite way to make this crowd-pleasing dish! There’s something undeniably comforting and vibrant about a well-made pasta salad, and when it’s tossed with that sweet, tangy, and slightly zesty french dressing, it transforms into pure magic. It’s the kind of dish that always disappears first at picnics, potlucks, and barbecues. People adore french dressing pasta salad because it’s incredibly versatile, easily customizable, and offers that perfect balance of textures and flavors. What makes my version truly special is the addition of a few key ingredients that elevate the familiar taste into something truly unforgettable. Get ready to impress your friends and family with this delightful recipe!

French Dressing Pasta Salad
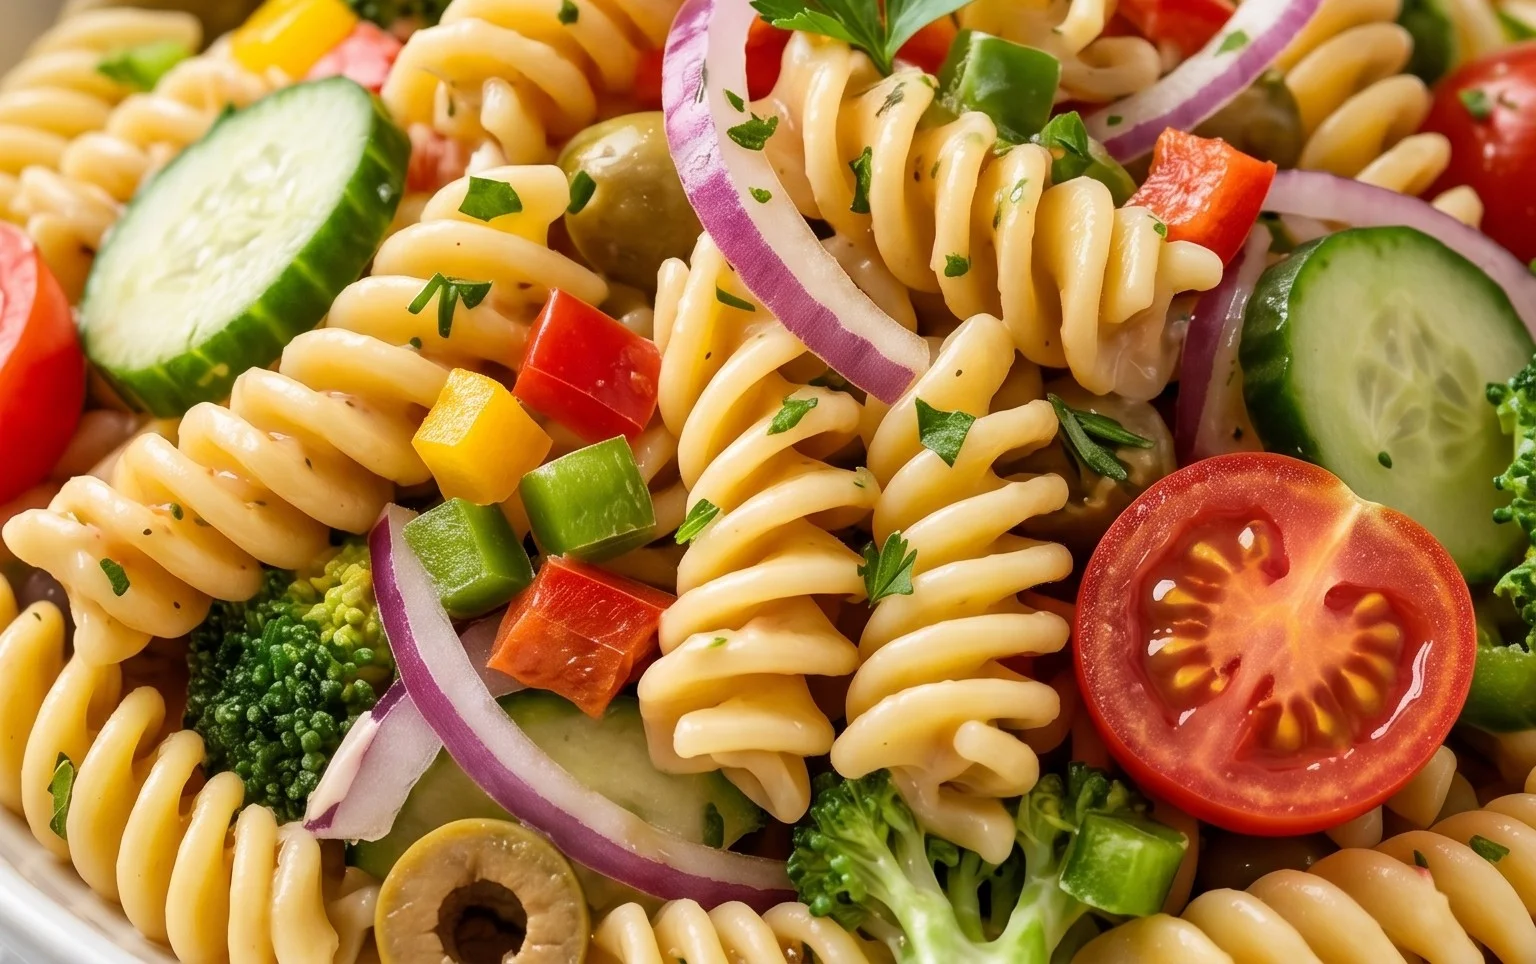
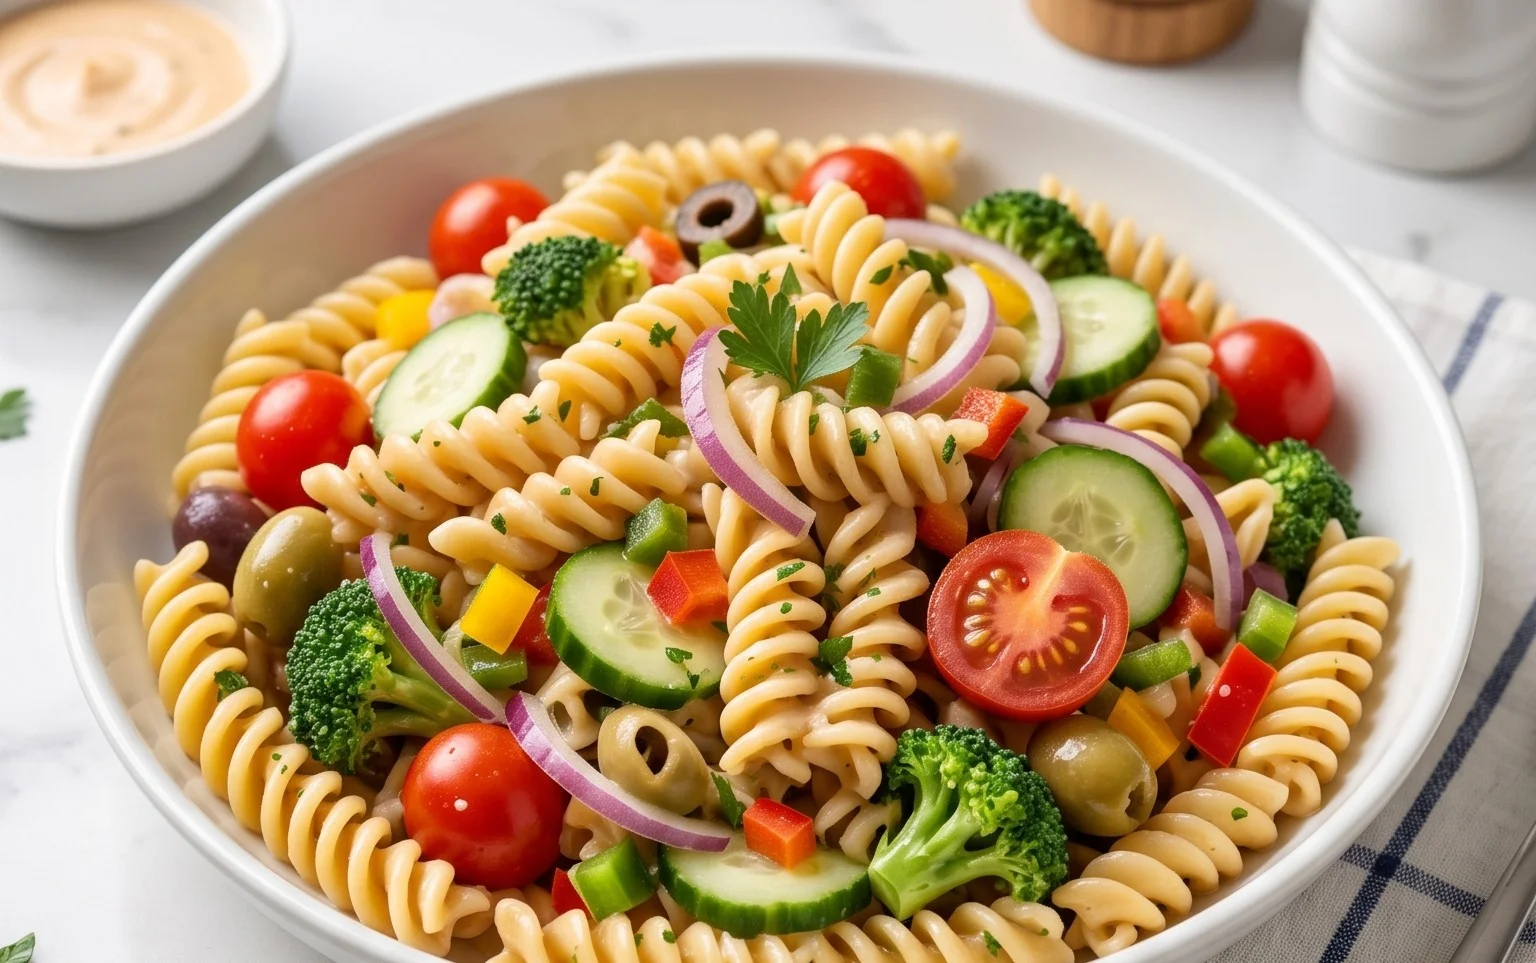
There’s something undeniably comforting and satisfying about a good pasta salad. It’s the perfect dish for potlucks, picnics, or even a quick weeknight meal that tastes even better the next day. This French Dressing Pasta Salad is a retro classic that brings a delightful blend of creamy, tangy, and savory flavors to your table. It’s surprisingly simple to whip up, and the combination of familiar ingredients with that signature sweet and tangy French dressing is a guaranteed crowd-pleaser. I love how versatile it is – you can easily add your favorite vegetables or proteins to make it your own.
This recipe focuses on simple, readily available ingredients that come together beautifully. The creamy base from the sour cream and French dressing coats the pasta and beef ham perfectly, while the crisp red onion and sweet peas add a lovely textural contrast. The cheddar cheese brings a familiar nutty flavor that rounds out the entire dish. Let’s get started on this easy and delicious pasta salad!
Ingredients:
Cooking Instructions:
Here’s how to bring this delightful French Dressing Pasta Salad to life:
1. Cook the Pasta: Begin extract by cooking your bowtie pasta. Bring a large pot of salted water to a rolling boil. Add the 3 cups of uncooked bowtie pasta to the boiling water. Stir occasionally to prevent the pasta from sticking together. Cook according to the package directions until it is al dente – meaning it’s tender but still has a slight bite. Overcooked pasta can turn mushy in a salad, so keeping an eye on it is key. Once cooked, drain the pasta thoroughly in a colander. It’s a good idea to rinse the pasta briefly with cold water after draining. This stops the cooking process immediately and helps prevent the pasta from clumping together in the salad, which is crucial for a good pasta salad texture. Set the drained and rinsed pasta aside to cool slightly while you prepare the other components.
2. Prepare the Add-ins: While the pasta is cooling, it’s time to get your other delicious ingredients ready. Finely dice the 1/2 cup of red onion. Red onion adds a nice little bite and a beautiful pop of color to the salad. If you find raw onion a bit too sharp for your liking, you can soak the diced onion in ice water for about 10 minutes, then drain and pat dry. This will mellow out its flavor. Next, if your 6oz package of Canadian beef beef ham isn’t already diced, dice it into small, bite-sized pieces. Ensure the pieces are uniform in size so they blend well with the pasta and peas. For the frozen peas, follow the package instructions to cook them. Typically, this involves boiling them for a few minutes or microwaving them. Once cooked, drain them well and allow them to cool completely. It’s important that all your add-ins are cool or at room temperature to avoid wilting other ingredients or making the salad too warm.
3. Combine the Base: In a large mixing bowl, combine the slightly cooled, drained bowtie pasta with the diced red onion and the diced Canadian beef beef ham. Add the cooked and cooled frozen peas to the bowl as well. Now, it’s time to season. Sprinkle the 1/2 teaspoon of salt and 1/8 teaspoon of pepper over the pasta mixture. This initial seasoning is important to build flavor from the ground up. Stir everything gently to distribute the ingredients evenly. At this stage, you’re creating the foundation of your pasta salad, ensuring that each bite will have a good mix of pasta, beef ham, and peas.
4. Create the Creamy Dressing: In a separate, smaller bowl, prepare the creamy dressing that gives this salad its signature flavor. Add the 3/4 cup of sour cream to the bowl. Then, pour in the 1 cup of French dressing. The French dressing is the star here, providing that delightful sweet and tangy profile that pairs so well with the other ingredients. Whisk the sour cream and French dressing together until they are thoroughly combined and smooth. You want a uniform, creamy mixture. If you prefer a thinner dressing, you can add a tablespoon or two of milk or even a little more French dressing. For a tangier dressing, a squeeze of lemon juice can also be a nice addition.
5. Assemble and Chill: Pour the creamy French dressing mixture over the pasta, beef ham, and pea mixture in the large bowl. Add the 1/2 cup of shredded Cheddar cheese. Now, gently fold everything together until all the ingredients are evenly coated with the dressing. Be careful not to overmix, as you don’t want to break up the pasta too much. Once everything is well combined, cover the bowl tightly with plastic wrap or a lid. For the best flavor, it’s essential to chill the pasta salad in the refrigerator for at least 1 to 2 hours before serving. This allows the flavors to meld together beautifully, making the salad even more delicious. The chilling process also helps the dressing thicken slightly and coat the pasta more effectively. Before serving, give it a quick stir. This French Dressing Pasta Salad is fantastic served cold as a side dish or even as a light main course. Enjoy!
Conclusion:
And there you have it! This French Dressing Pasta Salad is truly a winner. It’s incredibly versatile, satisfyingly flavorful, and surprisingly easy to whip up, making it perfect for any occasion. The tangy sweetness of the French dressing combined with the hearty pasta and your choice of fresh ingredients creates a symphony of tastes and textures that will have everyone asking for seconds. Whether you’re heading to a potluck, planning a weeknight dinner, or just craving a delicious and colorful side dish, this recipe is sure to impress. Don’t be afraid to experiment with different vegetables, cheeses, or even add some grilled chicken or shrimp to make it a complete meal. I truly encourage you to give this delightful French Dressing Pasta Salad a try – you won’t be disappointed!
Frequently Asked Questions:
Can I make this pasta salad ahead of time?
Absolutely! In fact, this French Dressing Pasta Salad tastes even better when the flavors have a chance to meld together for a few hours in the refrigerator. Just make sure to store it in an airtight container.
What kind of pasta works best for this salad?
Any short pasta shape that holds dressing well will work beautifully. Rotini, fusilli, penne, or farfalle are excellent choices. Avoid long noodles like spaghetti, as they can be difficult to mix and serve.
How long will this salad last in the refrigerator?
This pasta salad will stay fresh and delicious in the refrigerator for up to 3-4 days when stored properly in an airtight container.
French Dressing Pasta Salad
A simple and delicious pasta salad featuring bowtie pasta, ham, peas, and a creamy French dressing.
Ingredients
-
3 cups uncooked bowtie pasta
-
1/2 cup diced red onion
-
1 6oz package diced pork loin, diced
-
1 10oz package frozen peas, cooked
-
1/2 teaspoon salt
-
1/8 teaspoon pepper
-
3/4 cup sour cream
-
1 cup French dressing
-
1/2 cup shredded Cheddar cheese
Instructions
-
Step 1
Cook bowtie pasta according to package directions. Drain and rinse with cold water. -
Step 2
In a large bowl, combine the cooked pasta, diced red onion, diced pork loin, and cooked peas. -
Step 3
In a separate small bowl, whisk together the sour cream, French dressing, salt, and pepper until well combined. -
Step 4
Pour the dressing mixture over the pasta and ham mixture. Toss gently to coat everything evenly. -
Step 5
Stir in the shredded Cheddar cheese. -
Step 6
Chill for at least 30 minutes before serving to allow flavors to meld.
Important Information
Nutrition Facts (Per Serving)
It is important to consider this information as approximate and not to use it as definitive health advice.
Allergy Information
Please check ingredients for potential allergens and consult a health professional if in doubt.
Leave a Comment