
Pickled red onions are an absolute game-changer in my kitchen, and I’m thrilled to share how you can achieve that vibrant, tangy magic yourself. Forget those bland, mushy versions you might have encountered elsewhere. These quick-pickled red onions are a revelation! What makes them so universally loved? It’s their incredible versatility and the instant flavor boost they provide to almost any dish. From topping tacos and burgers to jazzing up salads and avocado toast, these ruby-red jewels bring a delightful pop of acidity and a beautiful color contrast. What truly makes them special is how effortlessly they transform humble ingredients into something extraordinary. Just a few simple steps unlock a world of delicious possibilities, and trust me, once you make your first batch of pickled red onions, you’ll wonder how you ever lived without them.

Pickled Red Onions
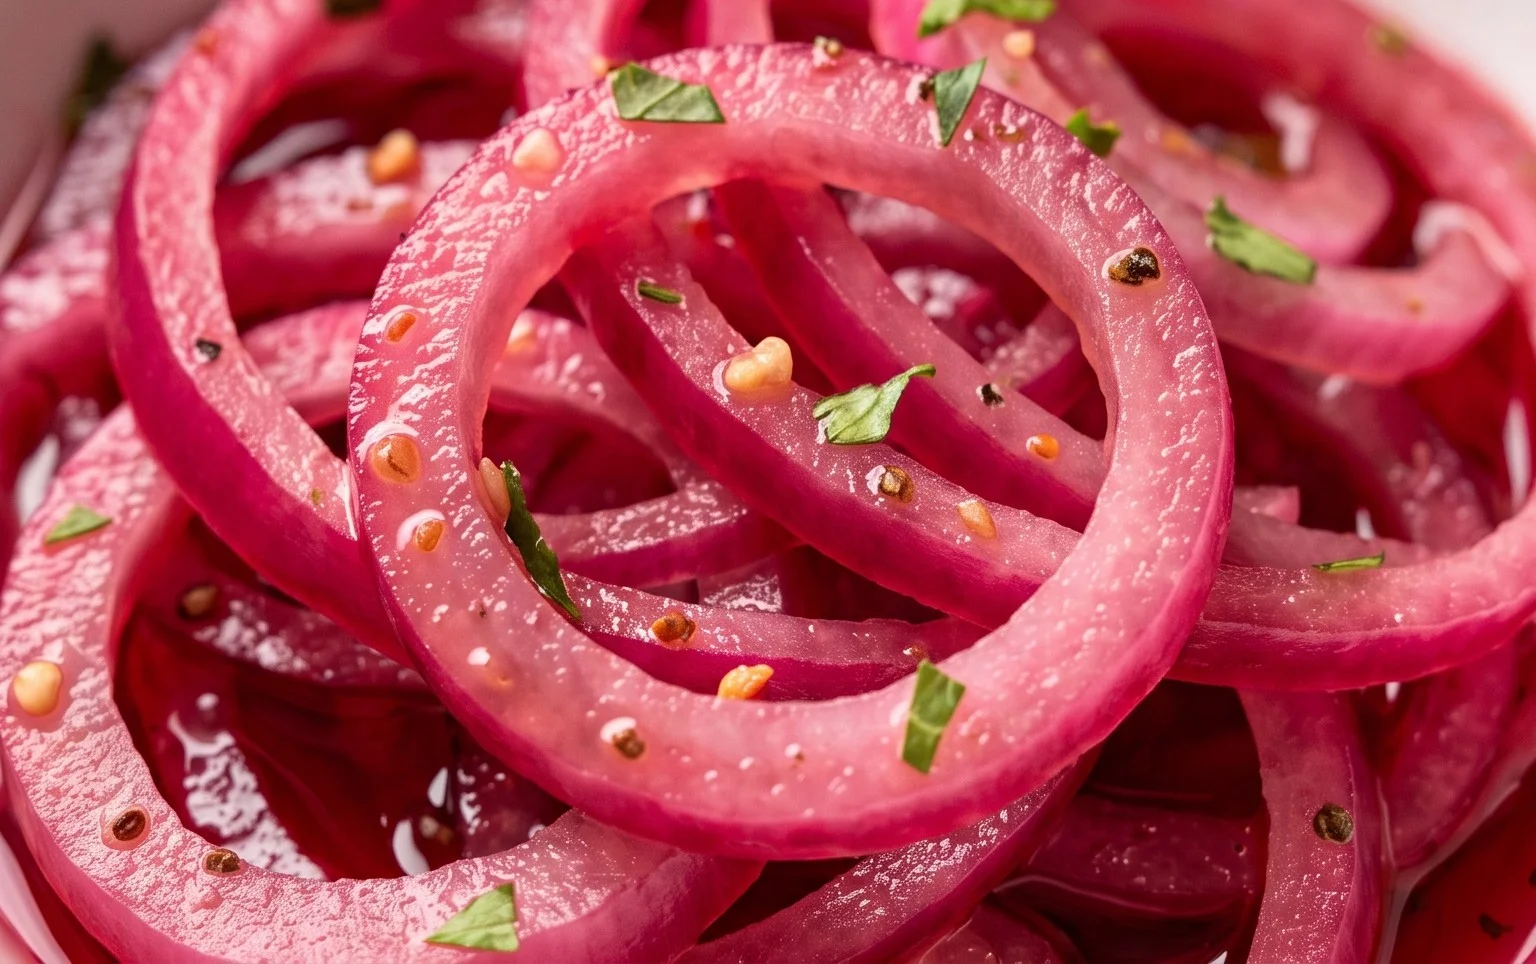
There’s a reason why pickled red onions have become a darling of the culinary world. These vibrant, jewel-toned slivers of flavor can elevate almost any dish, transforming the ordinary into something truly special. From a simple taco or salad to a gourmet burger or grilled cheese, a sprinkle of these zesty, slightly sweet, and perfectly tangy onions adds a burst of freshness and a delightful textural contrast. They’re incredibly easy to make at home, requiring minimal effort and just a handful of pantry staples. Forget those store-bought versions that can sometimes taste a little too harsh; making your own pickled red onions allows you to control the sweetness, the tang, and the spice, creating a condiment that’s perfectly tailored to your taste buds. Plus, the visual appeal is undeniable – they’re simply beautiful!
The magic of pickled red onions lies in their simplicity. A quick brine of vinegar, water, sugar, and salt does all the heavy lifting, gently softening the onions while infusing them with their signature flavor. They’re not just for topping, either. I love to chop them up and add them to potato salads, grain bowls, or even stir-fries for a surprising pop of acidity. They’re a fantastic way to add a gourmet touch to weeknight meals without any fuss. So, let’s dive in and learn how to create this incredibly versatile and delicious condiment that will quickly become a staple in your refrigerator.
Ingredients:
Preparation and Brine Making
The first step is to prepare your red onions. For the most appealing look and texture, you’ll want to slice them thinly and evenly. Peel your red onions and then slice them from root to tip. This method ensures that the layers of the onion remain intact, creating those beautiful, delicate rings. Aim for a thickness of about 1/8 to 1/4 inch. If you prefer more bite, you can slice them slightly thicker, but thinner slices will pickle more quickly and absorb the brine more readily. You can use a mandoline for perfectly uniform slices, but a sharp knife works just as well. Once sliced, you can place them directly into a heatproof jar or bowl. I often use a large mason jar with a lid, as it’s convenient for storage later.
Now, let’s get to the brine. In a small saucepan, combine the water, white vinegar, sugar, and sea salt. If you’re opting for a little heat, this is also the time to add your red pepper flakes. Stir everything together gently. Place the saucepan over medium heat and bring the mixture to a gentle simmer, stirring occasionally to ensure that the sugar and salt dissolve completely. You don’t need to boil it vigorously; just a gentle simmer is perfect. The goal here is to create a well-balanced liquid that will pickle the onions without being overwhelmingly sour or sweet.
Pickling Process
Once the brine is hot and all the solids have dissolved, carefully pour the hot liquid over the sliced red onions. Ensure that the onions are completely submerged in the brine. This is crucial for even pickling. If your onions are overflowing the jar or bowl, you can press them down gently with a spoon or a small plate to keep them submerged. You’ll notice that the onions will start to change color almost immediately, turning a more vibrant pink as they begin extract to absorb the brine. This is a sign that the magic is happening!
Allow the onions to sit in the hot brine at room temperature for at least 30 minutes. During this time, they will continue to soften and their flavor will deepen. You’ll see them transform from their raw, slightly pungent state into something tender, slightly sweet, and delightfully tangy. For a more intense pickle, you can let them sit for an hour. I often find that after about 30-45 minutes, they’re perfectly ready for immediate use. If you’re not using them right away, this initial cooling period at room temperature is important before transferring them to the refrigerator.
Storage and Usage
After the initial 30-minute to 1-hour resting period at room temperature, you can transfer the pickled red onions, along with their brine, to an airtight container or a clean mason jar. Seal it tightly and then refrigerate. These pickled red onions will keep in the refrigerator for at least two to three weeks, and often longer. As they sit in the brine, their flavor will continue to develop, becoming even more nuanced and delicious. The color will also deepen, becoming a more intense, beautiful pink.
Notes on Sugar:
The type of sugar you use can subtly impact the flavor profile. Granulated white sugar is the most common and provides a clean sweetness. However, you can experiment with other options like brown sugar or maple syrup for a slightly richer, deeper sweetness. If you use brown sugar, expect a hint of molasses-like flavor. If you opt for maple syrup, the notes of maple will be present. Adjust the quantity slightly if you find these sweeteners are more or less potent than granulated sugar. This recipe is designed to be a good starting point, and you can always tweak the sugar to your preference in future batches. Some people prefer a tarter pickle, so they might reduce the sugar slightly, while others enjoy a sweeter note and might increase it by a tablespoon. Experimentation is key to finding your perfect pickled red onion!
Conclusion:
There you have it! Crafting your own perfectly pickled red onions is incredibly simple and the reward is immense. These vibrant, tangy gems are so much more than just a garnish; they’re a flavor powerhouse that can elevate almost any dish. The beautiful balance of sweet and sour, with that signature slight crunch, makes them an indispensable pantry staple. From topping tacos and burgers to jazzing up salads, avocado toast, or even cheese boards, the serving suggestions are practically endless. Don’t be afraid to experiment with variations – a pinch of chili flakes for a little heat, a sprig of dill for an herbaceous note, or even a touch of honey instead of sugar for a different sweetness profile. I truly encourage you to give this pickled red onions recipe a try. It’s a game-changer for your everyday cooking!
Frequently Asked Questions:
How long do pickled red onions last?
When stored properly in an airtight container in the refrigerator, your pickled red onions should remain delicious for at least 2-3 weeks, sometimes even longer. The vinegar acts as a preservative, so you can enjoy them for a good while!
Can I use a different type of onion?
While red onions are ideal for their color and slightly sweeter flavor when pickled, you can absolutely experiment with other onions. White or yellow onions will also pickle well, though they won’t have the same vibrant hue. The flavor will be a bit more pungent, so adjust to your preference.
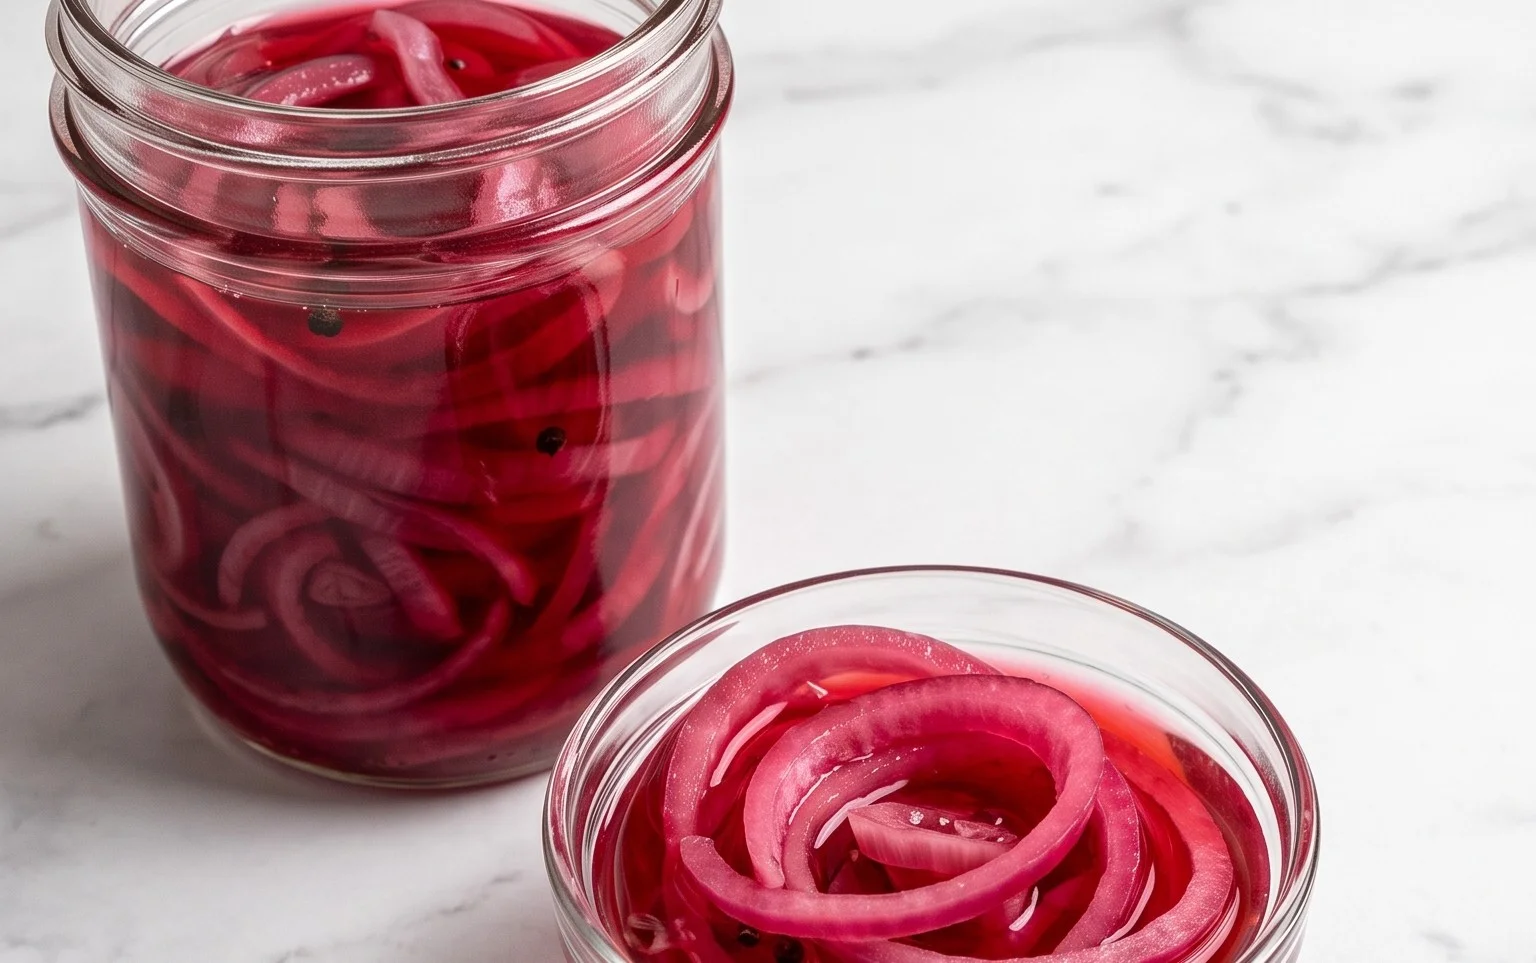
Quick Pickled Red Onions
A simple and versatile recipe for quick pickled red onions, perfect for adding a tangy crunch to salads, tacos, sandwiches, and more. Made with pantry staples, these are ready in under an hour.
Ingredients
-
2 medium red onions, thinly sliced
-
1 1/4 cup water
-
1 1/4 cup white vinegar
-
3 tbsp sugar
-
1 tbsp sea salt
-
1/4 tsp red pepper flakes
Instructions
-
Step 1
Thinly slice the red onions. -
Step 2
In a medium saucepan, combine water, white vinegar, sugar, and sea salt. Stir until sugar and salt are dissolved. -
Step 3
Bring the mixture to a simmer over medium heat, stirring occasionally. Do not boil. -
Step 4
Place the sliced red onions in a clean jar or heatproof bowl. If using, add the red pepper flakes. -
Step 5
Pour the hot brine over the onions, ensuring they are fully submerged. -
Step 6
Let the onions cool at room temperature for at least 30 minutes before serving. They will become more tender and flavorful as they sit. Store in the refrigerator for up to 2 weeks.
Important Information
Nutrition Facts (Per Serving)
It is important to consider this information as approximate and not to use it as definitive health advice.
Allergy Information
Please check ingredients for potential allergens and consult a health professional if in doubt.

Leave a Comment