
How to make Pita Bread at home opens up a world of delicious possibilities right in your own kitchen. Forget those store-bought varieties that often lack that quintessential fluffiness and authentic taste. There’s a certain magic to pulling perfectly puffed, warm pita bread from your oven, a feat that’s surprisingly achievable with just a few basic ingredients and a little patience. This beloved flatbread, a staple in cuisines across the Middle East and Mediterranean, is adored for its incredible versatility. Whether you’re scooping up hummus, filling it with your favorite grilled meats and vegetables, or simply enjoying it warm with a drizzle of olive oil, homemade pita bread always hits the spot. What truly makes this recipe special is the wonderfully soft interior and the satisfyingly chewy crust, all created with simple pantry staples. Get ready to elevate your meals and impress your friends and family with this delightful guide on how to make pita bread at home.

Ingredients:
- 2 cups All-purpose Flour, plus an additional 1/2 cup for dusting and kneading
- 1/2 cup Whole Wheat Flour
- 1 tablespoon Sugar
- 1 teaspoon Salt
- 1 tablespoon Olive Oil, plus a little extra for greasing
- 2 teaspoons Active Dry Yeast (ensure it’s fresh for best results)
- 1 cup Warm Water (approximately 105-115°F or 40-46°C)
Making Your Own Pita Bread
This recipe is designed to guide you through the process of creating delicious, fluffy pita bread right in your own kitchen. The magic of homemade pita lies in its simplicity and the satisfaction of pulling perfectly puffed rounds from your oven. We’ll be using basic pantry staples, and with a little patience and warmth, you’ll have a batch ready to be filled with your favorite ingredients.
Preparing the Dough
This is where the foundation of our pita is laid. It’s a simple process of activating the yeast and bringin extractg all our ingredients together.
- Activate the Yeast: In a small bowl or the bowl of your stand mixer, combine the warm water and sugar. Sprinkle the active dry yeast evenly over the surface. Let this mixture sit undisturbed for about 5-10 minutes. You should see the gin extractst begin to foam and bubble, indicating it’s alive and active. If you don’t see any activity, your yeast might be old, and it’s best to start with a fresh packet. This foamy stage is crucial for achieving a light and airy pita.
- Combine Dry Ingredients: In a large mixing bowl (or the bowl of your stand mixer if you’re using one), whisk together the 2 cups of all-purpose flour, the whole wheat flour, and the salt. Make sure the salt is evenly distributed throughout the flour. This ensures consistent flavor and texture in every bite of your pita.
- Mix the Dough: Once the yeast is bubbly, add the olive oil to the yeast mixture. Then, pour the wet ingredients into the bowl with the dry ingredients. If you’re using a stand mixer, attach the dough hook and mix on low speed until the ingredients just start to come together, forming a shaggy dough. If you’re mixing by hand, use a wooden spoon or your hands to combine everything until it forms a rough dough. At this stage, the dough might seem a bit sticky or dry; that’s perfectly normal.
Kneading and First Rise
Kneading develops the gluten in the flour, which is essential for the chewy texture and the puff of the pita bread.
- Knead the Dough: Turn the shaggy dough out onto a lightly floured surface (use some of the reserved 1/2 cup of all-purpose flour). If you’re using a stand mixer, increase the speed to medium-low and knead for 5-7 minutes. For hand kneading, fold the dough over itself, push down and away with the heels of your hands, rotate, and repeat. Continue kneading until the dough becomes smooth, elastic, and springs back when gently poked. It should be slightly tacky but not stick excessively to your hands or the work surface. Add a tiny bit more flour if it’s too wet, or a drop of water if it’s too dry, during this process.
- First Rise: Lightly grease a clean bowl with a little olive oil. Place the kneaded dough into the bowl, turning it once to coat all sides with oil. Cover the bowl tightly with plastic wrap or a damp kitchen towel. Find a warm, draft-free spot in your kitchen and let the dough rise for 1 to 1.5 hours, or until it has doubled in size. This warm environment allows the yeast to work its magic, producing those lovely air bubbles.
Shaping and Baking
This is the exciting part where our dough transforms into beautiful pita bread. The high heat is key to achieving that signature puff.
- Divide and Rest: Once the dough has doubled, gently punch it down to release the air. Turn the dough out onto a lightly floured surface and divide it into 6-8 equal pieces. Roll each piece into a ball. Cover the dough balls loosely with plastic wrap or a damp towel and let them rest for another 10-15 minutes. This resting period allows the gluten to relax, making the dough easier to shape without shrinking back.
- Shape the Pitas: Take one dough ball and flatten it slightly with your hand. Using a rolling pin, roll it out into a circle about 6-8 inches in diameter and about 1/4 inch thick. Try to keep the thickness even throughout the circle, as this promotes uniform puffing. Place the rolled-out pitas on a clean, lightly floured surface or a baking sheet, ensuring they don’t touch each other.
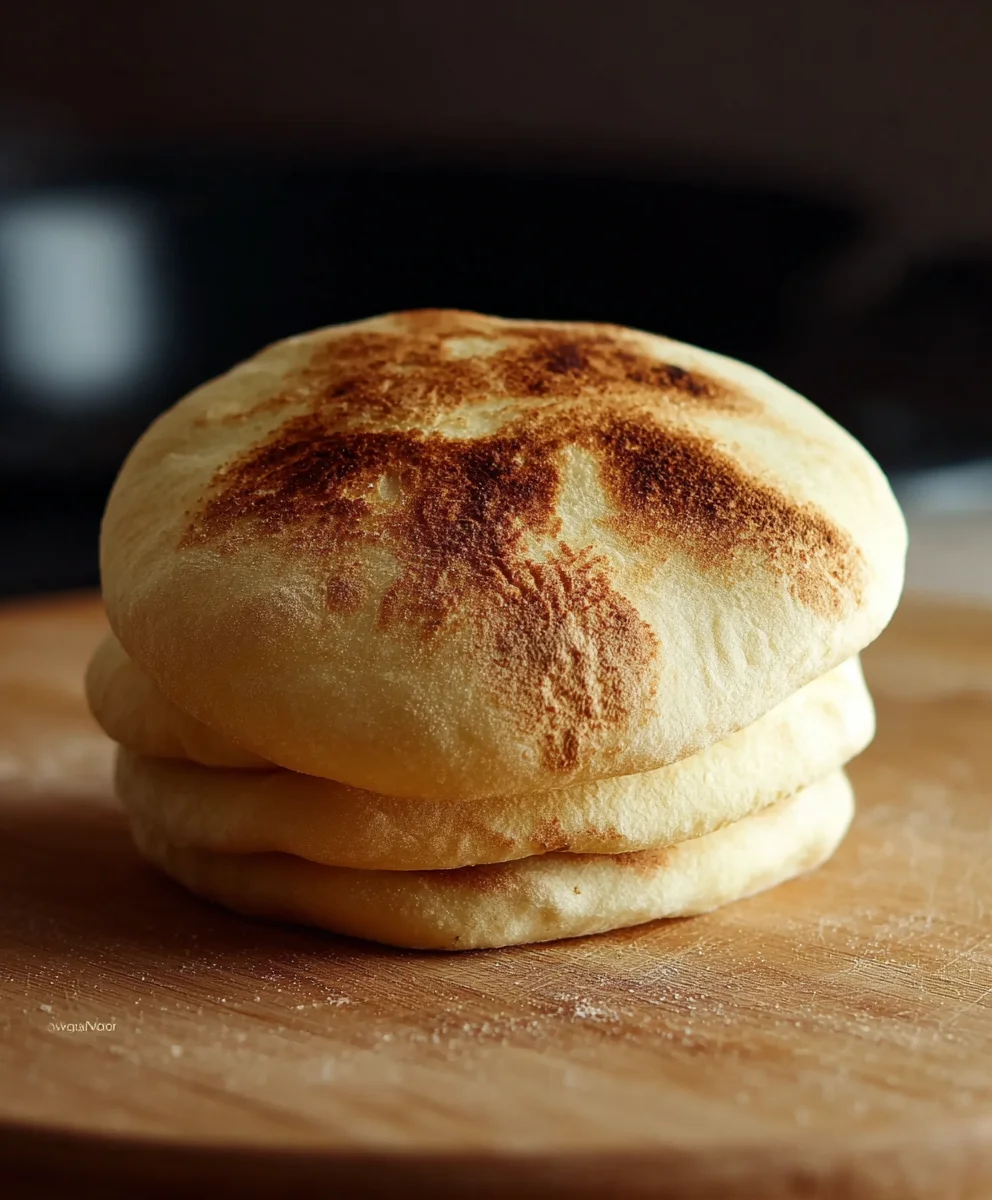
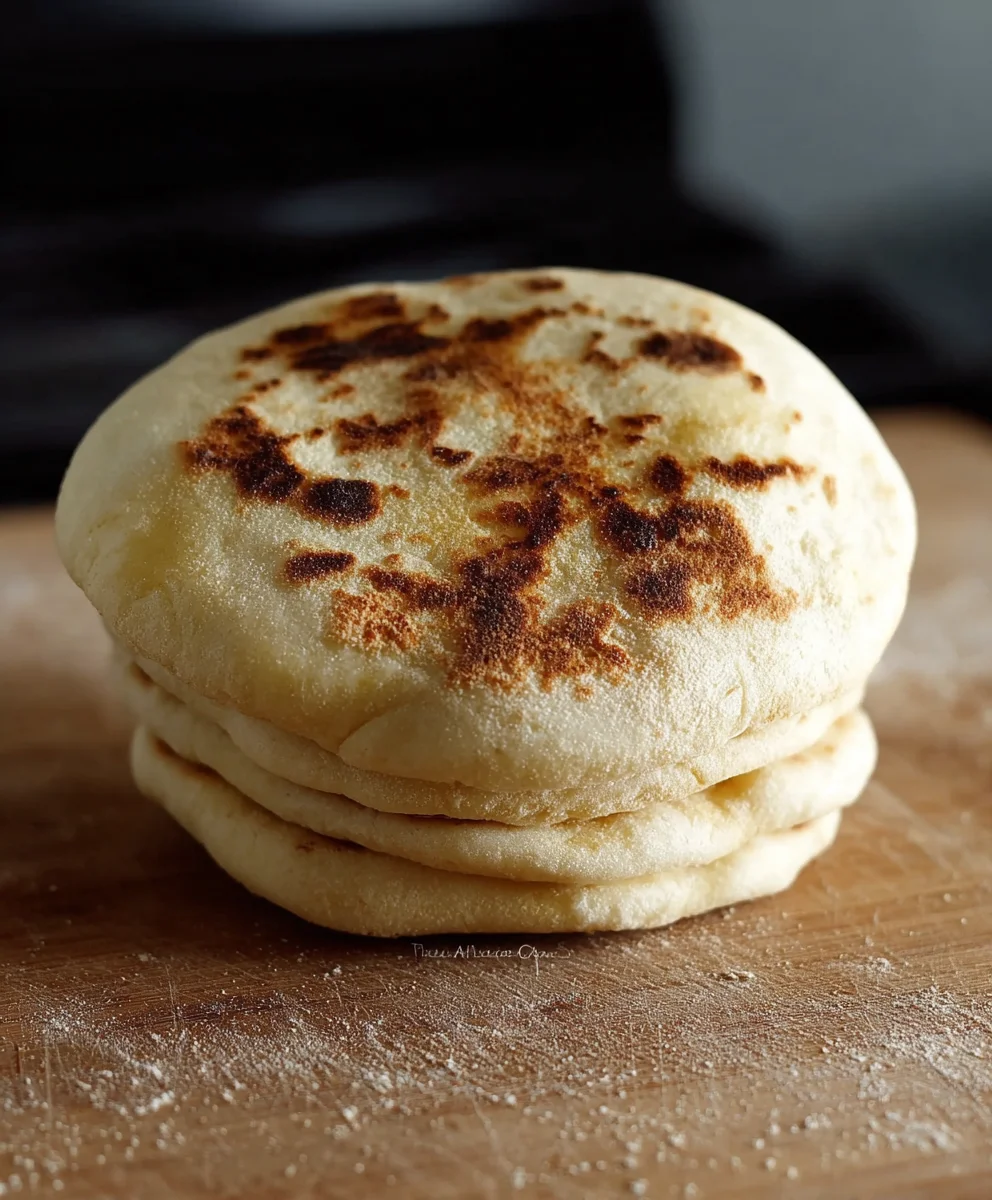
- Bake the Pitas: Preheat your oven to its highest temperature, usually around 450-500°F (230-260°C). If you have a pizza stone or baking steel, place it in the oven while it preheats for optimal results and that characteristic crispy bottom. Carefully place 1-3 pitas directly onto the preheated stone or baking sheet. Bake for 2-4 minutes on each side, or until the pita puffs up significantly and develops golden-brown spots. You’ll see them inflate like little balloons – it’s quite a satisfying sight! If they don’t puff fully, don’t worry; they’ll still be delicious.
- Cool and Serve: As soon as the pitas are done baking and have puffed, remove them from the oven and immediately wrap them in a clean kitchen towel. This step is crucial for keeping them soft and pliable. The steam trapped inside the towel will help them maintain their texture. Let them cool slightly in the towel before serving.
Conclusion:
You’ve now unlocked the secret to creating delicious, fluffy, and incredibly satisfying How to make Pita Bread at home. It’s a surprisingly simple process that yields results far superior to anything you’ll find pre-packaged. The aroma of warm pita baking in your own kitchen is truly rewarding, and the taste? Pure perfection! Don’t be intimidated by the yeast; with a little patience, you’ll be enjoying these versatile pockets of goodness in no time.
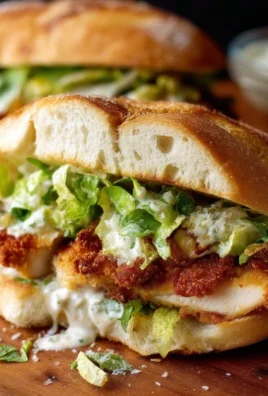
These homemade pita breads are incredibly versatile. Serve them warm as a side to your favorite Mediterranean dishes, use them for crafting hearty falafel sandwiches or gyros, or even slice them into wedges and bake them into crispy chips for dipping. For a delightful variation, consider adding a sprinkle of za’atar or finely chopped fresh herbs to the dough before baking.
I encourage you to give this recipe a try. Experiment with different toppings, get the kids involved in shaping the dough, and savor the satisfaction of baking your own pita bread from scratch. Happy baking!
Frequently Asked Questions:
Why isn’t my pita bread puffing up?
Several factors can contribute to this! Ensure your oven is preheated to the correct high temperature, as the rapid heat is crucial for the puff. Also, make sure your dough has risen sufficiently and that you’re rolling the pita to an even thickness (too thin or too thick can prevent puffing). Finally, check that your pita is sealing properly, as escaping steam can hinder the rise.
Can I make pita bread without a stand mixer?
Absolutely! While a stand mixer makes kneading easier, you can achieve excellent results by hand. Kneading by hand takes a bit more effort and time, but it’s a wonderful way to connect with the dough. Just ensure you knead until the dough is smooth and elastic, which usually takes about 8-10 minutes.
Easy Homemade Pita Bread Recipe-Soft & Fluffy
A simple recipe for soft and fluffy homemade pita bread, perfect for filling with your favorite ingredients.
Ingredients
-
2 cups All-purpose Flour, plus 1/2 cup for dusting and kneading
-
1/2 cup Whole Wheat Flour
-
1 tablespoon Sugar
-
1 teaspoon Salt
-
1 tablespoon Olive Oil, plus a little extra for greasing
-
2 teaspoons Active Dry Yeast
-
1 cup Warm Water (approximately 105-115°F or 40-46°C)
Instructions
-
Step 1
Activate the Yeast: In a small bowl, combine the warm water and sugar. Sprinkle the active dry yeast evenly over the surface. Let this mixture sit undisturbed for about 5-10 minutes until it foams and bubbles. -
Step 2
Combine Dry Ingredients: In a large mixing bowl, whisk together the 2 cups of all-purpose flour, the whole wheat flour, and the salt. -
Step 3
Mix the Dough: Add the olive oil to the foamy yeast mixture. Pour the wet ingredients into the bowl with the dry ingredients and mix until a shaggy dough forms. -
Step 4
Knead the Dough: Turn the dough onto a lightly floured surface and knead for 5-7 minutes until smooth, elastic, and springs back when poked. Place in a lightly oiled bowl, cover, and let rise in a warm place for 1 to 1.5 hours, or until doubled in size. -
Step 5
Divide and Rest: Gently punch down the dough, divide into 6-8 equal pieces, and roll into balls. Cover and let rest for 10-15 minutes. -
Step 6
Shape the Pitas: Roll each dough ball into a 6-8 inch circle, about 1/4 inch thick. -
Step 7
Bake the Pitas: Preheat oven to 450-500°F (230-260°C). Bake 1-3 pitas at a time for 2-4 minutes per side, until puffed and golden brown. -
Step 8
Cool and Serve: Immediately wrap baked pitas in a clean kitchen towel to keep them soft and pliable.
Important Information
Nutrition Facts (Per Serving)
It is important to consider this information as approximate and not to use it as definitive health advice.
Allergy Information
Please check ingredients for potential allergens and consult a health professional if in doubt.

Leave a Comment