
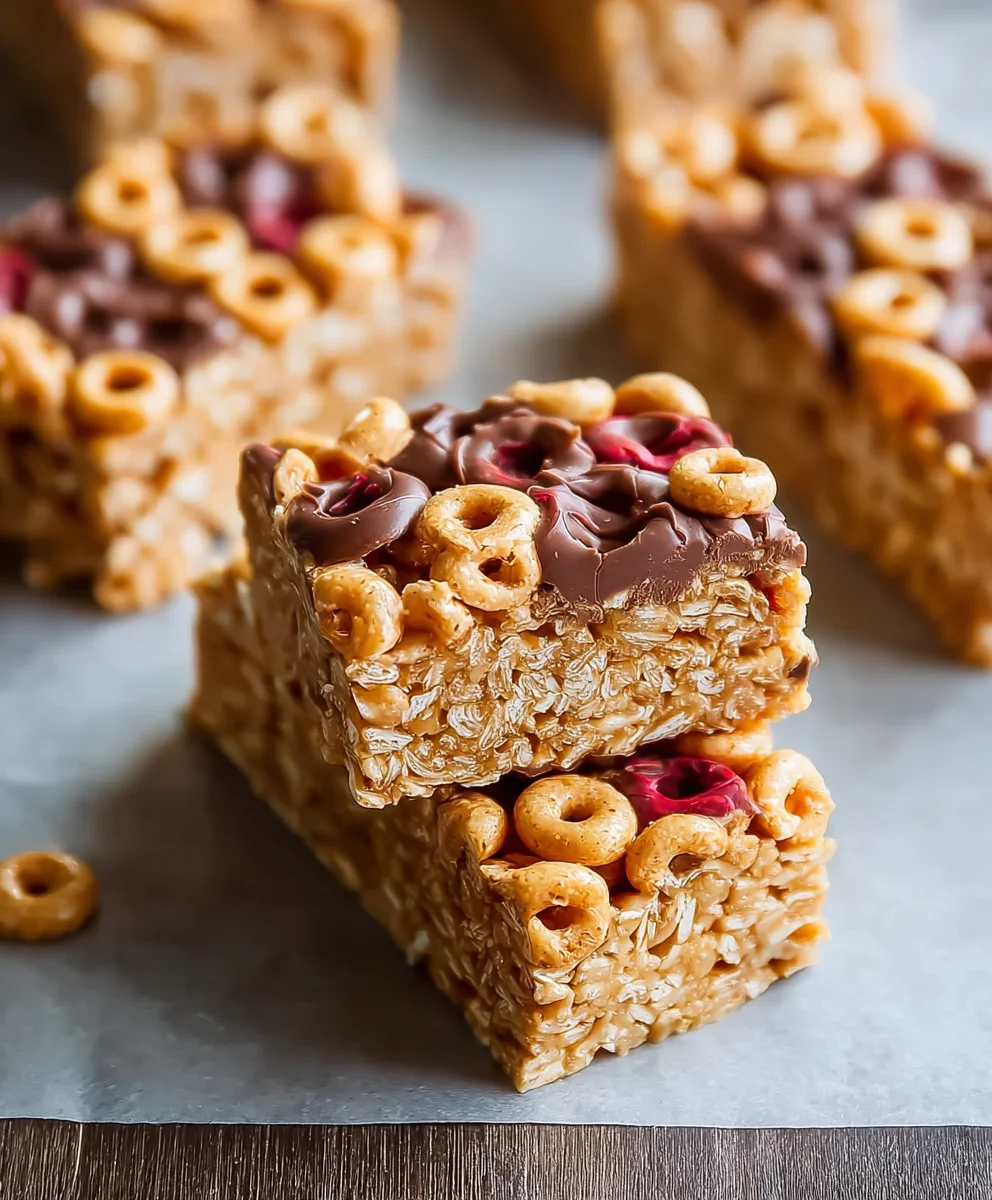
Cereal Bars are a beloved snack for a reason! They’re the perfect blend of sweet, chewy, and crunchy, offering an instant energy boost and satisfying those mid-afternoon cravings. Who doesn’t remember grabbing a handful of homemade goodness for school lunches or after-school adventures? What truly makes these homemade cereal bars so special is the ability to customize them to your heart’s content. Forget those mass-produced options that are often overly sweet or filled with ingredients you can’t pronounce. With this recipe, you’re in control of the flavor profile, the texture, and the quality of ingredients. We’re talking about wholesome goodness that tastes incredible. Get ready to discover why making your own cereal bars will become your new favorite kitchen ritual, providing a delicious and wholesome treat for everyone.

Ingredients:
- 3 cups cereal of choice (think your favorite crunchy flakes, puffed grains, or even a granola mix!)
- 2/3 cup peanut butter or nut butter of choice (creamy or crunchy works wonders, almond butter or sunflower seed butter are great alternatives too)
- 1/2 cup agave, honey, or brown rice syrup (this is your binder and sweetener – agave offers a neutral flavor, honey a richer one, and brown rice syrup a milder sweetness)
- 1/2 tsp salt (optional, but it really helps to balance the sweetness and enhance the nut butter flavor)
- 3 tbsp protein powder (optional, for an extra protein boost – unflavored or vanilla work best so they don’t overpower the other flavors)
Preparation and Mixing
Step 1: Prepare Your Pan and Cereal
First things first, let’s get our workspace ready. Take an 8×8 inch baking pan and line it with parchment paper. Make sure the parchment paper extends a little over the sides of the pan; this will make it super easy to lift the finished bars out later. You don’t want to be wrestling with sticky bars stuck to the bottom of the pan! Now, grab your cereal. Pour the 3 cups of your chosen cereal into a large mixing bowl. If your cereal pieces are quite large, you might want to give them a gentle crush with your hands or pulse them briefly in a food processor. We’re aiming for bite-sized pieces that will hold together well without being too powdery.
Step 2: Warm and Combine Wet Ingredients
In a medium saucepan, combine the 2/3 cup of peanut butter (or your nut butter of choice) and the 1/2 cup of agave, honey, or brown rice syrup. If you’re using the optional 1/2 teaspoon of salt, add it now too. Place the saucepan over low heat. Stir the mixture constantly until it’s smooth and well combined. You’re not trying to boil it, just gently warm it so that everything melts together into a beautifully smooth, pourable liquid. This gentle warming will make it easier to incorporate into the dry ingredients. Be patient here; a low and slow approach is key to preventing the sugars from burning.
Step 3: Incorporate Protein Powder (Optional)
If you’re adding the optional 3 tablespoons of protein powder, this is the perfect time to whisk it into the warm wet ingredients. Add the protein powder to the saucepan with the peanut butter and syrup mixture. Stir vigorously with a whisk or a spatula to ensure there are absolutely no lumps. You want a completely smooth, uniform liquid. Protein powder can sometimes clump, so a good mix here will guarantee that your cereal bars have a consistent texture throughout. If you don’t add protein powder, you can skip this step and proceed directly to combining the wet and dry ingredients.
Forming and Chilling
Step 4: Combine Wet and Dry Ingredients
Now it’s time for the main event! Pour the warm, smooth wet ingredient mixture over the cereal in the large mixing bowl. Using a sturdy spatula or a wooden spoon, begin extract to fold and stir the mixture together. The goal here is to coat every single piece of cereal with the peanut butter and syrup mixture. It might seem like a lot of liquid at first, but keep stirring and pressing gently. You want to ensure that all the cereal is evenly coated. This step requires a bit of effort, so don’t be afraid to really work it through. A good, thorough mixing will prevent dry pockets of cereal and ensure your bars hold their shape.
Step 5: Press into Pan and Chill
Once the cereal is thoroughly coated, transfer the mixture to your prepared 8×8 inch baking pan. Use the back of your spatula or your hands (slightly dampened to prevent sticking) to press the mixture down firmly and evenly into the pan. This is a crucial step for creating dense, sliceable cereal bars. The more you press, the more compact your bars will be. Really get into the corners and make sure the surface is as flat and even as possible. Once pressed, cover the pan tightly with plastic wrap or aluminum foil. Place the pan in the refrigerator for at least 1-2 hours, or until the bars are firm and set. The chilling process allows the binders to solidify, making the bars easy to cut and hold together.
Step 6: Slice and Enjoy Your Cereal Bars
After the chilling period, carefully lift the entire block of cereal bars out of the pan using the parchment paper overhang. Place it on a cutting board. Using a sharp knife, slice the block into your desired bar shapes – rectangles or squares are classic. For cleaner cuts, you can warm your knife blade under hot water and dry it before slicing. These homemade cereal bars are perfect for a quick breakfast on the go, a satisfying snack, or even a healthy dessert. Store any leftovers in an airtight container at room temperature for a few days, or in the refrigerator for longer storage.
Conclusion:
We hope you’ve enjoyed diving into the delicious world of our homemade Cereal Bars! This recipe is a fantastic way to create a quick, satisfying, and customizable treat that’s perfect for breakfast on-the-go, an afternoon snack, or even a light dessert. We’ve shown you how easy it is to combine simple ingredients to achieve a delightful texture and flavor. Don’t be afraid to experiment and make these Cereal Bars your own!
Serving these Cereal Bars is incredibly versatile. They are wonderful enjoyed plain, or you can elevate them by drizzling with melted chocolate, a swirl of nut butter, or a sprinkle of flaky sea salt. For a more indulgent experience, try them alongside a cold glass of milk or a warm cup of coffee.
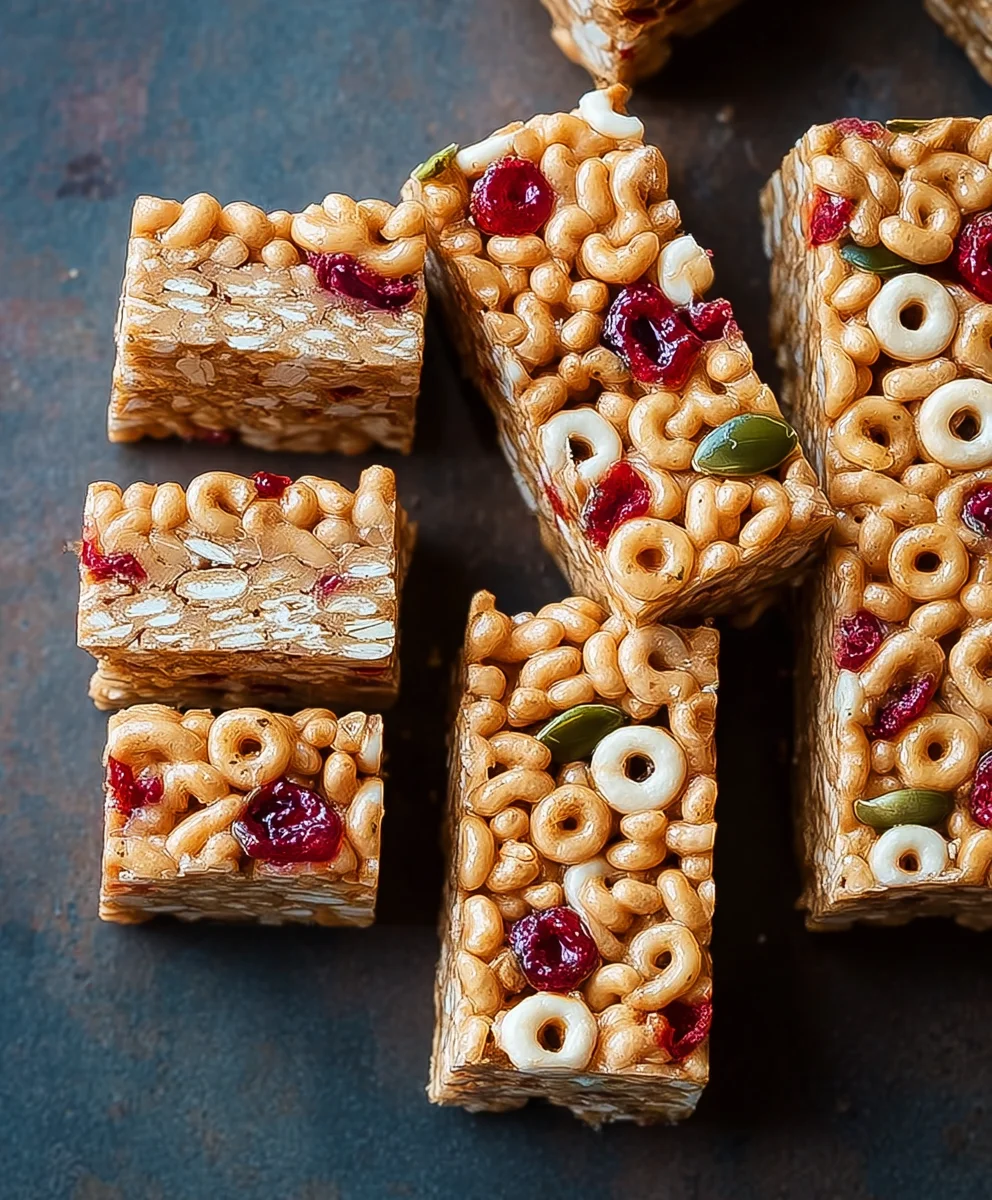
The beauty of these Cereal Bars lies in their adaptability. Feel free to swap out different cereals based on your preferences, add in your favorite nuts or seeds for extra crunch and nutrition, or incorporate dried fruits like cranberries or raisins for a touch of sweetness. For a fun twist, consider adding chocolate chips or a hint of cinnamon for a warming spice. We encourage you to have fun with it and discover your ultimate Cereal Bar creation!
Frequently Asked Questions:
Q1: How long do these Cereal Bars last?
Properly stored in an airtight container at room temperature, your homemade Cereal Bars should stay fresh for about 5-7 days. You can also refrigerate them for a slightly longer shelf life, up to 10 days, although this may slightly alter their texture.
Q2: Can I make these Cereal Bars gluten-free?
Absolutely! To make these Cereal Bars gluten-free, simply ensure you are using certified gluten-free cereals. Most other ingredients in a standard recipe are naturally gluten-free, but it’s always a good idea to check labels on binders like honey or syrups to be absolutely certain.
Easy Homemade Cereal Bars
Quick and delicious homemade cereal bars made with your favorite cereal, nut butter, and sweetener. Perfect for a healthy on-the-go breakfast or snack.
Ingredients
-
3 cups cereal of choice
-
2/3 cup peanut butter or nut butter of choice
-
1/2 cup agave, honey, or brown rice syrup
-
1/2 tsp salt (optional)
-
3 tbsp protein powder (optional)
Instructions
-
Step 1
Prepare an 8×8 inch baking pan by lining it with parchment paper, ensuring it overhangs the sides for easy removal. Pour 3 cups of your chosen cereal into a large mixing bowl. If pieces are large, gently crush them. -
Step 2
In a medium saucepan over low heat, combine 2/3 cup peanut butter and 1/2 cup agave, honey, or brown rice syrup. Add 1/2 tsp salt if using. Stir constantly until smooth and well combined; do not boil. -
Step 3
If using, whisk 3 tbsp protein powder into the warm wet ingredients in the saucepan until completely smooth and lump-free. -
Step 4
Pour the warm wet ingredient mixture over the cereal in the mixing bowl. Stir and fold with a spatula until all cereal pieces are evenly coated. This may require some effort to ensure no dry pockets remain. -
Step 5
Transfer the coated cereal mixture to the prepared baking pan. Press down firmly and evenly using a spatula or slightly dampened hands to create dense, sliceable bars. Ensure the surface is flat. -
Step 6
Cover the pan tightly and refrigerate for at least 1-2 hours, or until the bars are firm and set. Once chilled, lift the block out using the parchment paper and slice into desired bar shapes with a sharp knife.
Important Information
Nutrition Facts (Per Serving)
It is important to consider this information as approximate and not to use it as definitive health advice.
Allergy Information
Please check ingredients for potential allergens and consult a health professional if in doubt.


Leave a Comment