
Dairy free pesto is about to become your new kitchen obsession. Forget everything you thought you knew about this vibrant Italian classic, because we’re about to unlock a world of creamy, herbaceous goodness without a speck of dairy in sight. For so long, pesto meant a delightful dance of basil, pine nuts, garlic, and that essential tang of Parmesan cheese. But what if you crave that same incredible flavor profile while steering clear of dairy? That’s where our incredible dairy free pesto recipe comes in, transforming simple ingredients into a luscious sauce that’s both intensely flavorful and surprisingly versatile. It’s the perfect way to elevate pasta, spread on sandwiches, or even dollop onto grilled vegetables, offering a burst of fresh, zesty flavor that’s universally adored. We’re ditching the cheese but keeping all the soul, creating a pesto that’s so good, you won’t even miss the dairy. Get ready to fall in love with this delightful twist on a beloved sauce.

Dairy Free Pesto
Are you craving that vibrant, fresh flavor of pesto but need to steer clear of dairy? You’ve come to the right place! This dairy-free pesto recipe is a game-changer. It captures all the herbaceous goodness and garlicky punch of traditional pesto without a drop of cheese. Whether you’re vegan, lactose intolerant, or simply looking for a delicious alternative, this recipe will become a staple in your kitchen. It’s incredibly versatile, perfect for pasta, spreading on sandwiches, drizzling over roasted vegetables, or even as a dip.
The beauty of homemade pesto is its freshness and the ability to customize it to your liking. This dairy-free version relies on the magic of nutritional yeast to impart a cheesy, umami flavor that’s surprisingly satisfying. It’s a simple process that yields a truly spectacular result. Let’s get started!
Ingredients:
Making Your Dairy-Free Pesto
The process of making pesto is wonderfully straightforward, and a food processor or a good quality blender makes it even easier. We’re going to build layers of flavor, starting with the aromatics and then incorporating the fresh herbs and healthy fats.
1. Prepare Your Aromatics and Nuts: Begin extract by peeling your garlic cloves. Give them a rough chop if they’re quite large. Next, if you’re using pine nuts, they are typically ready to go. However, if you’ve opted for walnuts or pumpkin seeds, giving them a quick toast in a dry skillet over medium heat for a few minutes can really enhance their flavor and aroma. Keep a close eye on them as they can burn quickly! Once toasted, let them cool slightly before proceeding. This step is optional but highly recommended for maximum flavor impact. The toasting process brings out a nuttier, deeper taste that complements the basil beautifully.
2. Pulse the Solids: In the bowl of your food processor (or blender), add the chopped garlic and the pine nuts (or your chosen nut/seed). Pulse these together until they are finely chopped, but not yet a paste. You want a good crum extractbly texture at this stage. This initial pulsing helps break down the garlic and nuts before you add the softer ingredients, ensuring a more even consistency in the final pesto. It’s a small but important step for achieving that perfect texture. If you’re using a blender, you might need to scrape down the sides a few times to make sure everything is getting processed evenly.
3. Introduce the Freshness: Now it’s time to add the star of the show: the basil. Make sure your basil leaves are washed and thoroughly dried. Excess water can dilute the flavor and affect the texture of your pesto. Add the packed basil leaves to the food processor with the garlic and nuts. Add the salt and the nutritional yeast at this stage as well. The nutritional yeast is what gives this dairy-free pesto its signature cheesy, savory depth, mimicking the umami flavor of traditional Parmesan. If you’re not strictly dairy-free, you could substitute this with grated Parmesan cheese, but for this recipe, the nutritional yeast is crucial.
4. Blend and Emulsify: With the basil, garlic, nuts, salt, and nutritional yeast in the food processor, begin extract to pulse again. Pulse until the basil is finely chopped and everything is well combined. This will create a thick, green mixture. Now, with the food processor running on low speed, slowly drizzle in the extra virgin extract olive oil. Continue processing until the pesto is smooth and emulsified. You’re looking for a creamy, spreadable consistency. The olive oil is essential for bringin extractg all the flavors together and creating that classic pesto texture. Don’t be tempted to skip this step or rush it; the slow addition of oil is what creates that beautiful, cohesive pesto.
5. Add the Brightness and Adjust: Once the pesto is mostly blended and emulsified, add the fresh lemon juice. The lemon juice is vital for cutting through the richness of the olive oil and basil, adding a bright, zesty counterpoint that elevates the entire flavor profile. Pulse a few more times to incorporate the lemon juice. Now is the time to taste your pesto! Dip a clean spoon in and see if it needs any adjustments. You might want a little more salt to enhance the flavors, or perhaps a touch more lemon juice for extra brightness. You can also add a little more olive oil if you prefer a looser consistency. Remember, pesto is all about personal preference, so feel free to tweak it until it’s perfect for you.
This dairy-free pesto is best stored in an airtight container in the refrigerator. For longer storage, you can cover the surface of the pesto with a thin layer of olive oil to prevent browning, and it should keep well for about a week. You can also freeze it in ice cube trays for convenient single-serving portions that can be easily thawed and used. Enjoy the vibrant, fresh taste of your homemade dairy-free pesto!
Conclusion:
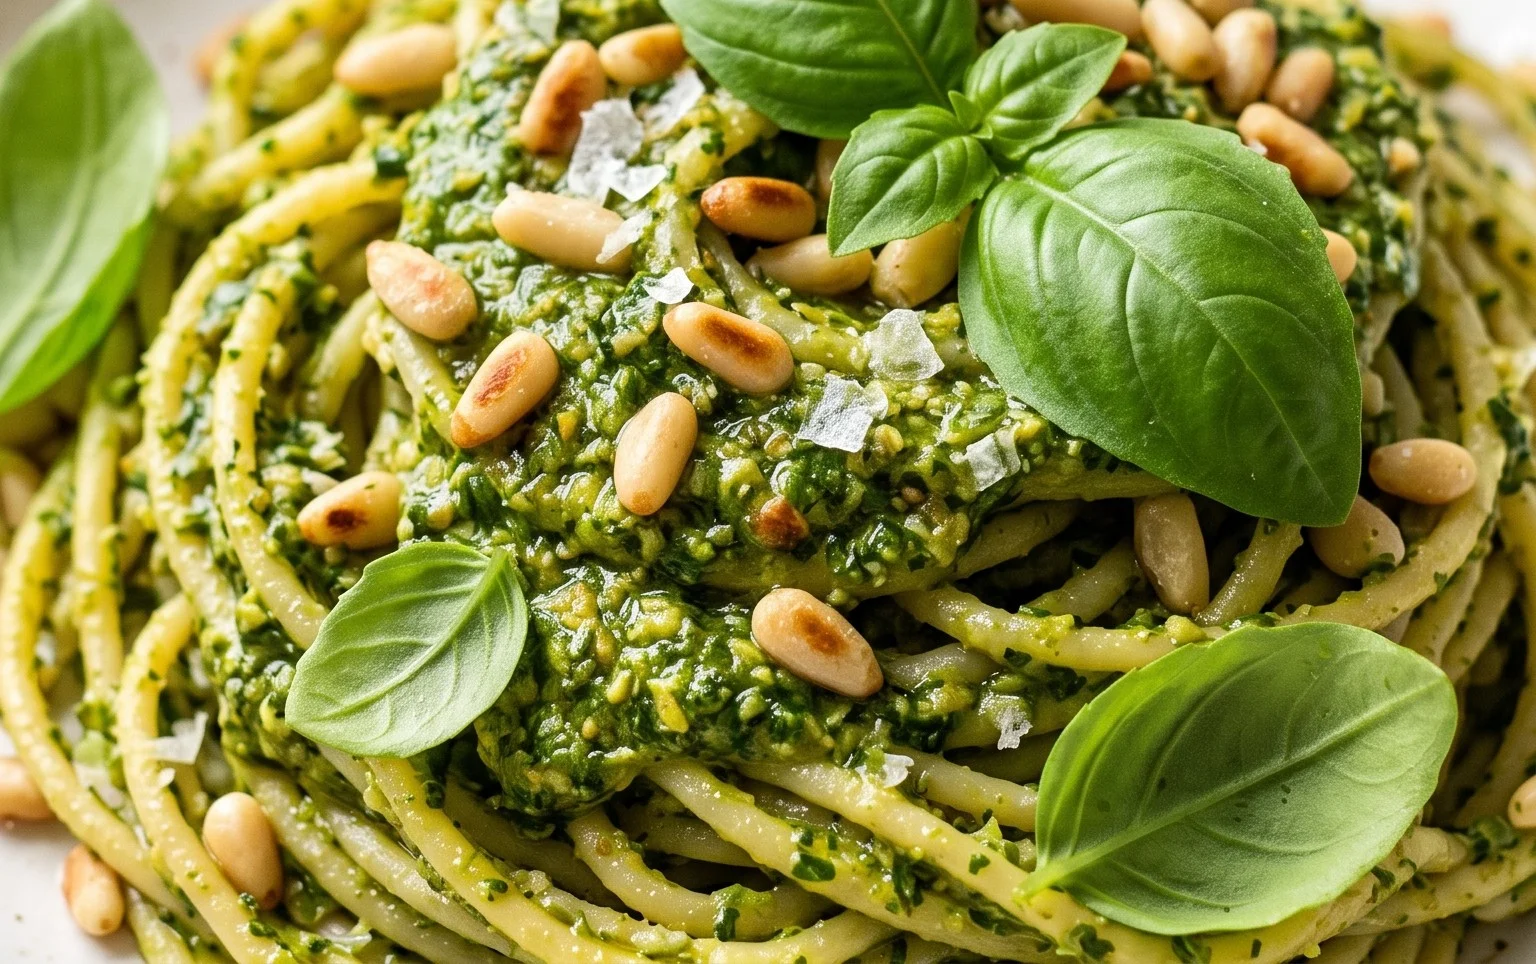
There you have it! This dairy free pesto recipe is a fantastic way to enjoy the vibrant, herbaceous flavors of traditional pesto without any dairy. It’s surprisingly simple to make and incredibly versatile, opening up a world of delicious possibilities for your meals. Whether you’re vegan, lactose intolerant, or just looking for a lighter alternative, this recipe truly shines.
Don’t hesitate to get creative with your serving suggestions! It’s perfect tossed with your favorite pasta, as a spread on crusty bread, dolloped onto grilled vegetables, or even as a flavorful base for a sandwich. For variations, feel free to experiment with different nuts like walnuts or almonds, or even seeds like sunflower or pumpkin seeds for a nut-free option. You could also add a pinch of red pepper flakes for a hint of heat, or a squeeze of lemon juice for extra brightness. I encourage you to give this dairy free pesto a try – I think you’ll be delighted by how easy and delicious it is!
Frequently Asked Questions:
Can I make this pesto ahead of time?
Absolutely! This dairy free pesto stores beautifully in an airtight container in the refrigerator for up to 5 days. You can also freeze it in ice cube trays for individual portions, which are perfect for quick additions to meals.
What’s the best way to store leftover pesto?
To keep your pesto fresh, pour a thin layer of olive oil over the surface before sealing the container. This helps prevent oxidation and keeps the vibrant green color intact. It’s a simple trick that makes a big difference!
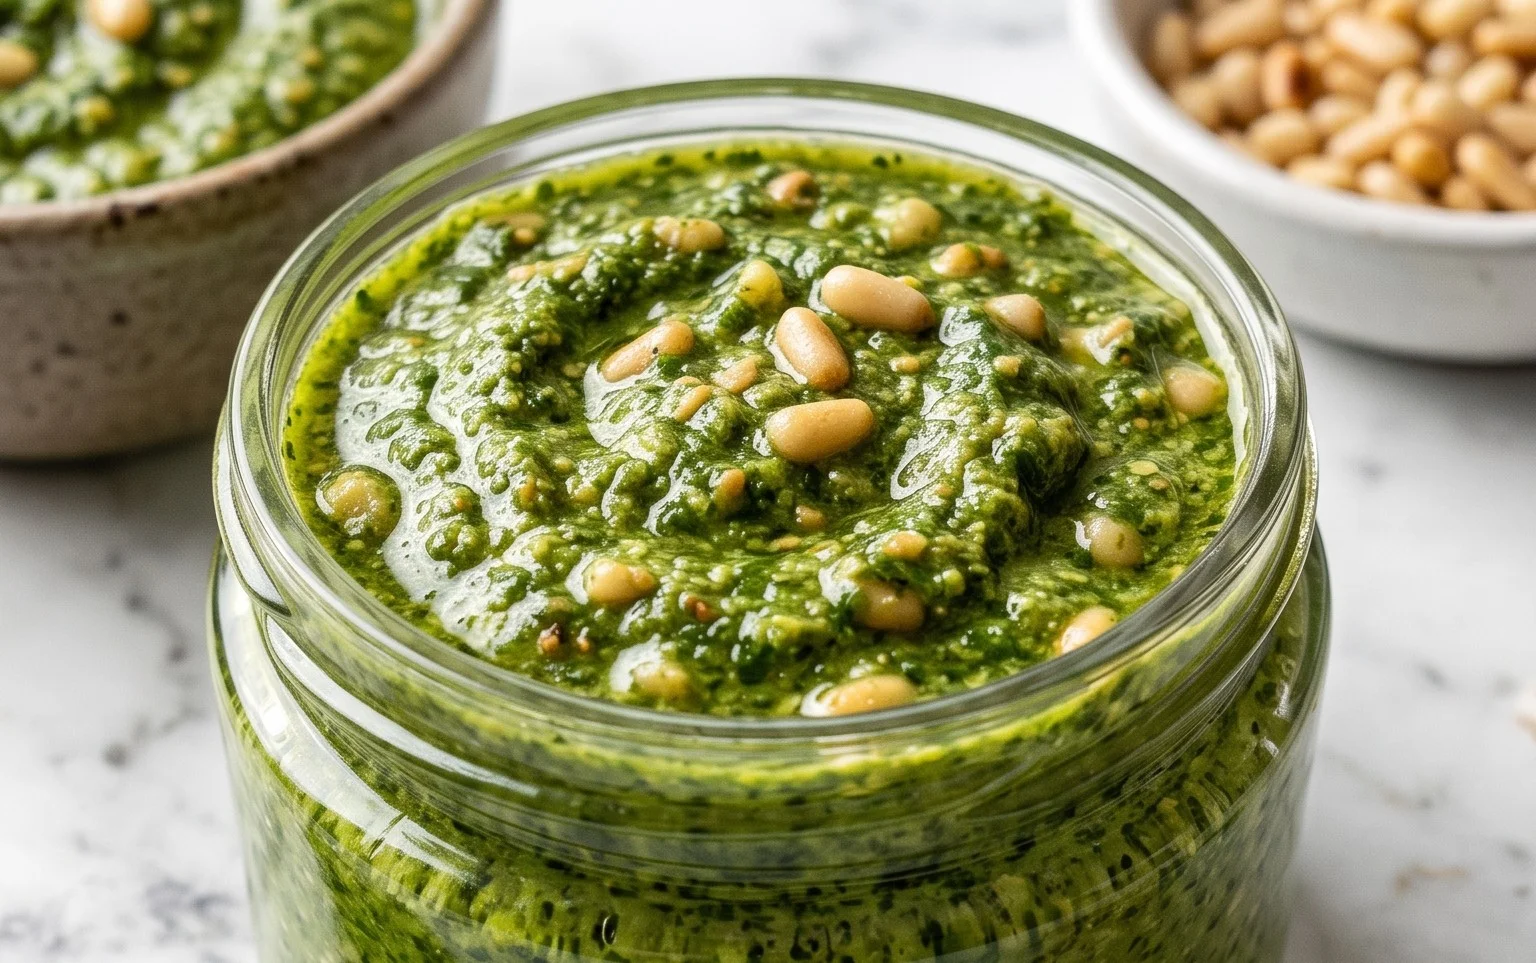
Dairy Free Pesto
A vibrant and flavorful dairy-free pesto made with fresh basil, pine nuts, garlic, and olive oil. Perfect for pasta, sandwiches, or as a dip.
Ingredients
-
3 cups basil
-
1/2 lemon (juiced)
-
1/2 cup pine nuts
-
2 cloves garlic
-
1/4 cup olive oil
-
1/2 tsp salt
-
2 tbsp nutritional yeast
Instructions
-
Step 1
Combine basil, pine nuts, garlic, lemon juice, salt, and nutritional yeast in a food processor. -
Step 2
Pulse until roughly chopped. -
Step 3
With the food processor running, slowly drizzle in the olive oil until the pesto is smooth and creamy. -
Step 4
Taste and adjust seasoning if necessary. -
Step 5
Transfer to an airtight container and store in the refrigerator.
Important Information
Nutrition Facts (Per Serving)
It is important to consider this information as approximate and not to use it as definitive health advice.
Allergy Information
Please check ingredients for potential allergens and consult a health professional if in doubt.

Leave a Comment